Basic & Rich Simple Syrups
Even if you’re an avid home cook or baker, you may not be familiar with the magic that simple syrup can bring to your dishes. I honestly think simple syrup is a must-have in any kitchen. You can use it to enhance drinks like this raspberry margarita mocktail or this Paloma mocktail, brush it onto baked cakes, and more!
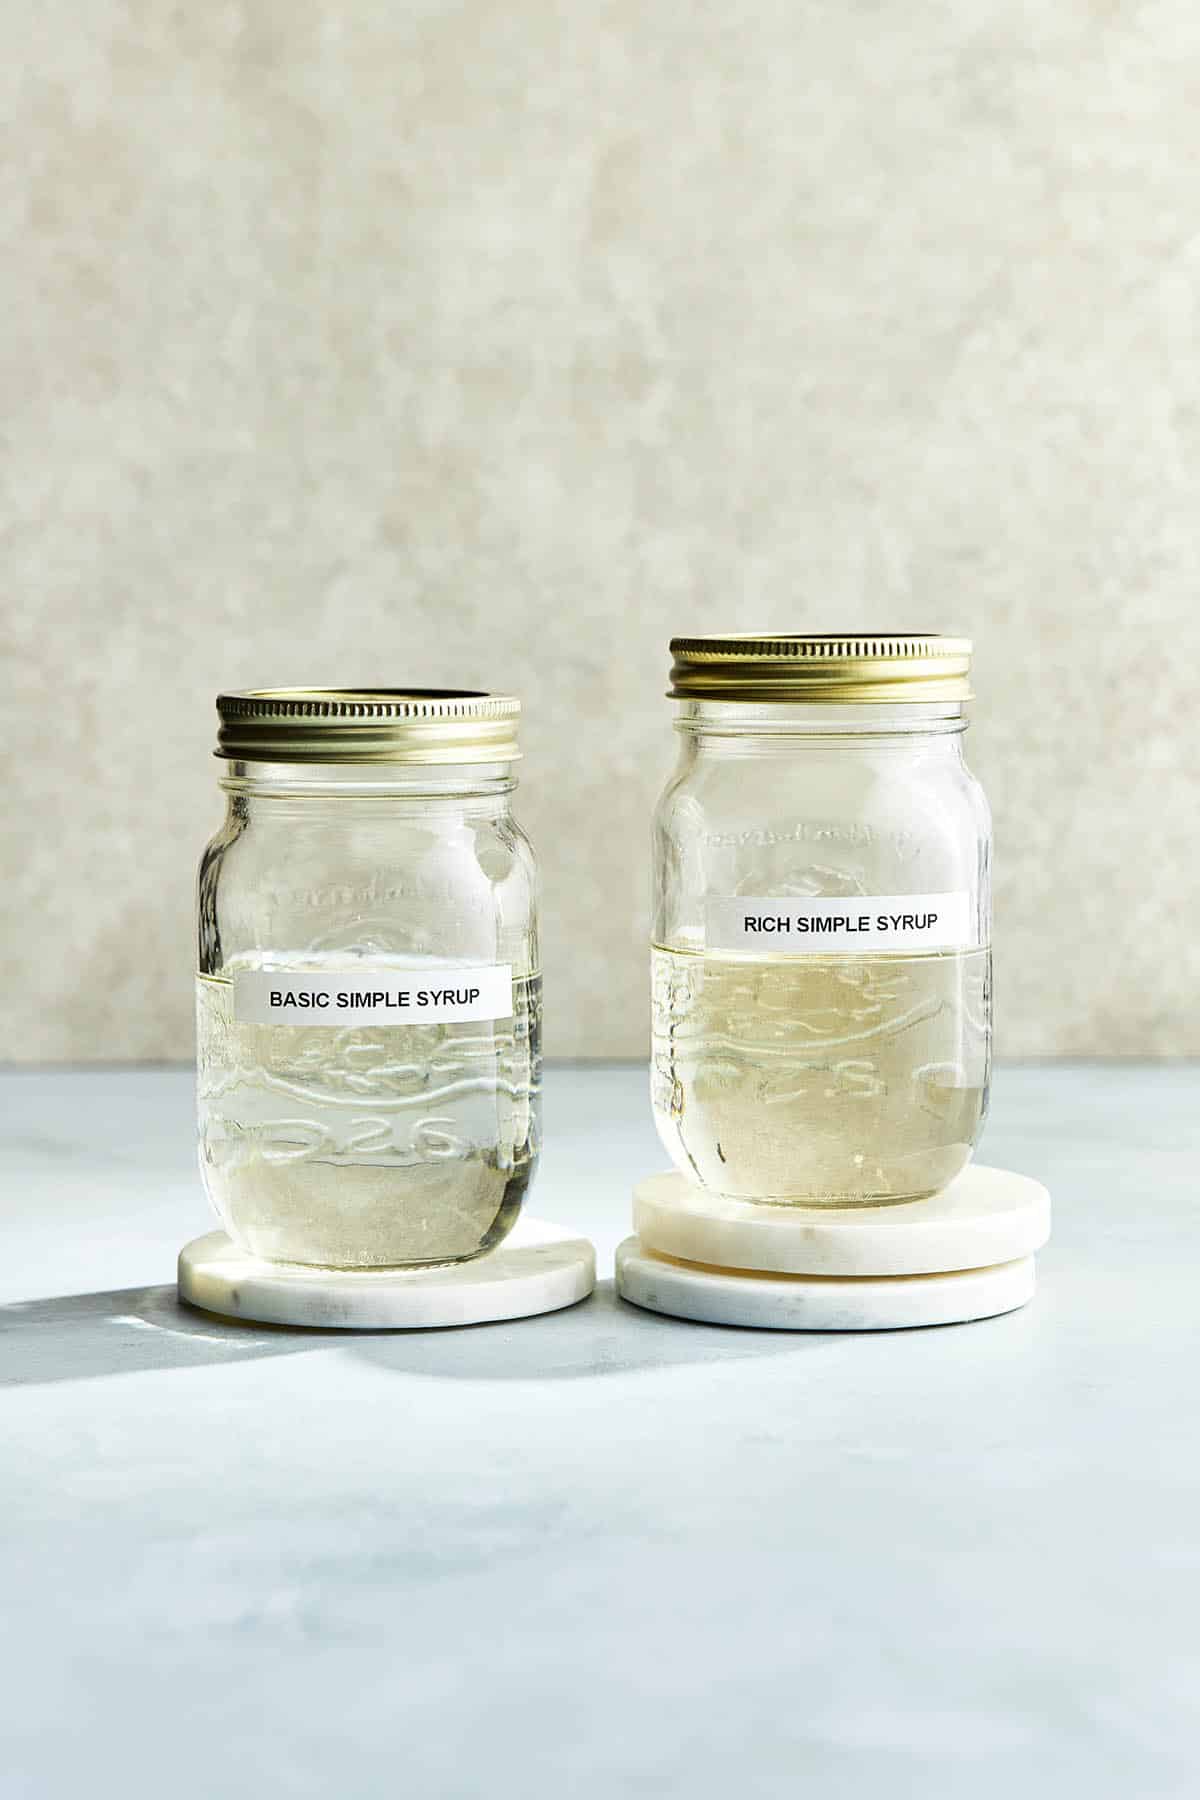
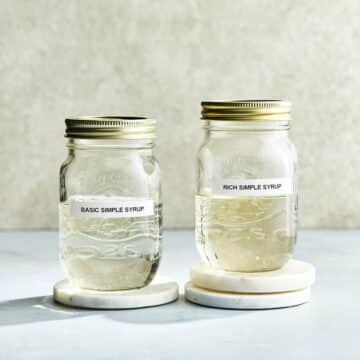
Basic simple syrup consists of equal parts sugar and water. In contrast, a rich simple syrup has a higher sugar-to-water ratio (usually 2:1), resulting in a thicker, sweeter syrup.
In this post, I’ll explain how to make basic & rich simple syrups and give you a list of ways to use them in your recipes. So, let’s dive in and learn how to make these versatile sweeteners.
Jump to:
Why You’ll Love This Recipe
✔️ Basic & rich simple syrups dissolve quickly in hot and cold drinks.
✔️ The syrups can be infused with your favorite herbs, spices, and fruits.
✔️ It’s so cheap to make and lasts forever!
Ingredients To Make Basic & Rich Simple Syrups
- Sugar: The most commonly used sugar for making simple syrup is white granulated sugar, which dissolves easily and has a neutral flavor. However, you can also experiment with other types of sugar, such as brown sugar, turbinado sugar, or even coconut sugar. Remember that different sugars will impart their unique flavors and colors to the syrup, which may affect the final taste of your recipes.
- Water: I use tap water, but you can also use filtered or bottled water, which helps ensure a pure and consistent flavor.
Use the JUMP TO RECIPE button at the top of this post, or scroll to the bottom to see the PRINTABLE recipe card with ingredient measurements and complete instructions.
How to Make Basic & Rich Simple Syrups
The process for making both is the same. The only difference is the amount of water and sugar you use. I like to make mine in a Mason jar in the microwave; however, you can use a pot on the stovetop.
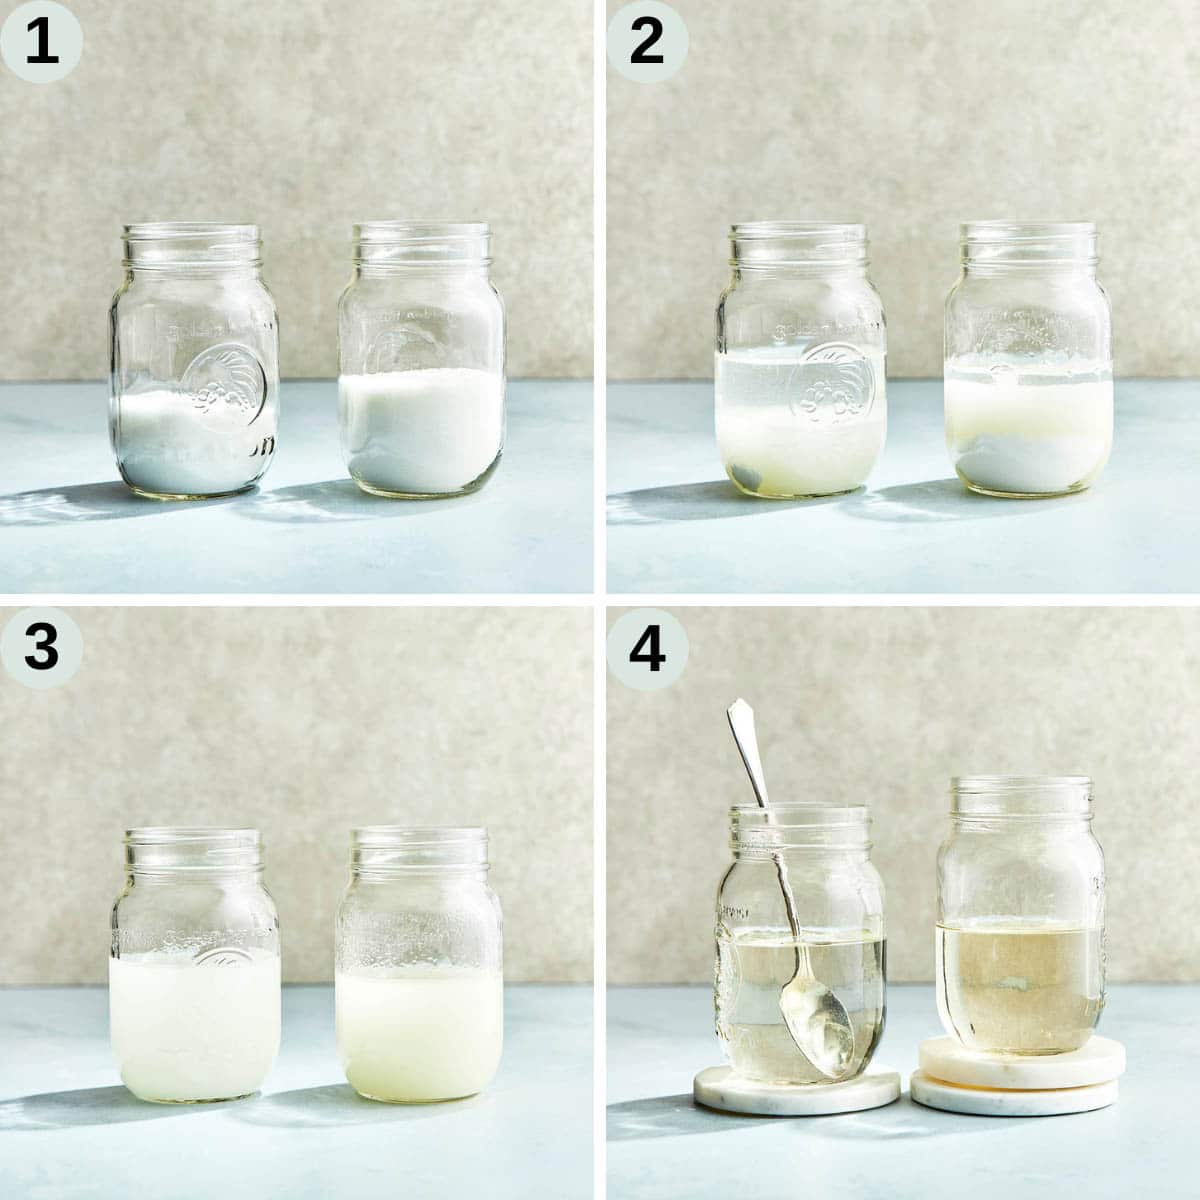
STEP 1: Spoon sugar into a clean heatproof jar. Basic is pictured on the left and rich on the right. You can see the rich simple syrup jar has double the amount of sugar.
STEP 2: Add the water to the sugar.
STEP 3: Give the mixture a good stir. You want to ensure any sugar sticking to the bottom of the jar is incorporated into the water.
STEP 4: Heat the jar(s) in the microwave in 30-second increments. Once the sugar is completely dissolved and the liquid is clear, remove the jar from the microwave and let the liquid cool to room temperature. Basic simple syrup will turn clear faster than rich simple syrup.
Expert Tips
1. Stir the syrup as it heats to help dissolve the sugar.
2. Once the sugar is almost completely dissolved, stop heating it to prevent caramelization.
3. Experiment with flavors. Add your favorite herbs, spices, fruits, or extracts while the syrup is still hot. Once cooled, strain out any solids before storing to prevent spoilage.
Recipe Notes
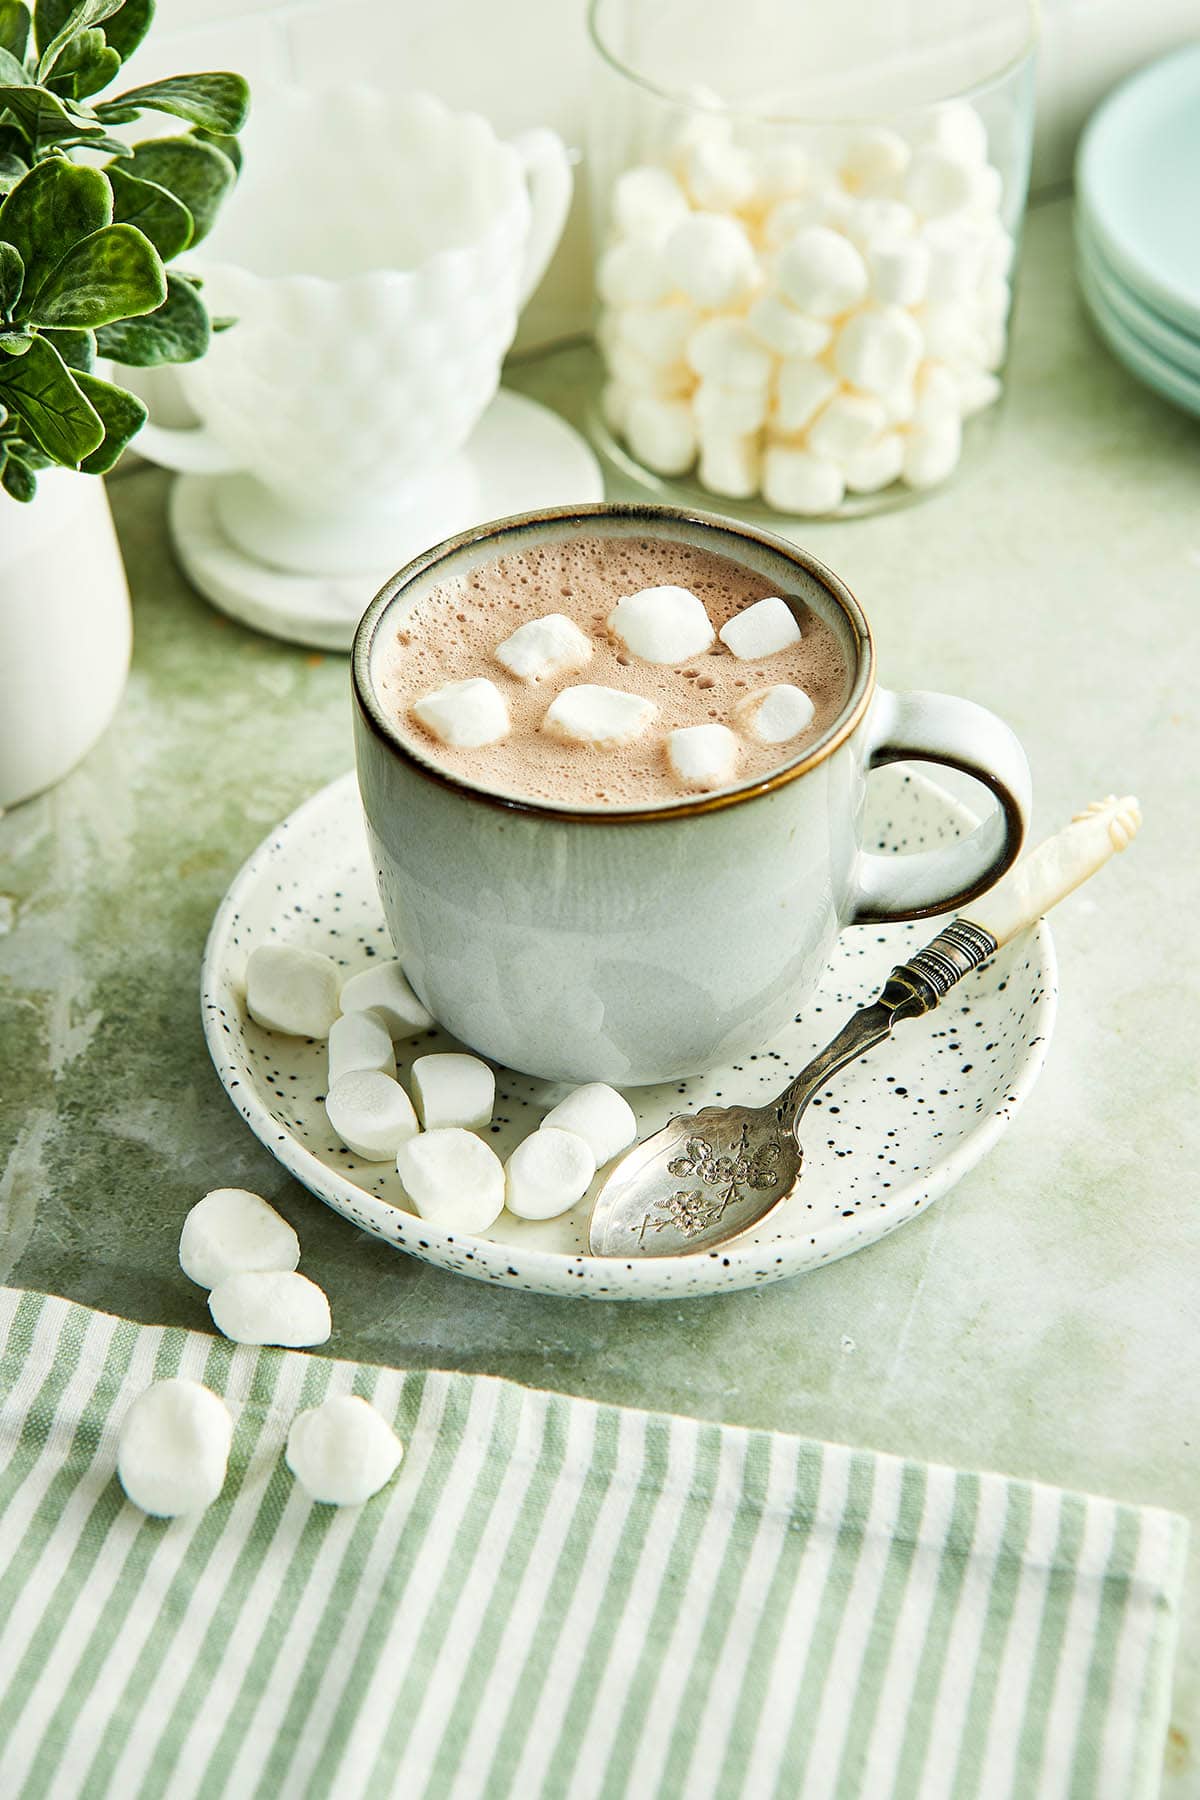
- You can use basic simple syrup to sweeten cold cocktails and mocktails or hot drinks like hot chocolate. It’s also great for sweetening homemade lemonade or iced tea. To keep cake layers moist try brushing the tops with simple syrup before icing.
- Rich simple syrup is excellent for sweetening coffee-based drinks like vanilla lattes or London Fogs. It can also enhance cocktails like Old Fashioneds, sours, or daiquiris. Another way to use it is as a base for homemade sorbet or granita.
- If you like lavender, try this lavender sugar in place of granulated white sugar for a rich botanical syrup that’s lovely in lemonade.
Storage
- Store your cooled syrups in clean, airtight jars or bottles in the refrigerator. Basic simple syrup can last up to a month, while the rich version has a longer shelf life of about two months. Always check for any signs of spoilage or crystallization before using.
More Kitchen Basics
Did you make these basic & rich simple syrups? Please rate the recipe and tell me how it went in the comments below. Also, stay in touch with me on Instagram, Facebook, and Pinterest to see more delicious food and recipes!
Printable Recipe Card
Basic & Rich Simple Syrups
Special Equipment
- Measuring cups and spoons or digital kitchen scale
- 500 ml Mason jar with tight-fitting lid
Ingredients
- ¾ cup granulated sugar, for rich simple syrup use 1 cup (200 g) sugar
- ¾ cup water, for rich simple syrup use ½ cup (125 ml) water
Instructions
- Measure the sugar into a clean Mason jar. Add the water and stir well. Place the jar in the microwave and heat in 30-second increments until the liquid is clear and the sugar is completely dissolved. Rich simple syrup takes a little bit longer to turn clear than basic simple syrup.
Recipe Notes
- You can use basic simple syrup to sweeten cold cocktails and mocktails or hot drinks like hot chocolate. It’s also great for sweetening homemade lemonade or iced tea. To keep cake layers moist, try brushing the tops with simple syrup before layers icing.
- Rich simple syrup is excellent for sweetening coffee-based drinks like vanilla lattes or London Fogs. It can also enhance cocktails like Old Fashioneds, sours, or daiquiris. Another way to use it is as a base for homemade sorbet or granita.
- If you like lavender, try this lavender sugar in place of granulated white sugar for a rich botanical syrup that’s lovely in lemonade.
Storage
- Store your cooled syrups in clean, airtight jars or bottles in the refrigerator. Basic simple syrup can last up to a month, while the rich version has a longer shelf life of about two months. Always check for any signs of spoilage or crystallization before using.

