Coconut Milk Chili With Sweet Potatoes
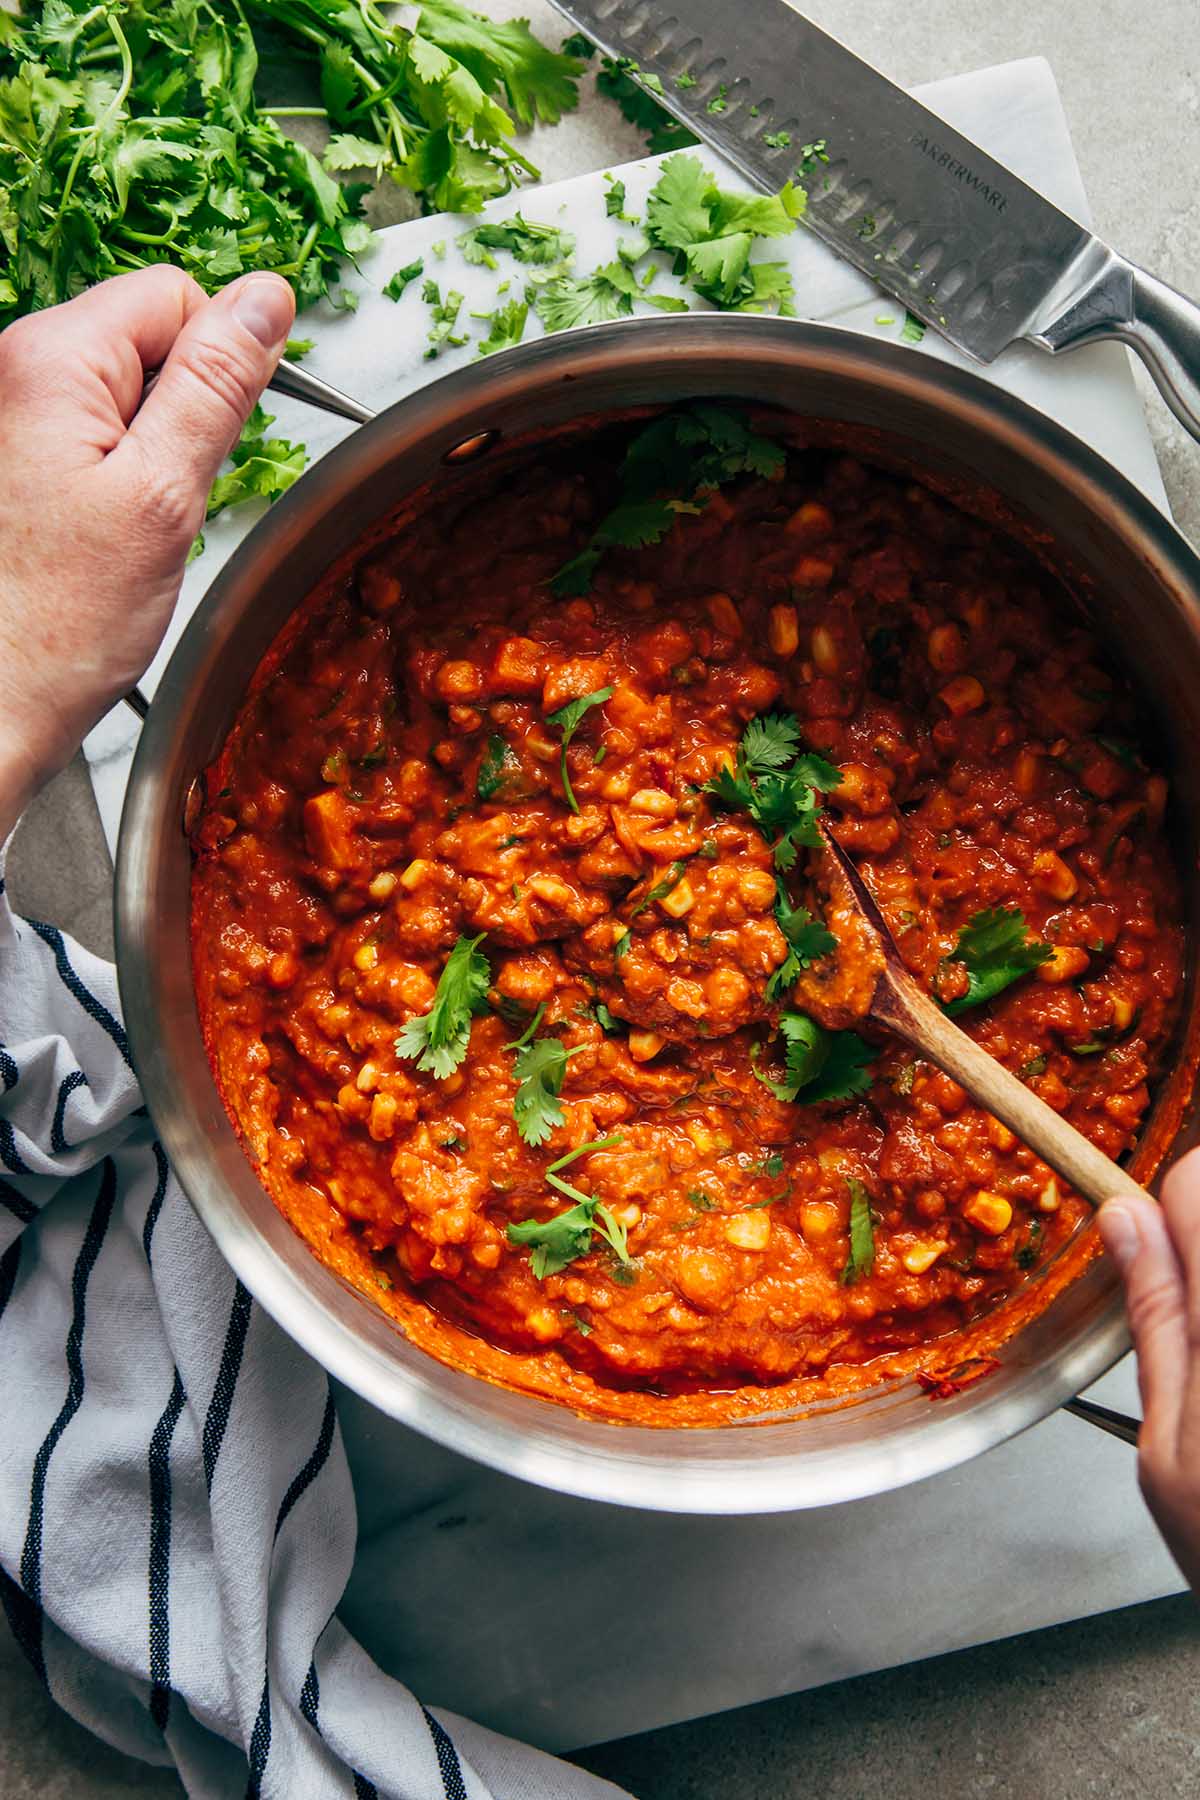
As much as I love baking, it can’t all be about Nova Scotia oatcakes, buttermilk quiche, and brown butter chocolate chip cookies. I mean, I have to actually feed my family vegetables once in a while (insert nervous laughter here).
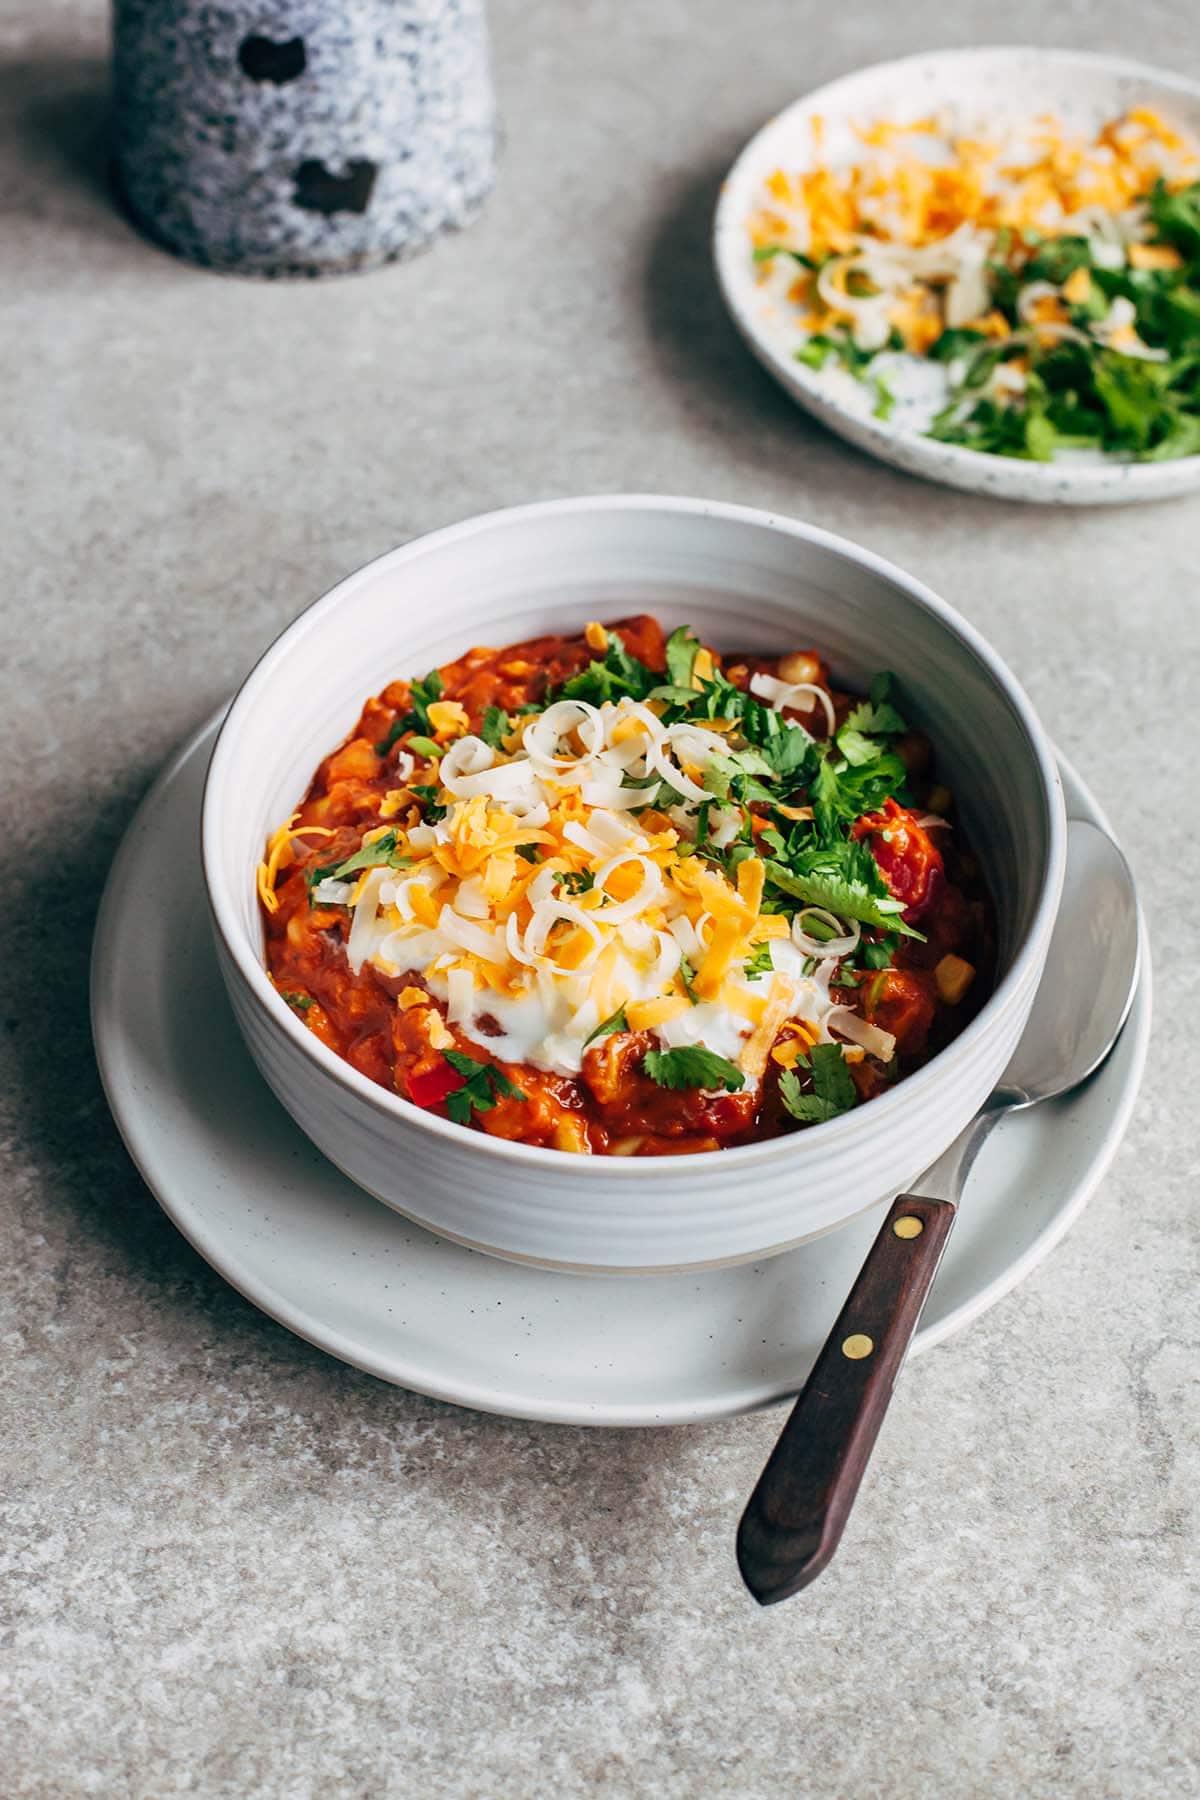
The coconut milk chili is delicious, and trust me, if it wasn’t, my daughter would let me know. We like to garnish ours with plain yogurt and shredded cheese, however, omit those toppings to keep the recipe vegan.
Jump to:

Ingredients
- onion
- garlic
- cumin
- dried oregano
- salt
- sugar
- chili powder
- vegetable stock (or chicken stock if you prefer and have it on hand)
- 1 large sweet potato
- 1 sweet pepper
- 28-ounce can crushed tomatoes
- 19-ounce can chickpeas
- 19-ounce can lentils
- 14-ounce can coconut milk
- 12-ounce can corn
- cornmeal
- fresh cilantro, both chopped and whole leaves
Why You NEED To Make This Recipe
- It’s cheap!
- You probably have most of the ingredients in your pantry.
- It’s really fast to make. I make it late in the morning to have ready for lunch.
- It’s customizable! Swap in any beans, legumes, or veggies you prefer, or have on hand. Or visit Renées post and make her original White Bean & Chicken Chili without the tomato sauce or coconut milk.
- You control the spice level. I only use ½ teaspoon of chili powder in the coconut milk chili which gives a bit of heat, but no so much my kid can’t eat it.
- The chili tastes better as it sits. I swear it’s even better the second day!
- It tastes freakin’ delicious.
Best Way To Store, Freeze, And Reheat Coconut Milk Chili
- To Store – I always store chili in the fridge, in the cooking pot with the lid on top, for the first night. That way we can still easily help ourselves to a small bowl if a craving strikes. After the first day, I portion the chili into glass serving containers with lids and keep a few in the fridge. The chili will keep, stored this way in the refrigerator, for up to 5 days.
- To Freeze – After a couple of days, when we’re tired of eating chili constantly, I place the portioned-off sealed containers in the freezer. The chili will keep in the freezer for up to 3 months.
- To Reheat – To reheat chili directly from the freezer I let one of the containers sit on the counter for about 30 minutes to take the chill off of the glass. I place the container in the microwave and either use the defrost option, or cook it for a few minutes at a time at half power. My partner Chris hates the microwave so he prefers to heat the chili gently in a pot on the stove until all of the frozen chunks are broken up and the chili is heated through.

More Family Meal Ideas
Did you make this coconut milk chili, or any other recipe on my site? Don’t forget to rate the recipe and let me know how you made out in the comments below. You can also stay in touch with me on Instagram, Facebook, and Pinterest to see more delicious food and recipes!
Printable Recipe Card

Coconut Milk Chili With Sweet Potatoes & Chickpeas
Special Equipment
- Large deep-sided skillet or pot
- Knife
- Cutting board
- Measuring cups and spoons or digital kitchen scale
- Rubber spatula or wooden spoon
- Liquid measuring cup
- Can opener
Ingredients
- 1 tablespoon vegetable oil
- 1 small-medium onion, peeled, diced
- 2 cloves garlic, minced
- 1 tablespoon cumin, ground
- 2 teaspoons oregano, dried
- 1 ¼ teaspoons salt
- 1 teaspoon sugar
- ½ teaspoon chili powder
- 2 cups vegetable stock
- 1 large sweet potato, peeled, chopped into ½ inch (1 ¼ cm) chunks
- 1 medium-large red bell pepper, de-seeded, chopped into ½ inch (1 ¼ cm) chunks
- 28 ounce can crushed tomatoes
- 19 ounce can chickpeas, drained and rinsed
- 19 ounce can lentils, drained and rinsed
- 14 ounce can coconut milk
- 12 ounce can corn, drained
- ¼ cup cornmeal, fine grind
- fresh cilantro, both chopped and whole leaves
Instructions
- Heat the oil in a large deep-sided skillet over medium-low heat. Add the chopped onion and garlic to the pre-heated oil and cook until they are fragrant, and the onion is translucent, about 4 to 5 minutes.
- Add the ground cumin, dried oregano, salt, sugar, and chili powder to the pot. Cook for 1 minute.
- Add the vegetable stock and chopped sweet potato. Increase the heat to medium-high and bring everything to a light boil. Reduce the heat once again and keep the chili at a lively simmer for 18 to 20 minutes, stirring often.
- Add the chopped red pepper, crushed tomatoes, chickpeas, lentils, coconut milk, and corn to the pot. Continue to simmer for 5 to 7 minutes.
- Sprinkle the cornmeal into the chili and stir. Continue to simmer for 5 minutes to thicken. Remove the chili from the heat and stir in two handfuls of chopped cilantro stems and leaves. Serve the chili hot, garnished with plain yogurt and shredded cheese, or your other favourite chili toppings.
Recipe Notes
Nutrition
Nutrition information is an estimate and is provided as a courtesy. For precise nutritional data, please calculate it independently using your preferred nutrition calculator.
More Weeknight Meal Ideas

Kelly Neil is a recipe developer, food photographer, and lifelong Nova Scotian building a sense of home and identity through recipes. She lives in her hometown of Dartmouth with her partner, Chris, their daughter, Elodie, and their little dog, Skipper.
This post may contain affiliate links. As an Amazon Associate, I may earn a small commission if you buy something through one of them at no extra cost to you. I only share products I use myself and genuinely recommend.


