Easy Pickled Onions
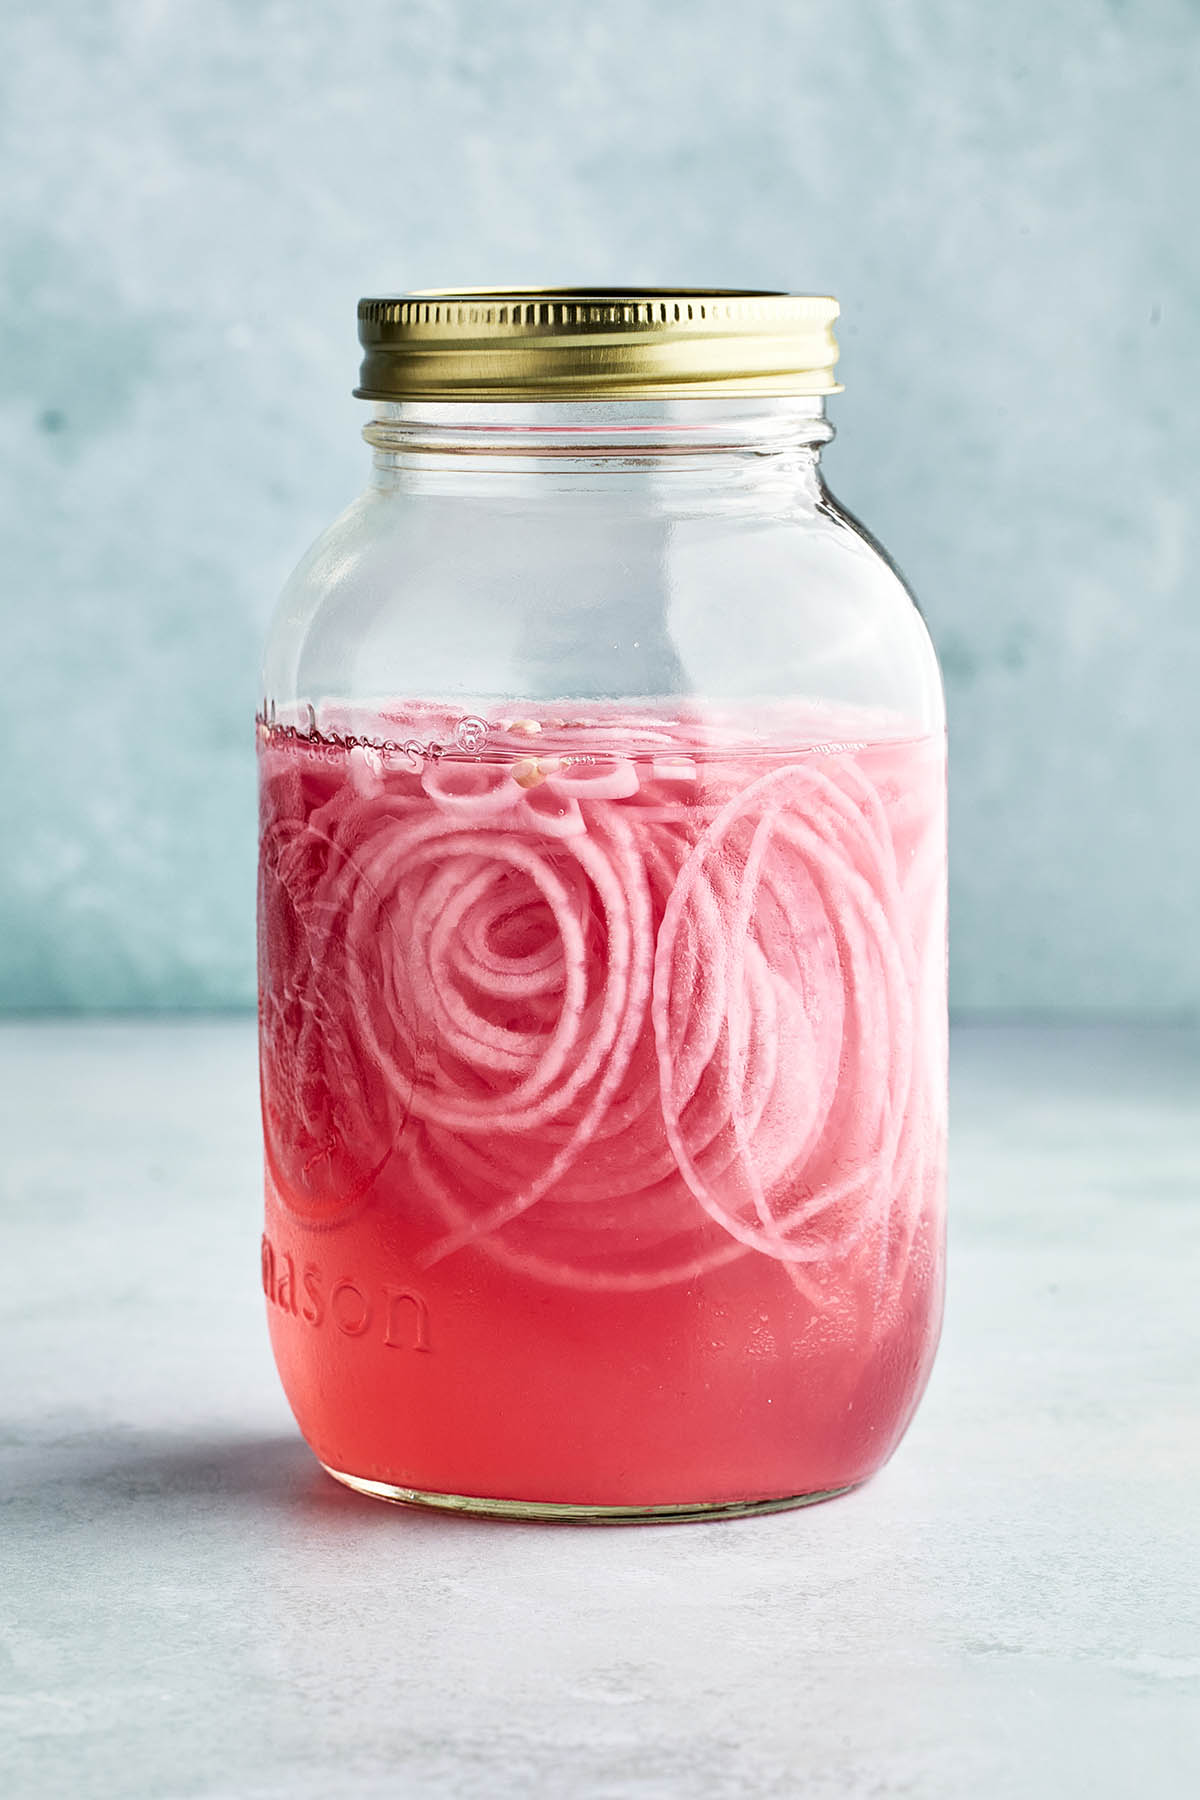
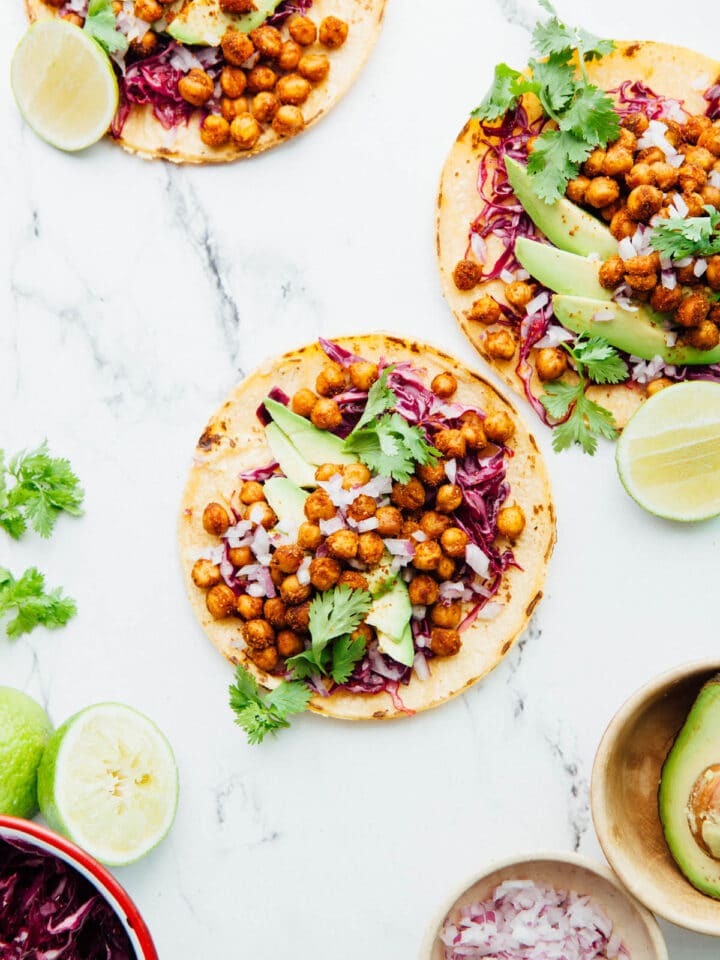
I’m excited to share how to make pickled onions with you! This pretty condiment adds sweet and tangy flavor and looks beautiful on almost any meal. I usually make a batch for tacos, but you can also use them on these sheet pan cheeseburger quesadillas, this smoked salmon platter, Mexican street corn salad, and so much more.
Making quick pickled red onions is as basic as it gets. You start with a homemade brine made from apple cider vinegar, sugar, salt, and water. This mixture is then poured over thinly sliced red onions packed in a jar. Ideally, the onions are sliced thin with a mandolin, however, if you don’t own one you can use a sharp knife.
I call them easy pickled onions while some people call them pink pickled onions or even marinated red onions. Regardless of what you call them, trust me when I say they will become a staple in your fridge that you can reach for whenever you need a little zing and pop of color on your table.
Jump to:
💞 Why You’ll Love This Recipe
✔️ Pink pickled onions are beautiful!
✔️ They will elevate even the most simple of dishes.
✔️ This is a no-cook recipe and the onions are ready in about an hour.
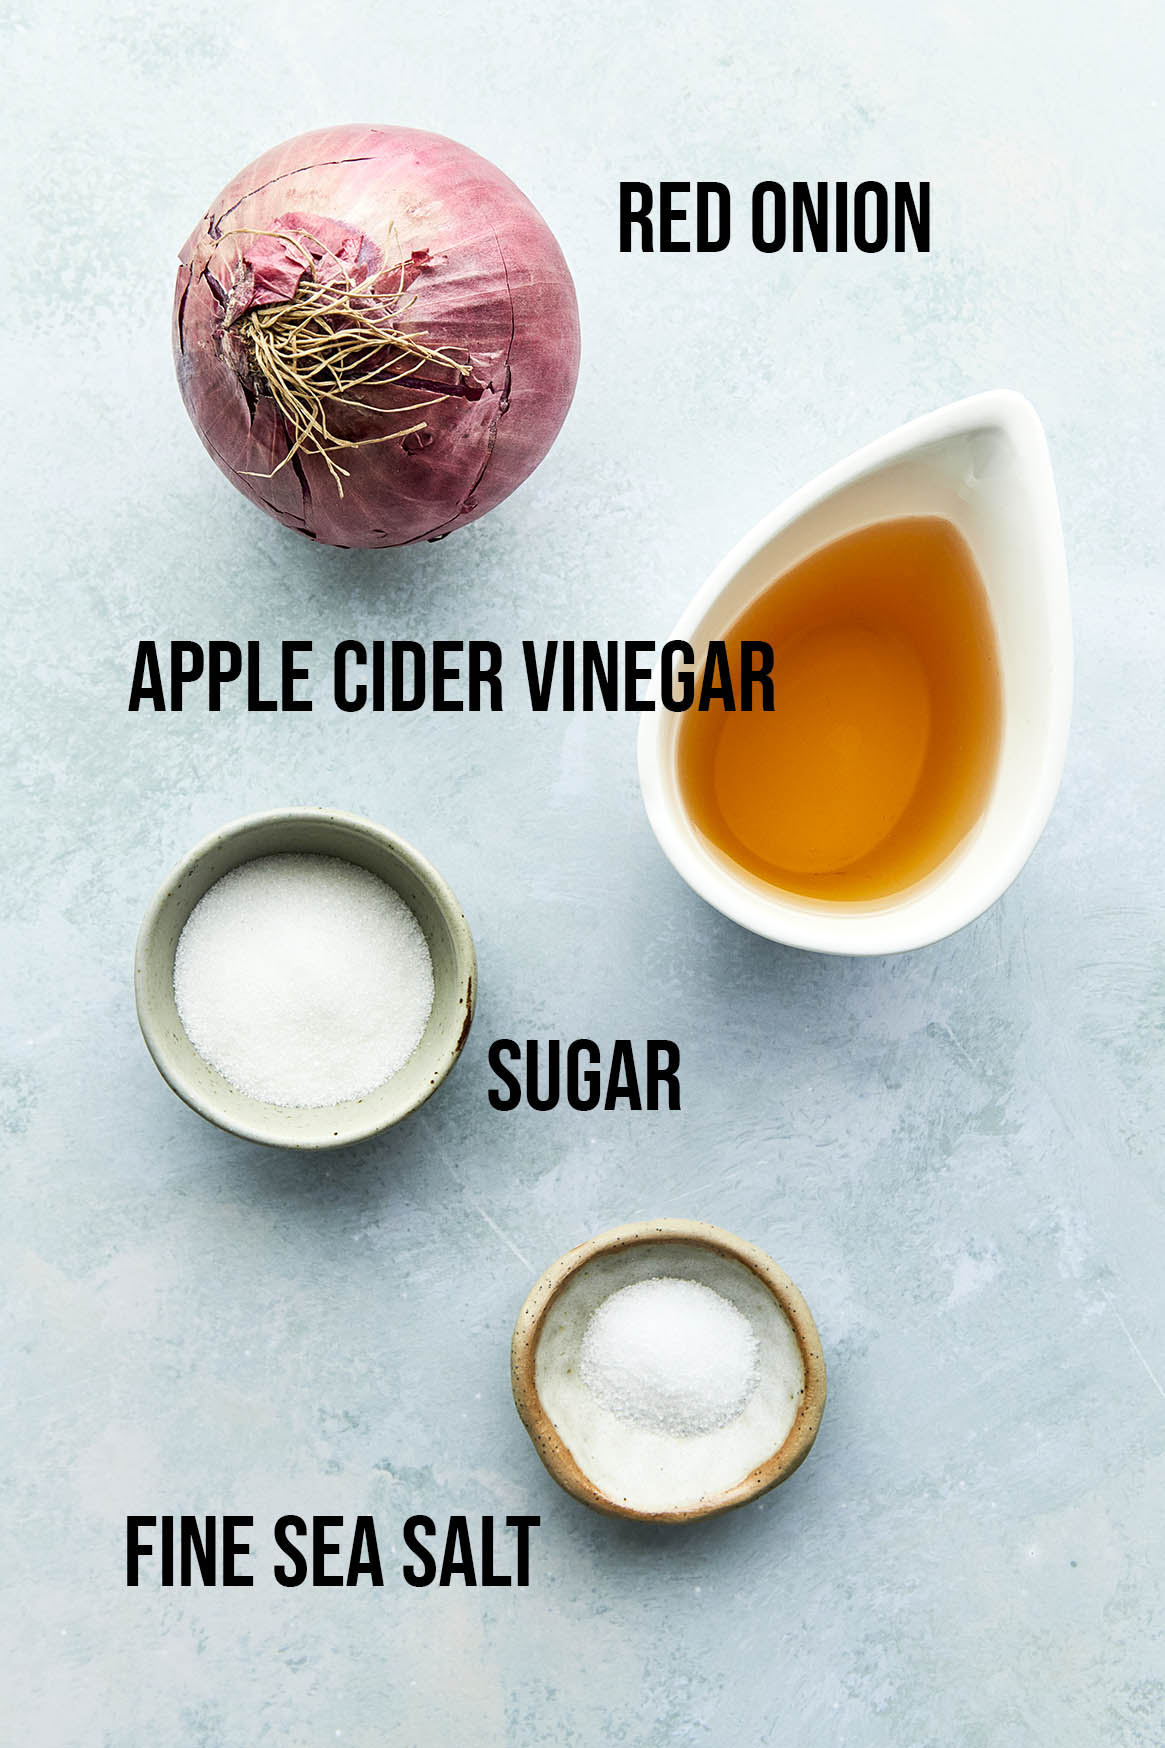
📋 Ingredients For Easy Pickled Onions
Ingredient Notes
- Red Onion: The star of this recipe, red onions provide a sweet flavor and vibrant color when pickled.
- Apple Cider Vinegar: This is the acidic component of the pickling brine, giving the onions their tangy flavor.
- Granulated Sugar: Sugar balances out the acidity of the vinegar.
- Fine Sea Salt: Sea salt is said to have a fresher, more mineral-rich flavor compared to table salt. Where table salt has a straightforward salty taste, sea salt subtly enhances the overall flavor of the pickled onions and usually results in a clearer brine.
- Boiling Hot Water: Boiling hot water helps dissolve the sugar and salt and also softens the onions to absorb the brine better.
It’s important to note when making substitutions in recipes, the texture and flavor may be slightly different. However, these substitutes are the best options if you are looking to change the original recipe.
Ingredient Substitutions
- Red Onion: If you don’t have red onions, you can use white or yellow. The flavor will be slightly different, and you won’t get the pink color, but they will still be tasty.
- Apple Cider Vinegar: White vinegar or red wine vinegar can be used as a substitute. Each will give a slightly different flavor profile to your pickled onions.
- Granulated Sugar: If you prefer, you can substitute honey or maple syrup for the sugar but keep in mind, these will add a different kind of sweetness to your pickled onions.
- Fine Sea Salt: Kosher salt, Himalayan pink salt, or table salt can be used in place of fine sea salt. Just be sure to adjust the quantity as per the saltiness.
- Boiling Hot Water: While boiling water is recommended, you can use hot tap water or even room temperature water if necessary. It will just take a bit longer for the sugar and salt to dissolve.
Use the JUMP TO RECIPE button at the top of this post, or scroll to the bottom of the post, to see the PRINTABLE recipe card with ingredient measurements and complete instructions.
👩🍳 How To Make Easy Pickled Onions
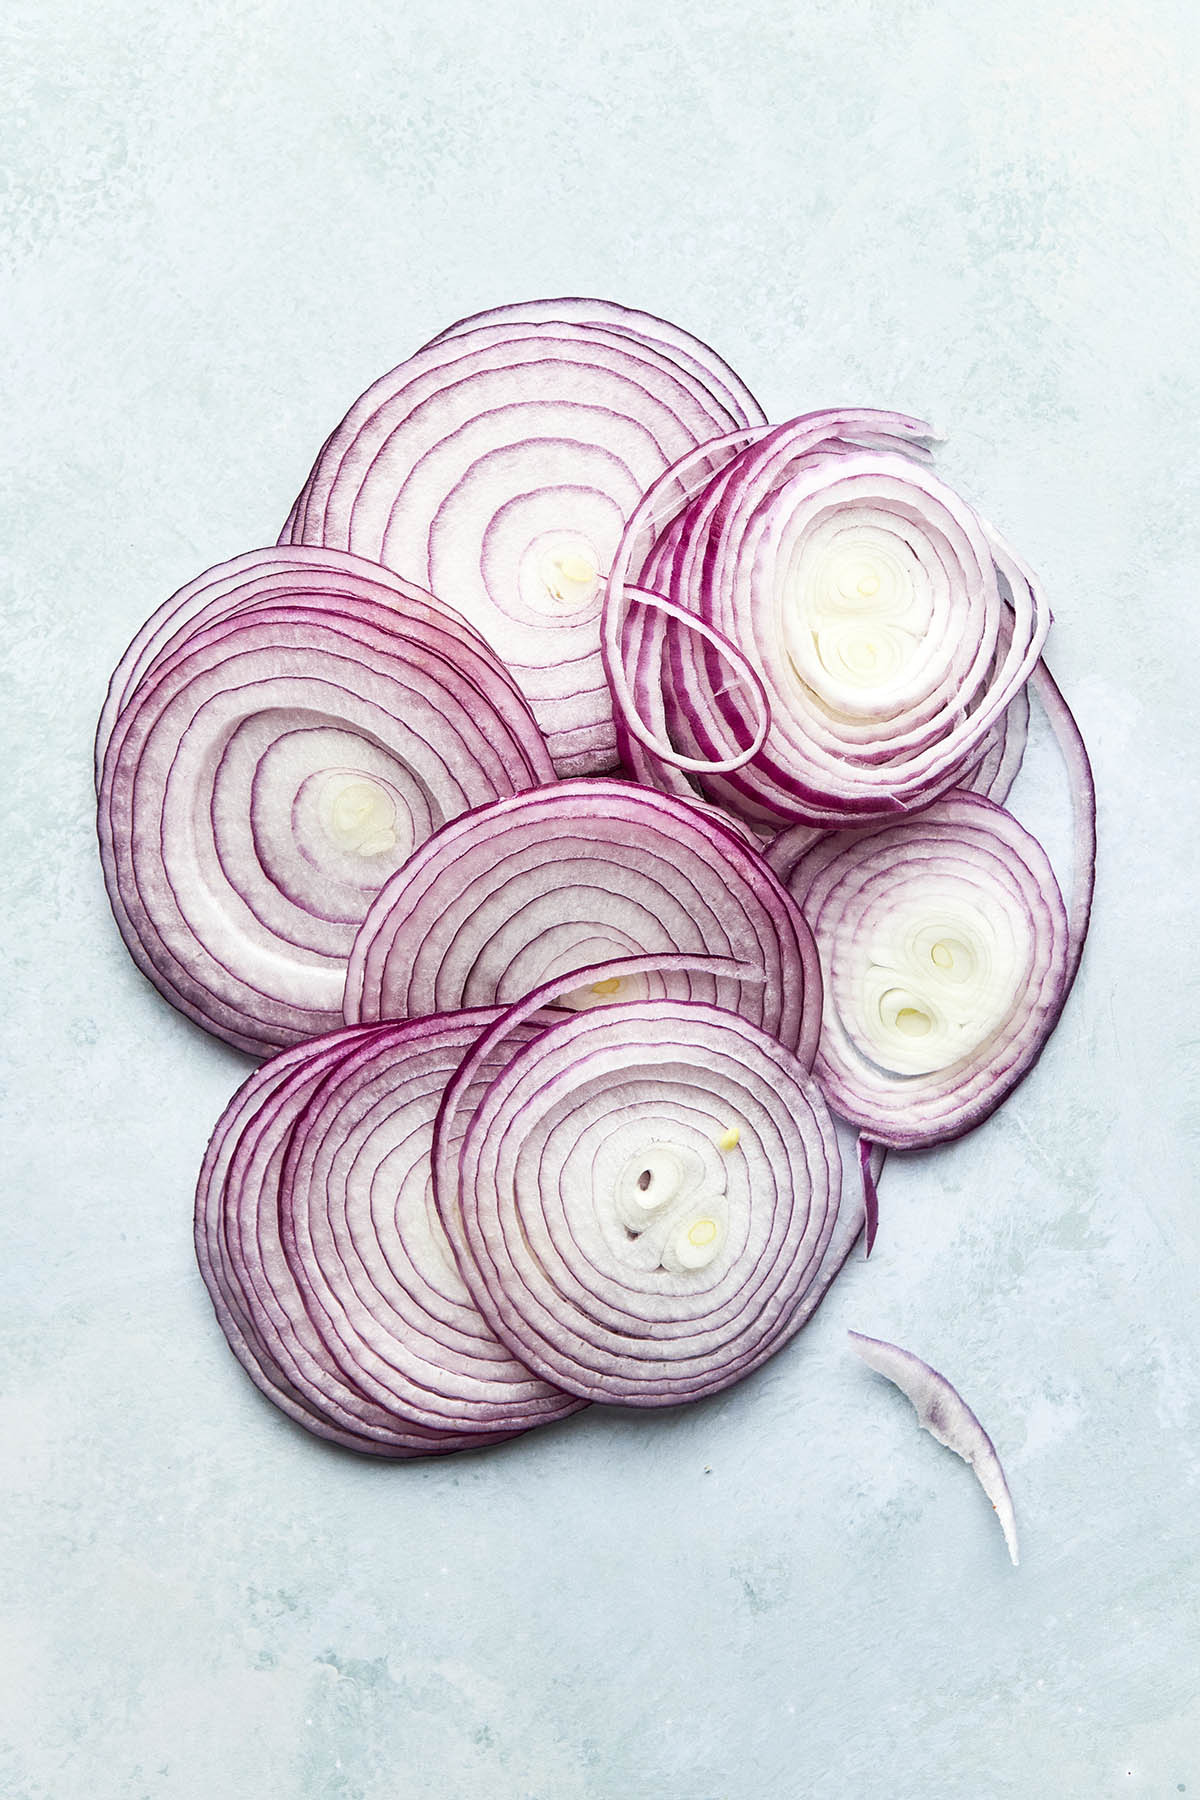
STEP 1—Peel and slice the red onion as thin as you can. I like to use a mandolin (I have the Basic Starfrit Easy Mandolin). I also have these cut-resistant gloves and I wear one any time I am slicing food on my mandolin.
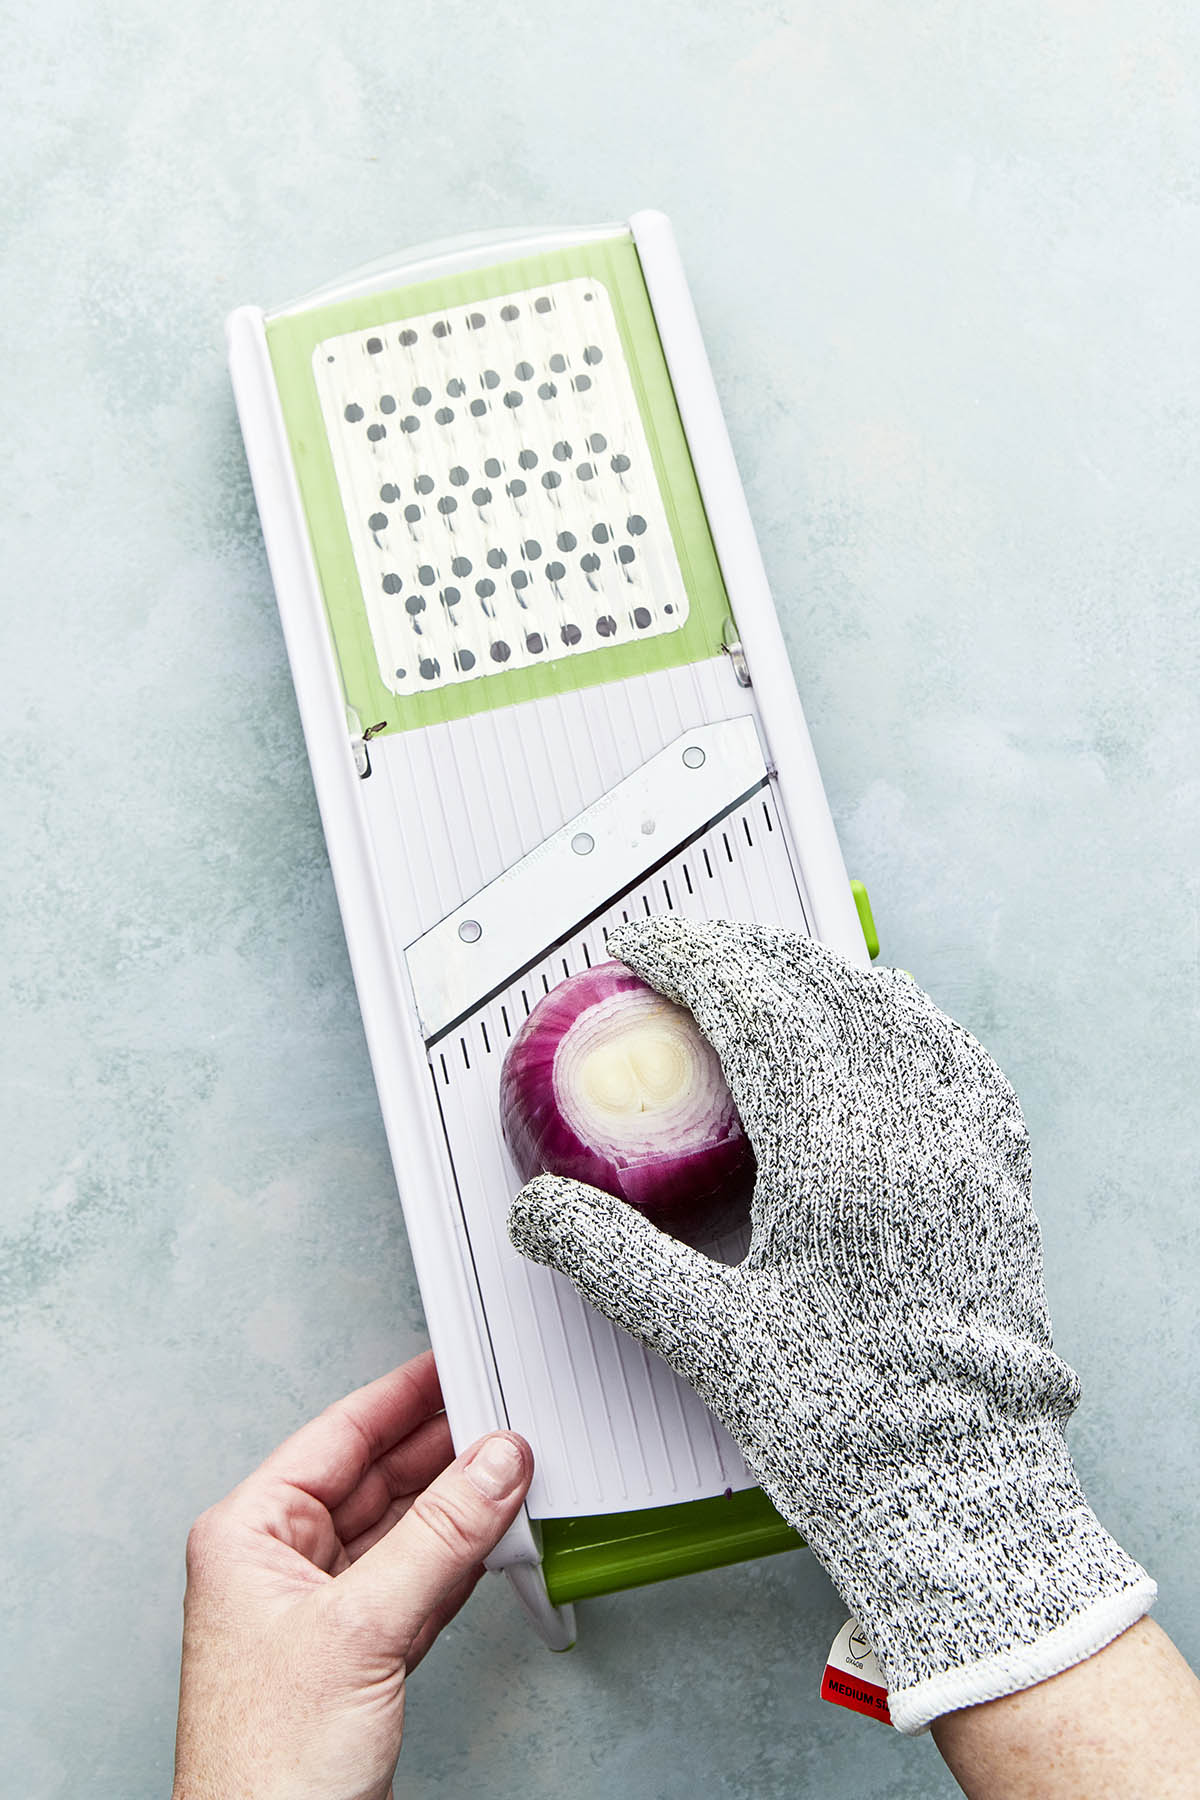
Using a mandolin really helps you get perfectly uniform slices. I highly recommend buying one if you can!
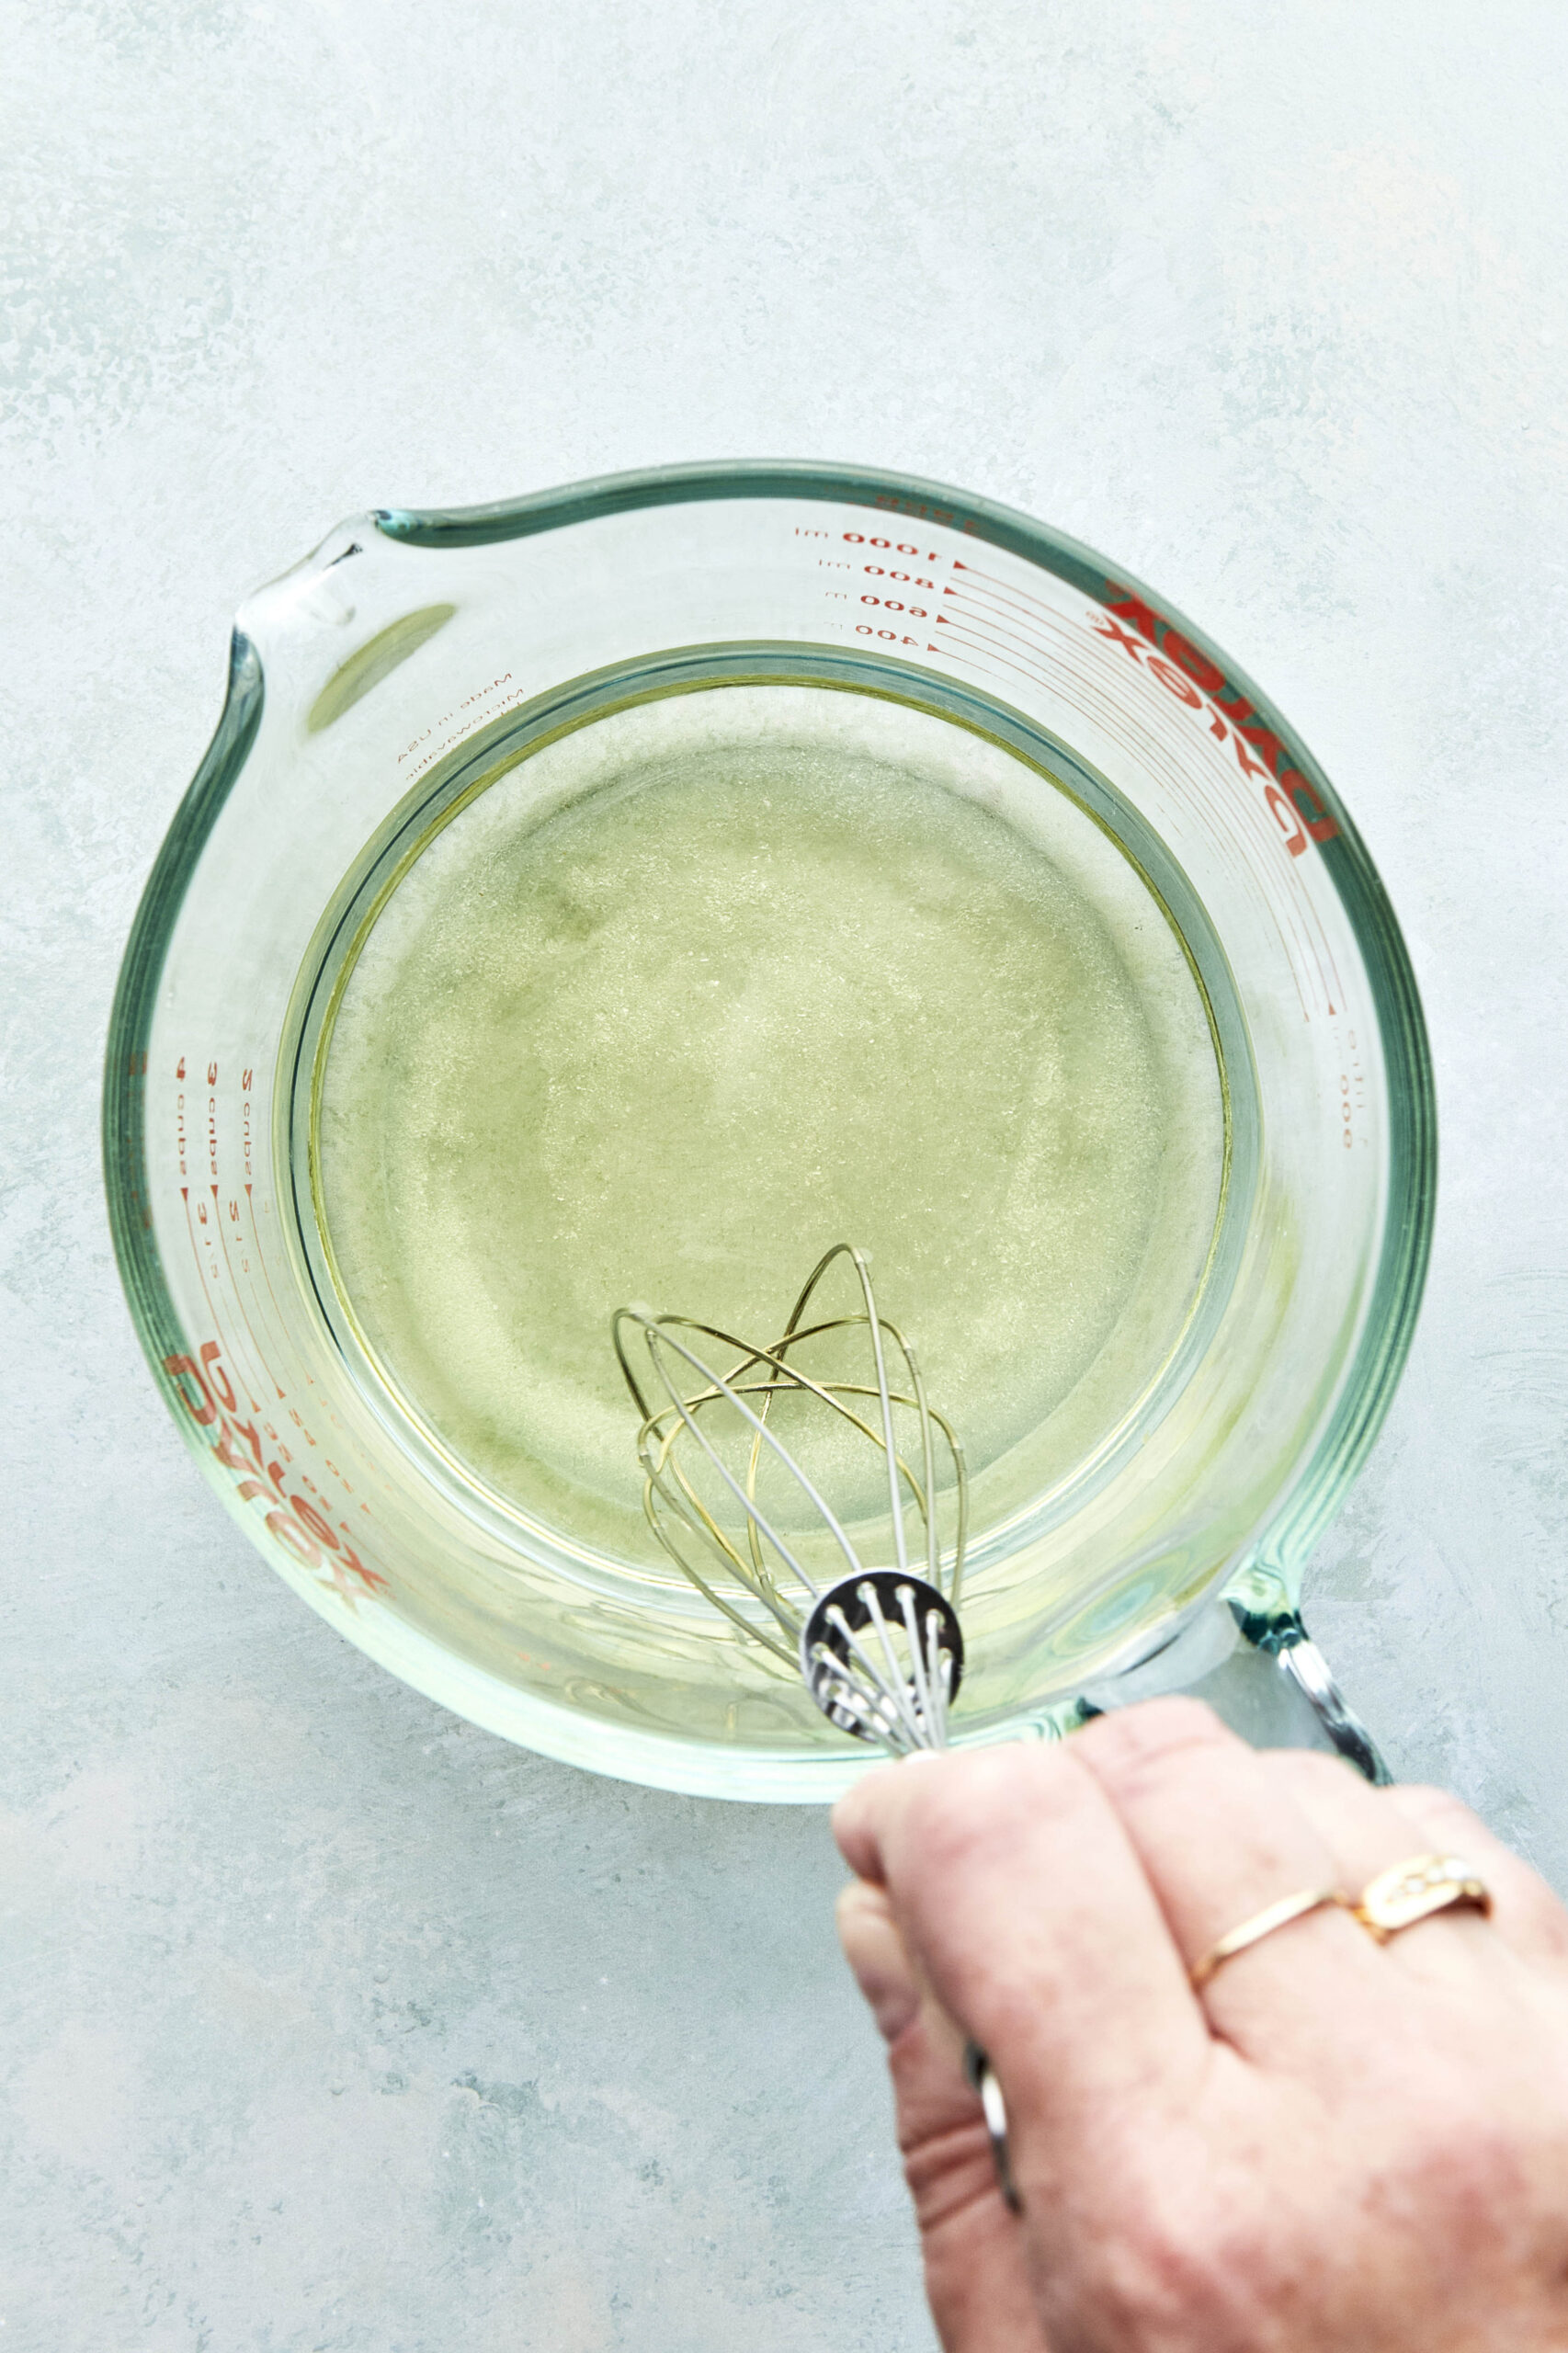
STEP 2—Whisk together the apple cider vinegar, sugar, and salt in a measuring cup or bowl with the boiling water until the sugar and salt are fully dissolved.
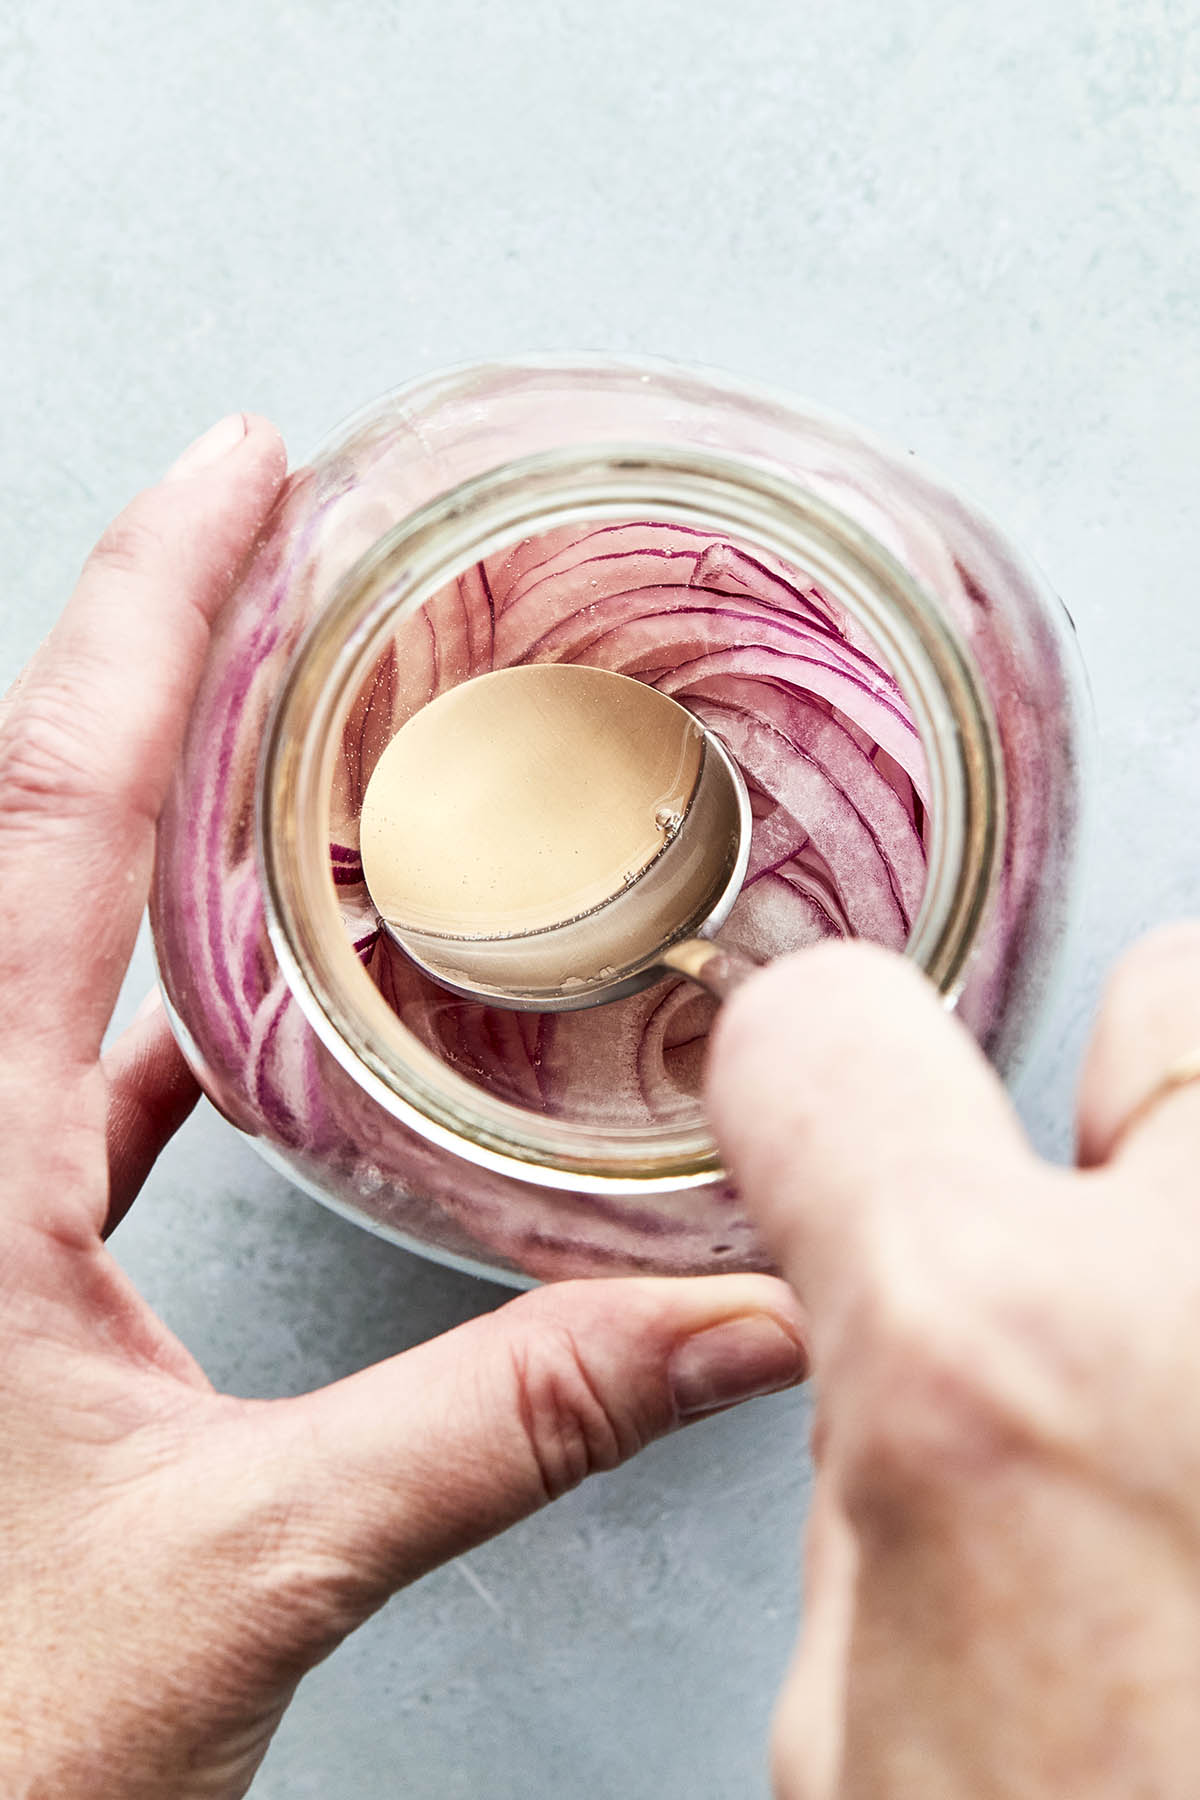
STEP 3—Place the sliced onions in a jar or container with a sealable lid. Pour the vinegar mixture over the onions, making sure they are fully submerged. If they’re not quite covered, you can press them down gently with the back of a spoon or add more water.
STEP 4—Let the onions cool to room temperature, and then seal the container and place it in the fridge. Serve with anything you like.
🗣 Expert Tips
1. For the best texture, slice your onions as thinly as possible.
2. For a well-balanced brine, make sure the sugar and salt are fully dissolved before pouring over the onions.
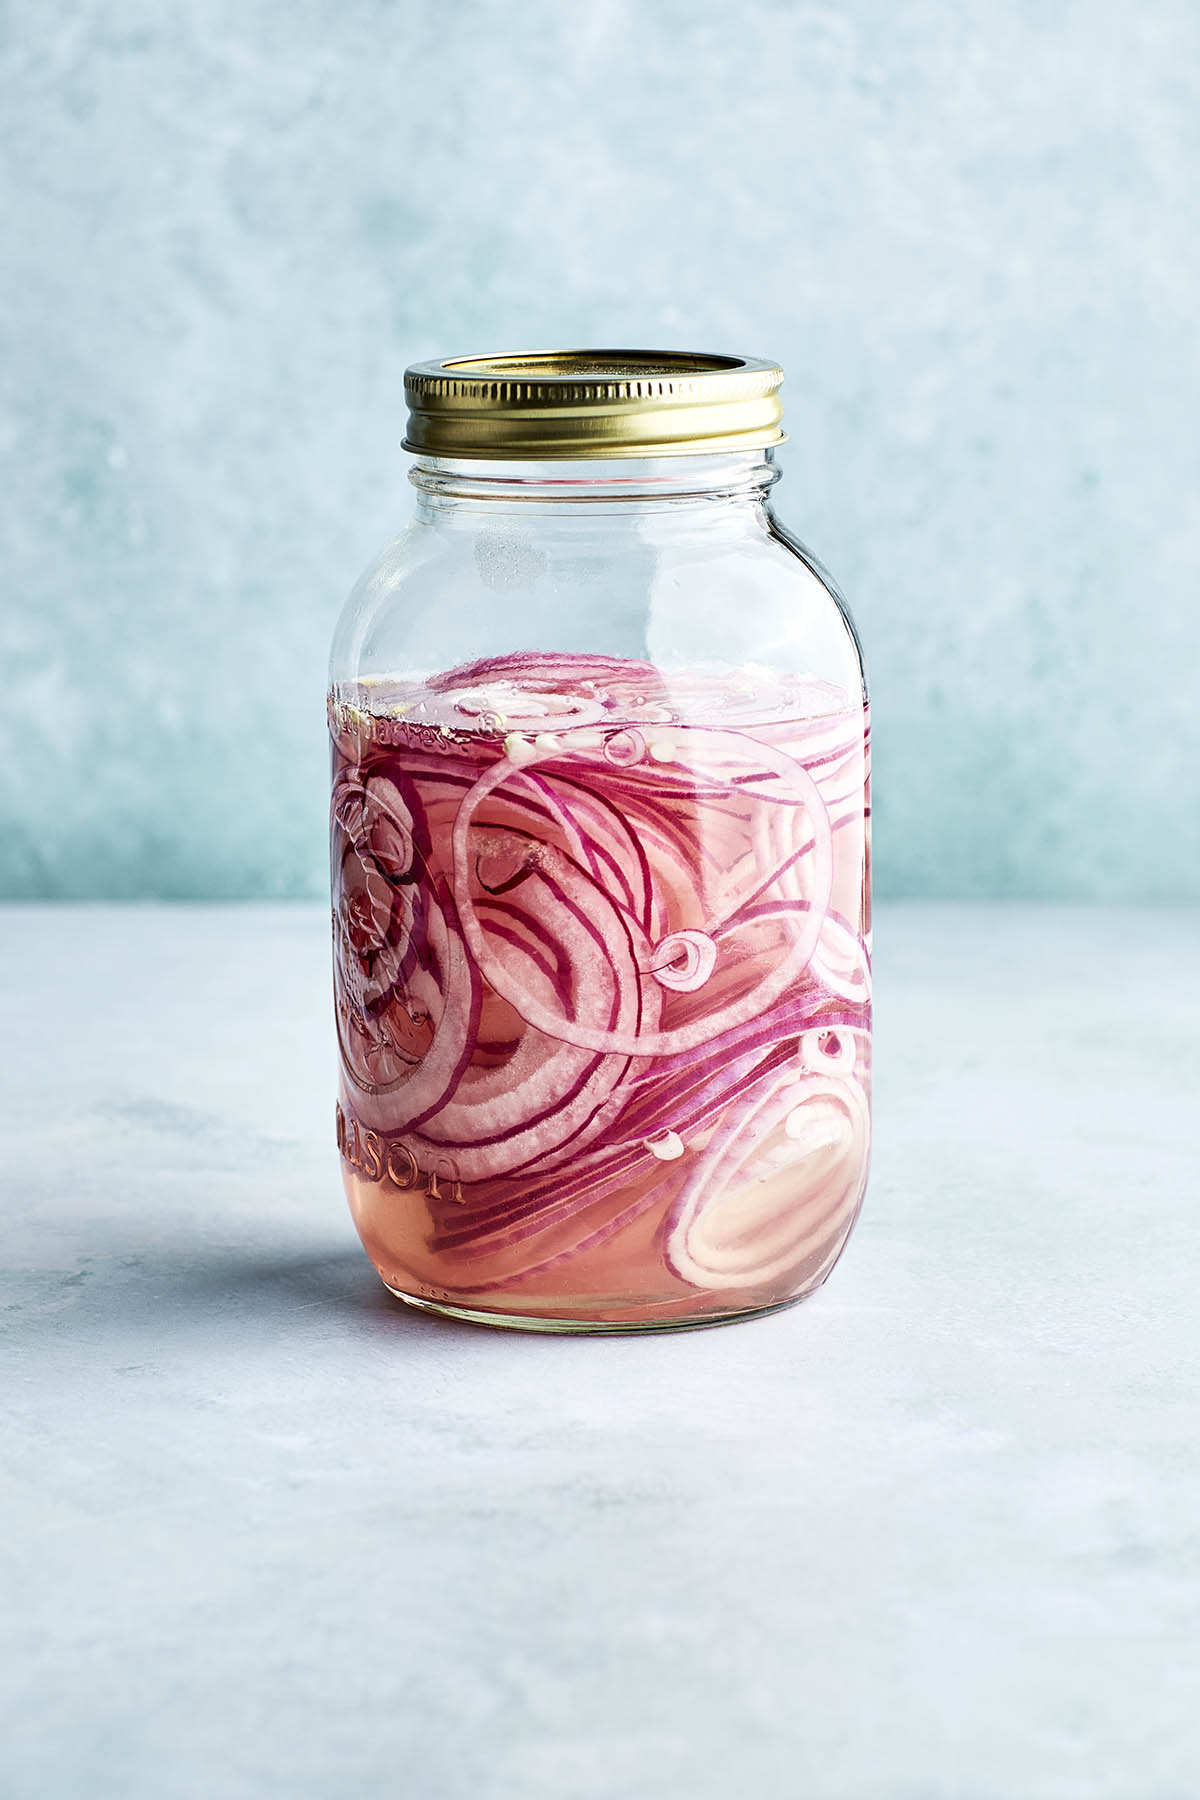
3. The onions will gradually lose their red color, and the brine will take on a lovely pink hue after about 24 hours.
📝 Recipe Notes
- Submerging the onions in the brine is crucial. The vinegar acts as a preservative and inhibits the growth of harmful bacteria. And secondly, if they’re not submerged they won’t fully absorb the flavor of the brine.
- Make sure to store your pickled onions in a tightly sealed container in the fridge. They should keep well for about two weeks.
A Note On Botulism
Botulism is a rare but serious illness caused by bacteria that can sometimes be found in improperly preserved or canned foods. That being said, the risk of botulism from homemade pickled onions is extremely low. The high acidity of the vinegar in the pickling brine creates an environment that is inhospitable to the bacteria that causes botulism. As long as your onions are submerged in the brine and sealed tightly in the fridge, they should be safe to eat within the recommended time frame (2 weeks).
🙋♀️ Recipe FAQ
Apple cider vinegar is a great choice for pickling onions. It has a mellow, fruity flavor that complements the sweetness of the onions. You can also use white vinegar or red wine vinegar, each of which will give a slightly different flavor to pickled onions.
When stored properly in a sealed Mason jar in the fridge, homemade pickled onions should last for about two weeks. Always use clean utensils when serving to prevent contamination and to extend their shelf life.
The key to crunchy pickled onions is to slice them thinly and pickle them quickly. Using boiling hot water in the brine helps to slightly soften the onions so they can absorb the brine faster but still retain their crunch.
💗 Use Pink Pickled Onions With These Recipes
Did you make these easy pickled onions? Please rate the recipe and tell me how it went in the comments below. Also, stay in touch with me on Instagram, Facebook, and Pinterest to see more delicious food and recipes!
Printable Recipe Card
Easy Pickled Onions
Special Equipment
- Sharp knife
- Mandolin slicer optional
- Measuring cups and spoons or digital kitchen scale
- Small whisk optional
- Large glass jar with lid
Ingredients
- 1 medium red onion
- ½ cup apple cider vinegar
- 1 tablespoon granulated sugar
- ¾ teaspoon fine sea salt
- 1 cup boiling water
Instructions
- Peel and slice the red onion as thin as you can. Using a mandolin slicer can help you get really thin, uniform slices.
- Whisk together the apple cider vinegar, sugar, and salt in a measuring cup or bowl with the boiling water until the sugar and salt are fully dissolved.
- Lightly pack the sliced onions in a large glass jar or container with a sealable lid. Pour the vinegar mixture over the onions, making sure they are fully submerged. If they're not quite covered, you can press them down with a spoon or add more water.
- Let the onions cool to room temperature, then seal the container and place it in the fridge. They'll be ready to eat after about an hour but will be better after a day or two. They should keep in the fridge for about 2 weeks.
Recipe Notes
- For the best texture, slice your onions as thinly as possible.
- Make sure to store your pickled onions in a tightly sealed container in the fridge. They should keep well for about two weeks.

