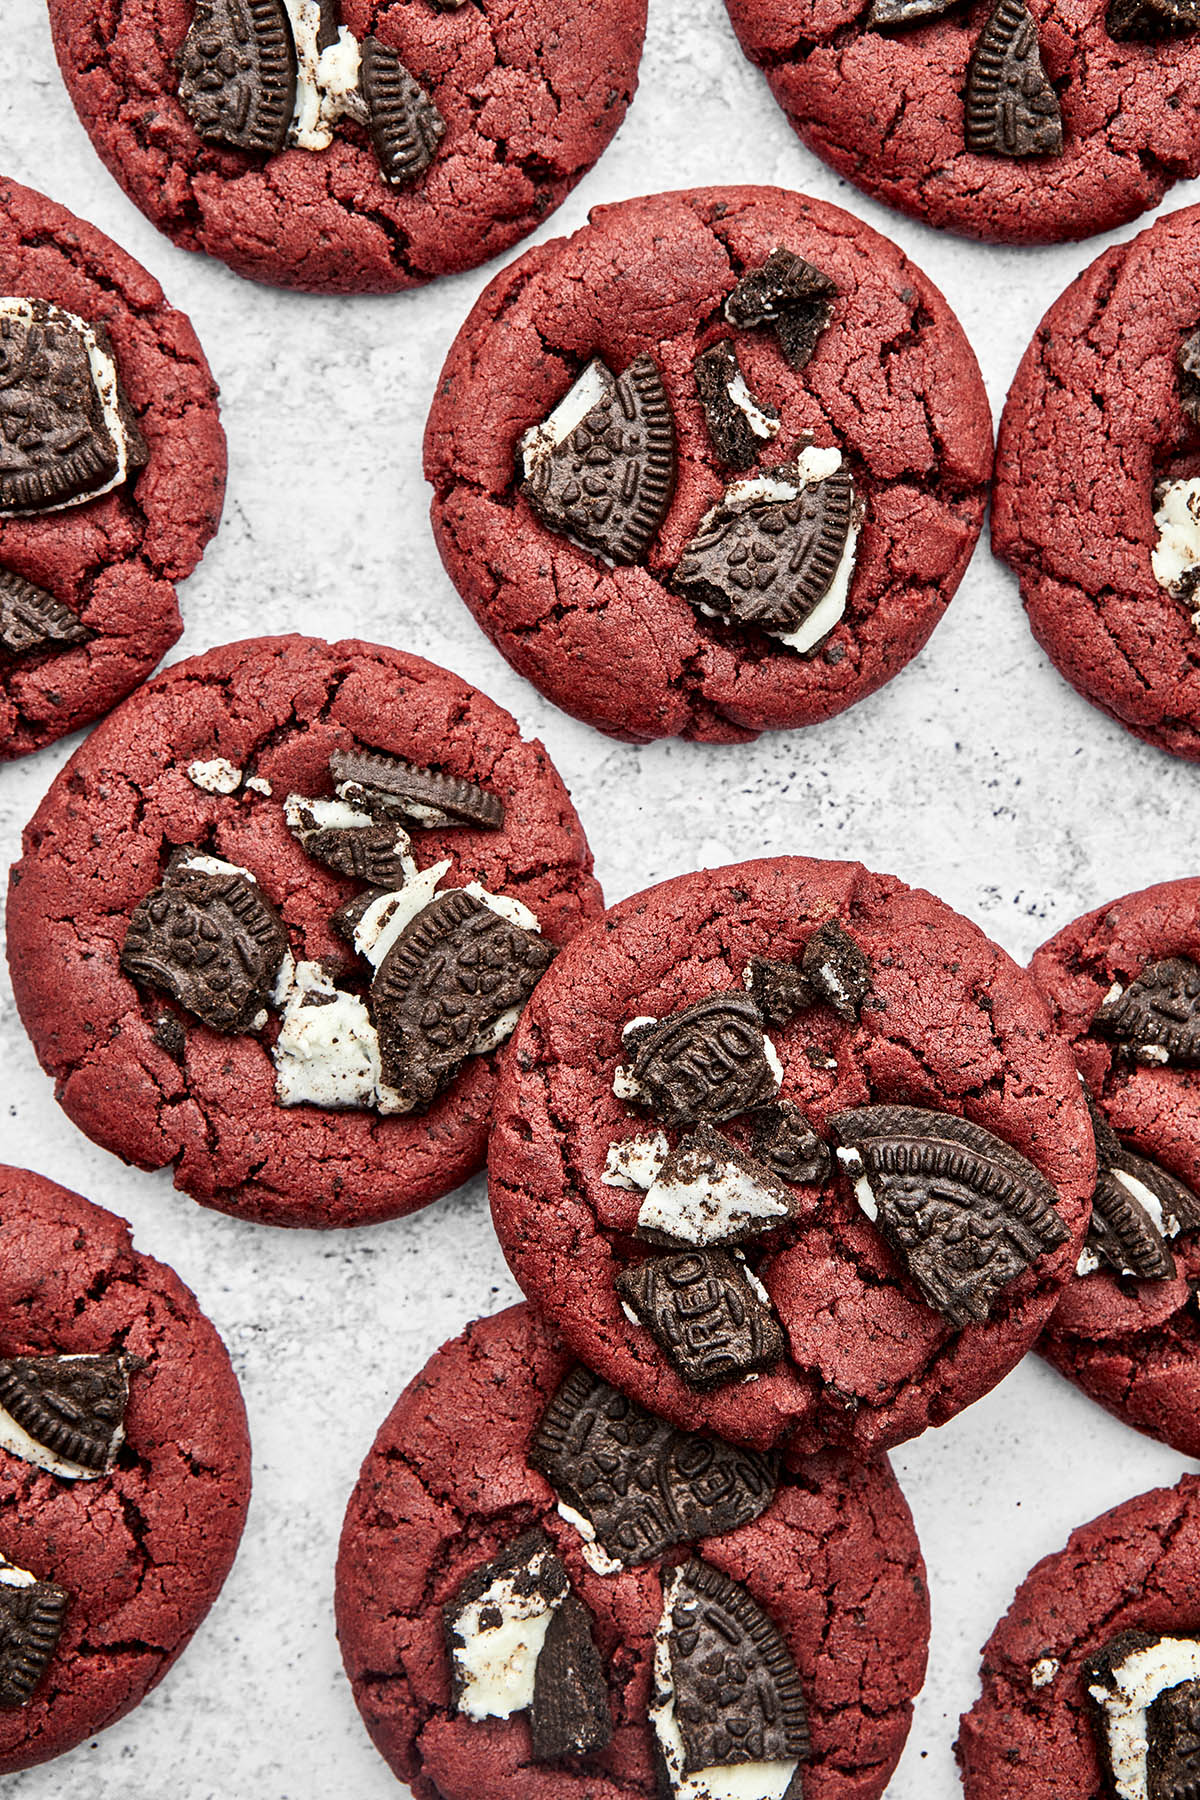
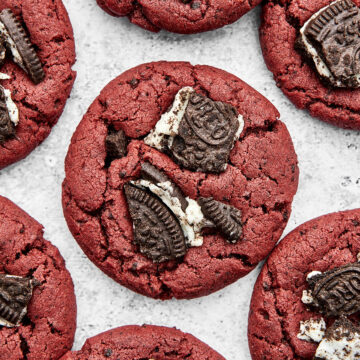
Oreo Red Velvet Cookies
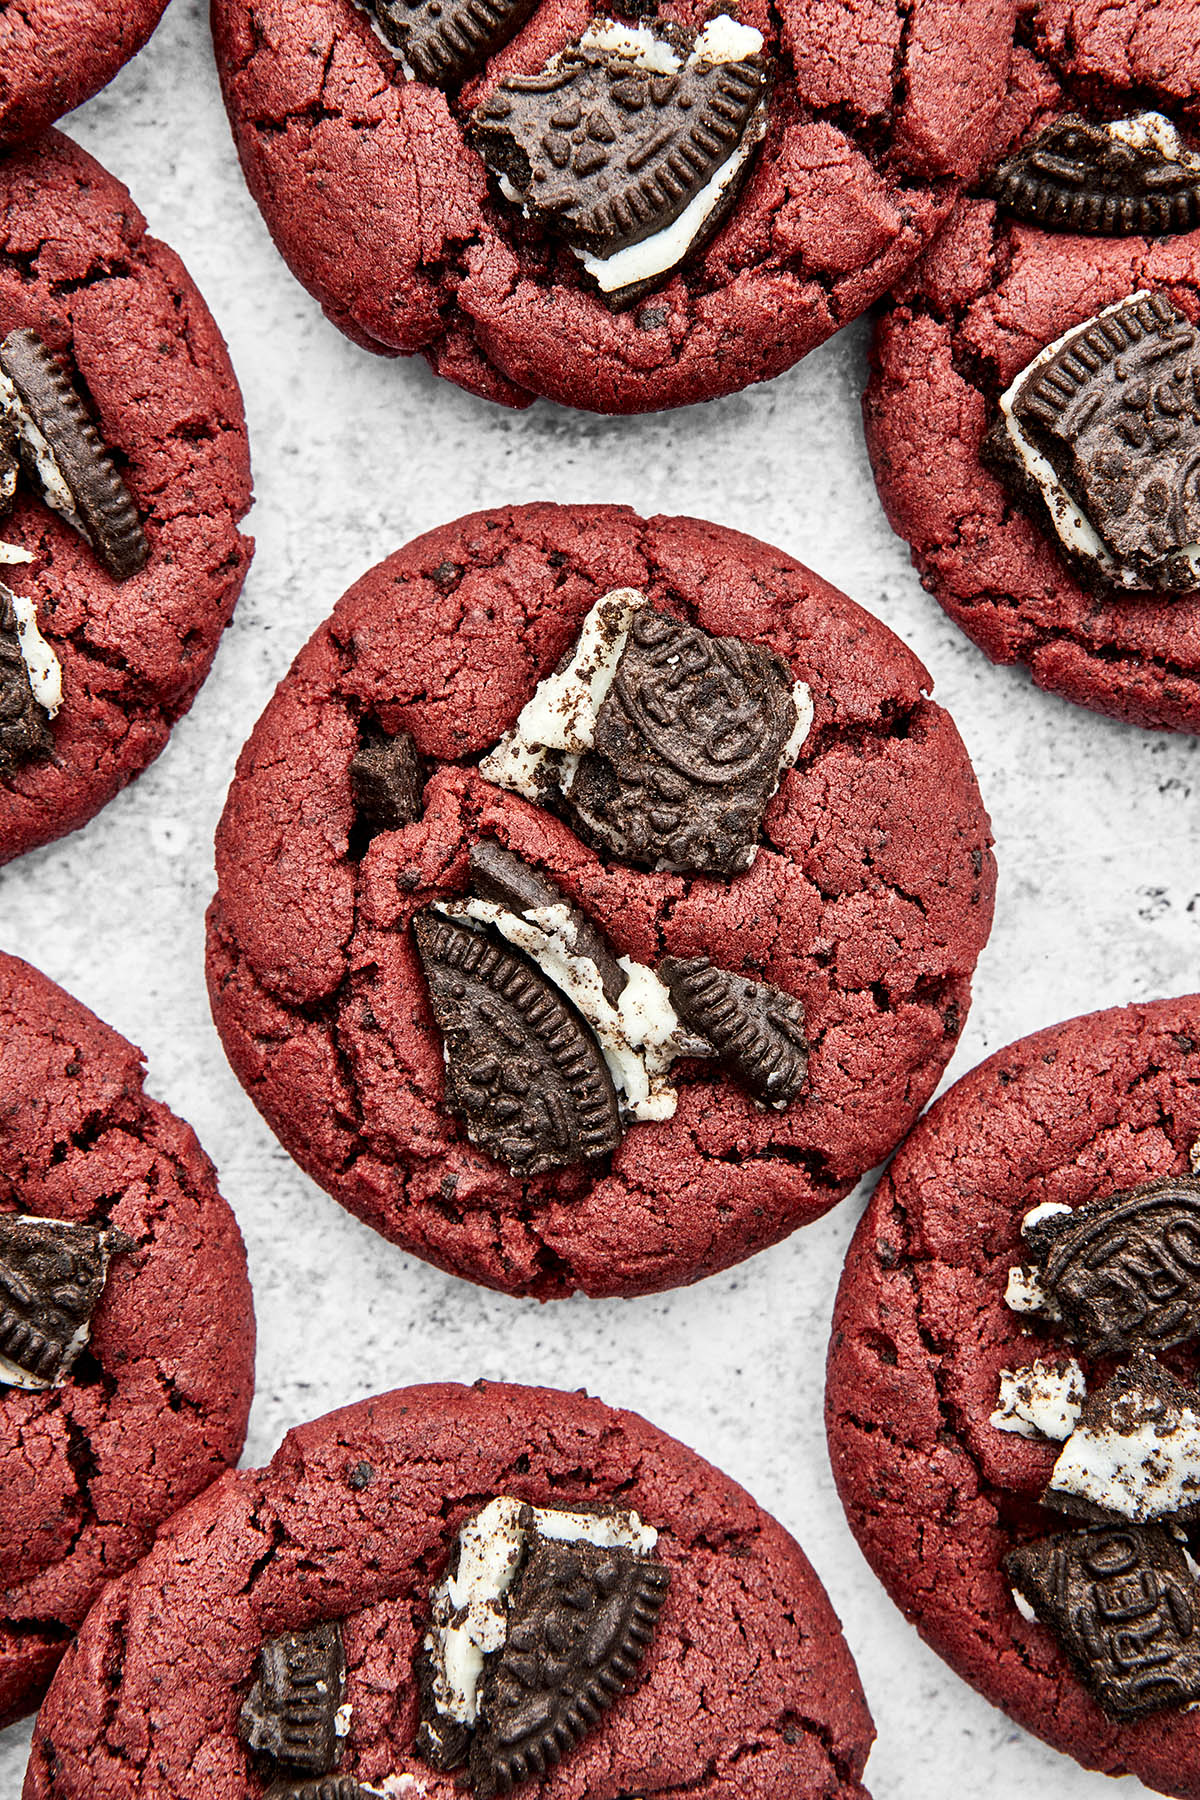
Today, I’m sharing my recipe for Oreo red velvet cookies, a blend of classic flavors with a twist. The nostalgic flavor of Oreo cookies, combined with cocoa powder, no-taste red food coloring, and buttermilk powder, elevates a traditional chocolate chip cookie into something special.
Red velvet cake, the inspiration behind these cookies, has a rich history in the U.S. The “velvet” in its name originally referred to the smooth, soft texture of the cake, achieved through cocoa powder and buttermilk. During World War II, bakers used beet juice to enhance the color of their cakes, leading to the vibrant hue we associate with red velvet today. Over time, this cake became a celebrated American dessert known for its distinctive color and luxurious taste.
For an even truer red velvet experience, make a batch of this whipped cream cheese frosting and spread it between two of the Oreo red velvet cookies to make cookie sandwiches.
Jump to:
Why You’ll Love This Recipe
✔️ This recipe uses everyday pantry staples, making it accessible to anyone.
✔️ Oreo red velvet cookies are ideal for various occasions, especially Valentine’s Day.
✔️ These cookies are chewy, crunchy, salty, and sweet, so everything you want in a cookie.
Ingredients For Oreo Red Velvet Cookies
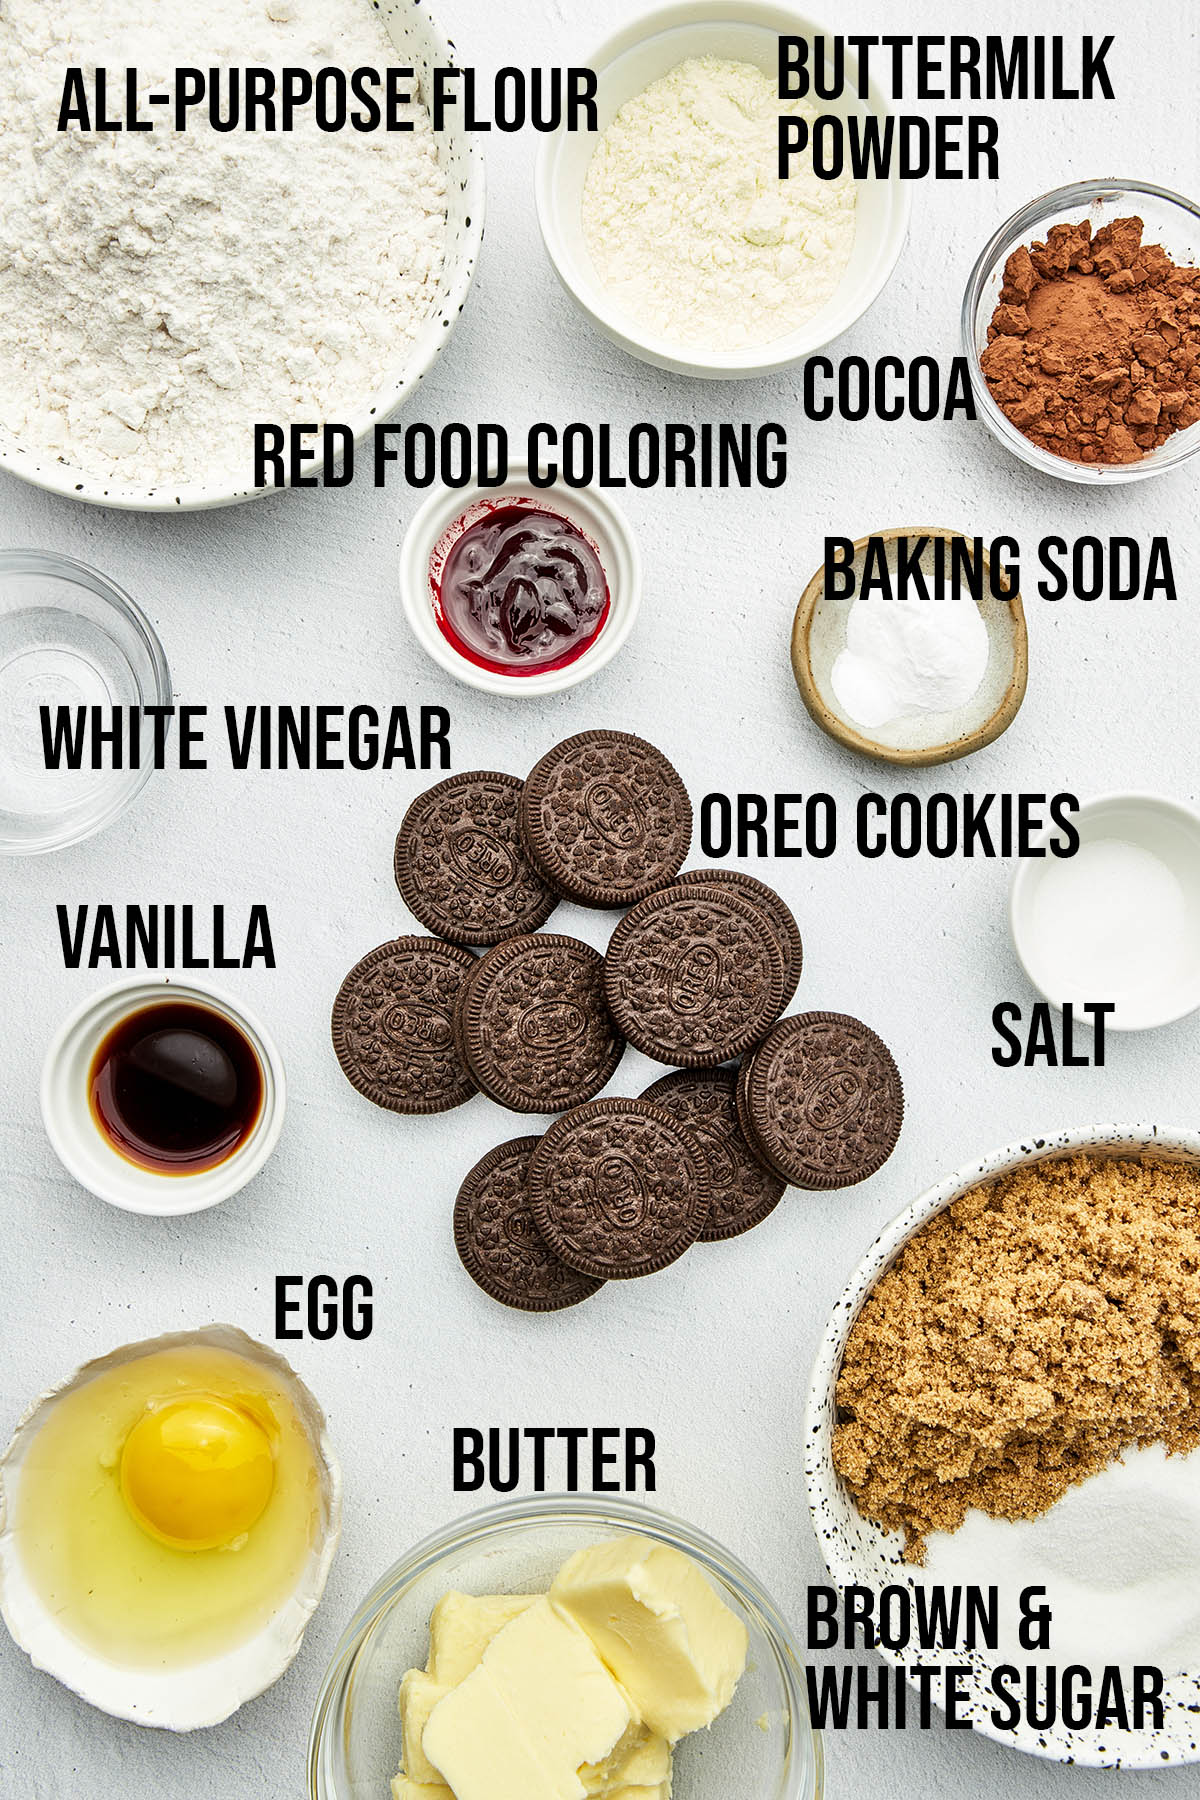
Ingredient Notes
- Buttermilk Powder: Contributes to the tanginess and tender texture of the cookies.
- Cocoa Powder: Offers the classic red velvet flavor and deep chocolate tones.
- Red Gel Food Coloring: Gives the cookies their vibrant red velvet color. I find gel colors easier to control than liquid drops.
- White Vinegar: Reacts with baking soda for leavening and enhances the red color.
It’s important to note that when making substitutions in recipes, the texture and flavor may be slightly different. However, these substitutes are the best options to change the original recipe.
Ingredient Substitutions
- Oreo Cookies: Any chocolate sandwich cookie can be used as a substitute.
- Red Gel Food Coloring: Beet powder or natural red food coloring can be used.
- Vanilla Extract: Almond extract can be used for a different flavor profile.
- White Vinegar: Apple cider vinegar can be used as a substitute.
Recipe Variations
Add any of the following ingredients for a twist on this Oreo red velvet cookie recipe:
- Chocolate Chips: Mix 1 cup of white or dark chocolate chips for extra chocolatey cookies.
- Coconut: Include ½ cup of shredded coconut.
- Mocha Flavor: Combine up to one tablespoon of espresso powder with the dry ingredients for a coffee-infused taste.
- Nuts: Add 1 cup of chopped pecans or almonds with the crushed Oreos.
- Peppermint Extract: Add ½ teaspoon of peppermint extract to the dough for a minty flavor.
- Salted Caramel: Drizzle cooled cookies with caramel and sprinkle a pinch of sea salt on top.
Use the JUMP TO RECIPE button at the top of this post, or scroll to the bottom to see the PRINTABLE recipe card with ingredient measurements and complete instructions.
How To Make Oreo Red Velvet Cookies
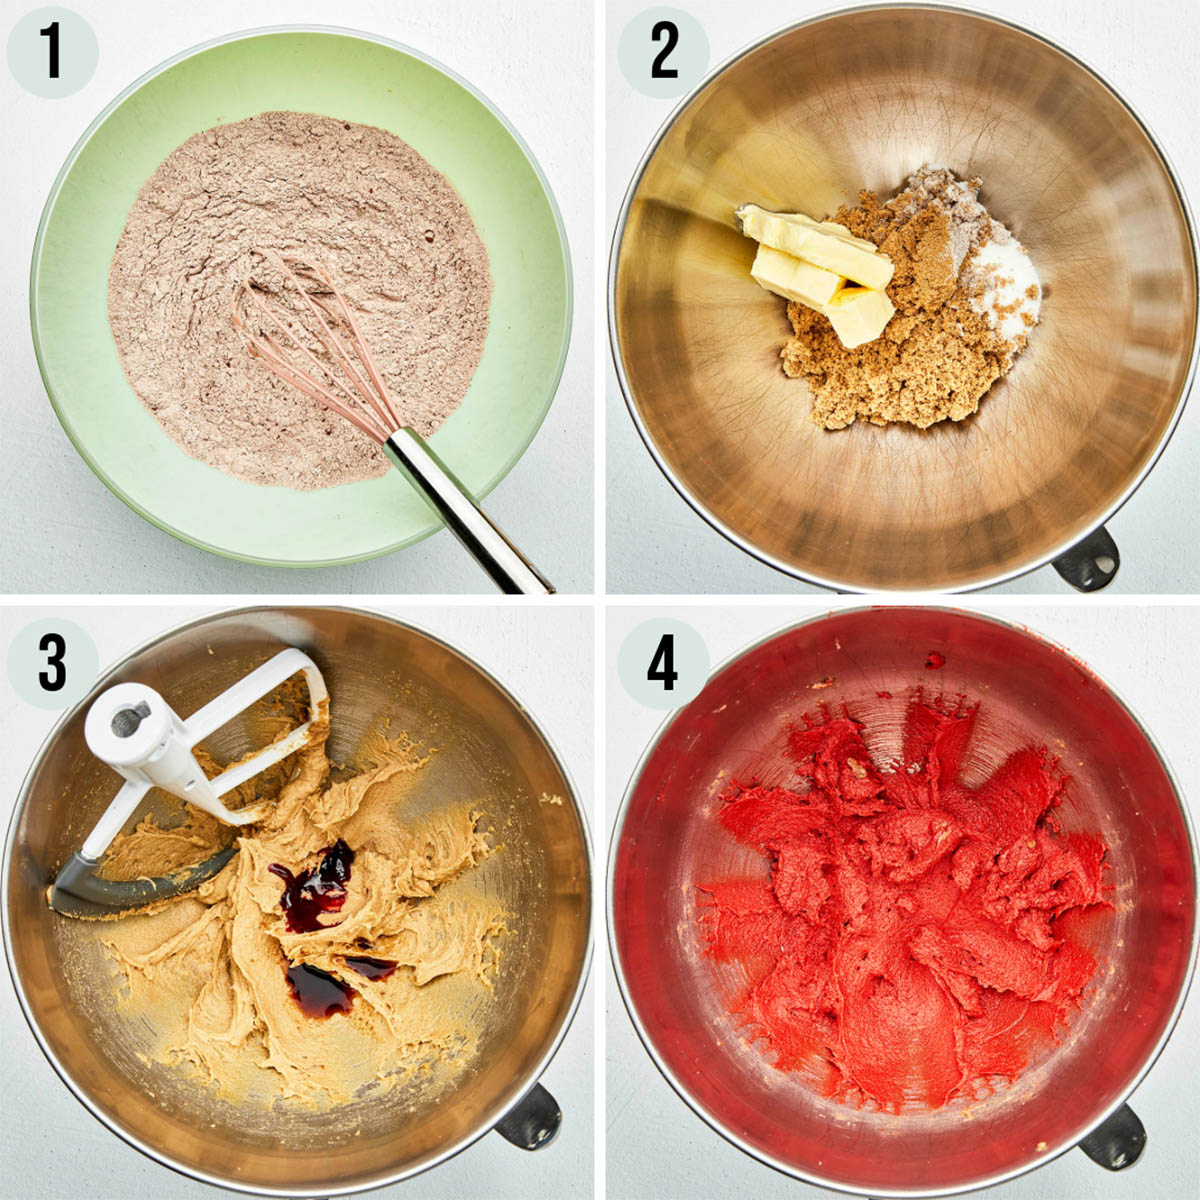
STEP 1: Roughly chop half of the Oreo cookies. Place the remaining Oreos in a zipper-top bag and crush them to a powder using a rolling pin. Set aside. Whisk the flour, buttermilk powder, cocoa powder, baking soda, and salt in a mixing bowl. Set aside.
STEP 2: Beat the butter, brown, and granulated sugars until creamy.
STEP 3: Add the egg and continue mixing until the mixture becomes light and fluffy, about 1 minute. Add the vanilla and red food coloring and mix.
STEP 4: The cookie batter should be a vibrant red color.
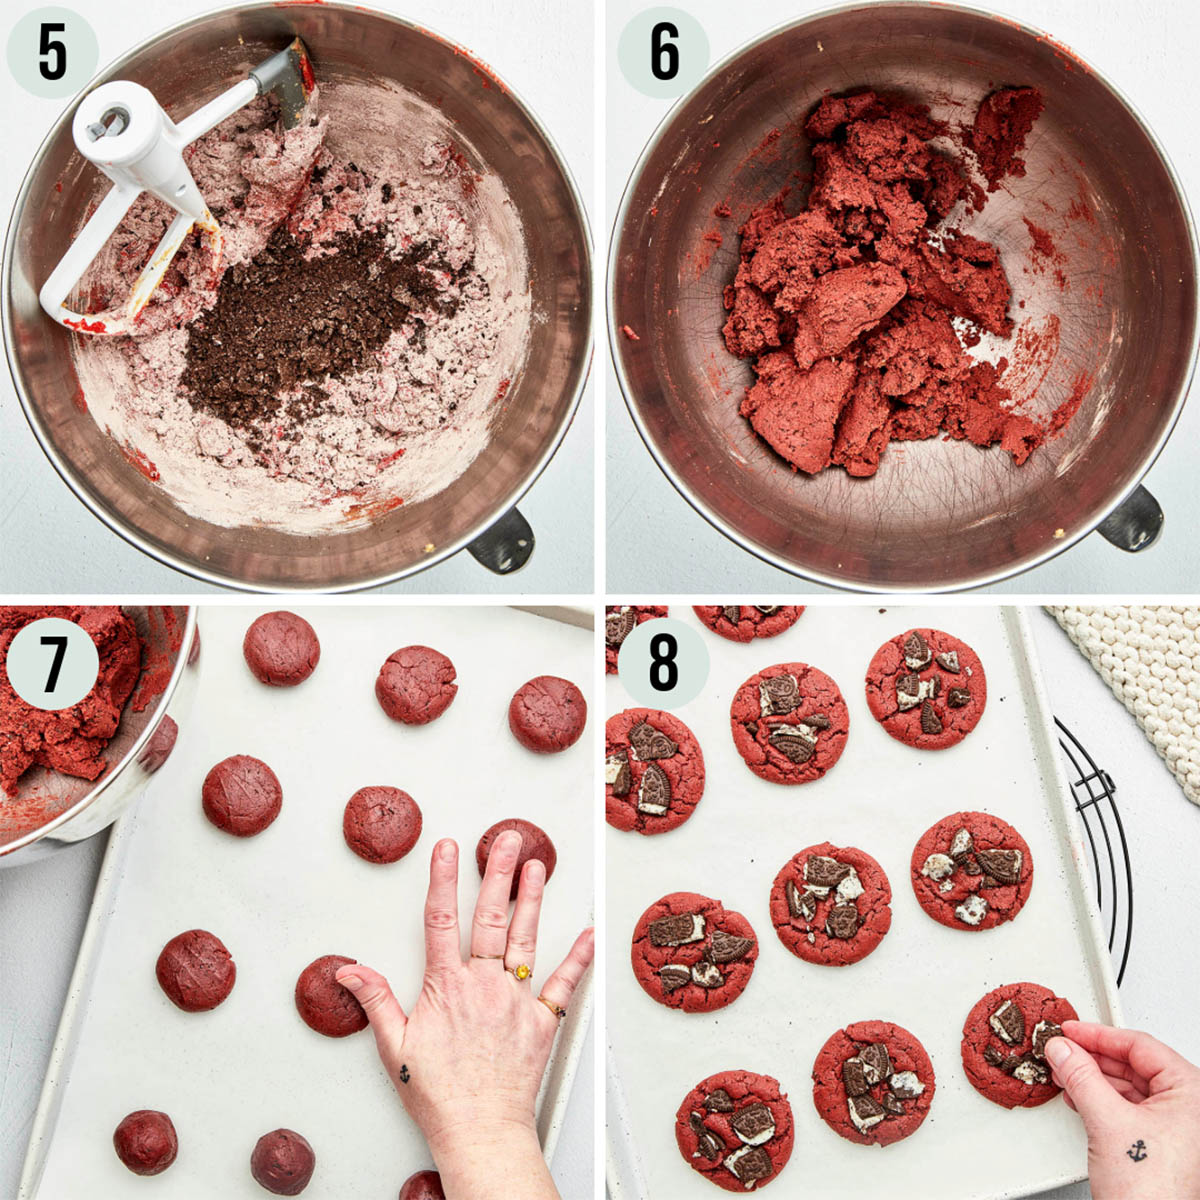
STEP 5: Add the flour mixture the the mixing bowl. Mix on low speed until the flour is about halfway combined. Add the crushed Oreos from the zipper-top bag to the bowl.
STEP 6: Continue to mix the cookie dough on low speed until it gathers together and no streaks of flour remain.
STEP 7: Portion the dough into 24 pieces, approximately 30 grams each. Use your hands to roll each portion into a smooth ball. Place the cookies on two baking sheets. Lightly wet the palm of your hand and press gently to flatten each ball.
STEP 8: Place the cookies in the oven and bake for 10 minutes. Transfer to a wire rack and immediately (and carefully) press the chopped Oreo pieces randomly on top of the hot cookies. Cool before serving.
Safety Note: Adding Oreo Pieces To Hot Cookies
When placing the chopped Oreos on the cookies, handle this step with care to avoid burns. The baking sheet and the cookies will be hot, so please follow these safety tips:
- Use Oven Mitts: Always wear oven mitts when handling the hot baking sheet. This will protect your hands from the oven and baking sheet heat.
- Quick and Careful: Work swiftly but cautiously when adding the chopped Oreos to the cookies. This reduces the time your hands are near the hot surface.
- Use a Utensil: Consider using a utensil like tongs or a fork to place the chopped Oreos onto the cookies. This approach keeps your hands at a safer distance from the heat.
- Avoid Overreaching: Pull the baking sheet out of the oven (using oven mitts) to safely access all the cookies. To prevent burns, avoid reaching into the oven.
- Steady Surface: Place the baking sheet on a stable, heat-resistant surface while adding the Oreos. Avoid doing this with the baking sheet in your hand or on an unstable surface.
These precautions will help ensure your baking experience is both enjoyable and safe.
Expert Tips
1. I buy buttermilk powder at my local bulk store. Buttermilk is one of the main characters in red velvet cakes, and here it helps tenderize the cookies.
2. Forming the dough into balls and gently flattening them before baking helps control the spread and shape of the cookies.
3. These cookies are meant to be slightly underbaked in the center to achieve a chewy texture. They will firm up slightly as they cool.
Recipe Notes
- Room-temperature ingredients will blend more evenly into the batter, resulting in a consistent texture throughout the cookies.
- Use a cookie scoop or scale to ensure your cookies are all the same size for evenly baked cookies.
- When mixing the wet and dry ingredients together, run the mixer just until the flour is just incorporated. Overmixing can lead to tough cookies.
Storage
- Store baked cookies in an airtight container at room temperature. They will stay fresh for up to 5 days.
- You can freeze the cookie dough balls for up to 3 months. Bake them straight from the freezer. Note that they may need an extra minute or two in the oven.
- Fully cooled cookies can be frozen in an airtight container, separated by layers of parchment paper, for up to 3 months. Thaw at room temperature before serving.
Recipe FAQ
Red velvet has a unique taste that combines the rich flavors of cocoa with a slight buttermilk tanginess, all enveloped in a mild vanilla essence. It’s not as chocolaty as traditional chocolate cake or cookies, but it has a distinct, subtly sweet cocoa flavor.
Buttermilk powder is the dehydrated form of buttermilk. It’s used in baking recipes to add a tangy flavor and tender texture without the need for liquid buttermilk, making it convenient for recipes where liquid ratios are crucial. In Oreo red velvet cookies, buttermilk powder helps to replicate the slight tanginess and soft texture characteristic of red velvet cakes, while also making the recipe more shelf-stable and easier to manage.
Traditionally, the red color in red velvet cakes and cookies came from a reaction between cocoa powder and acidic ingredients like buttermilk and vinegar, which can naturally tint the batter a reddish-brown hue. However, to achieve the bright, iconic red velvet color seen in modern recipes, food coloring is often used. No-taste red food coloring is specifically used in recipes like Oreo red velvet cookies to ensure the color is vibrant without affecting the flavor.
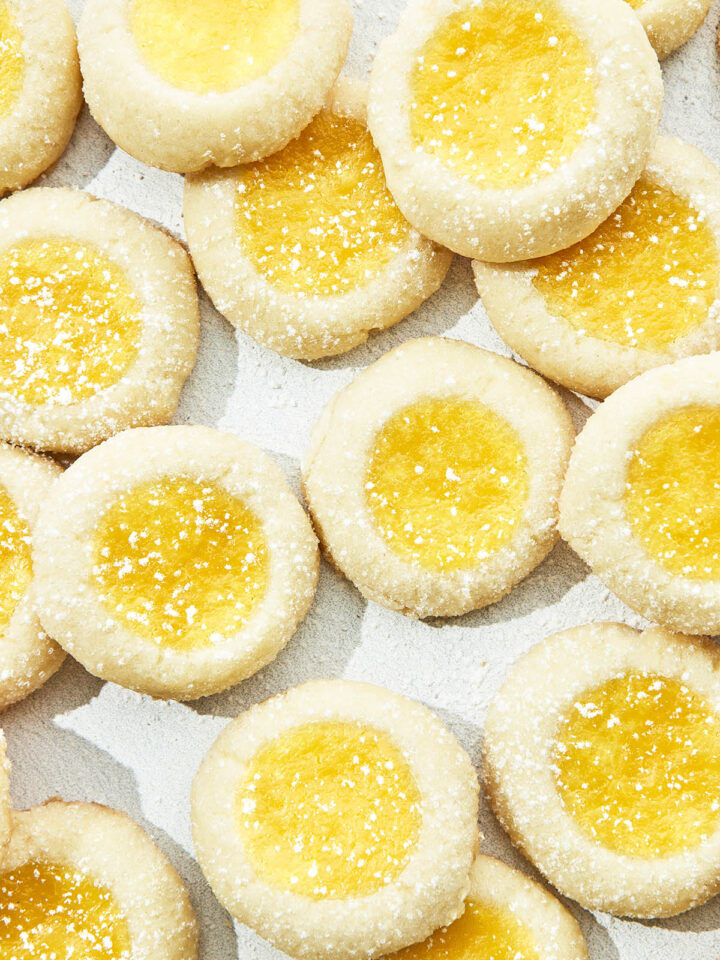
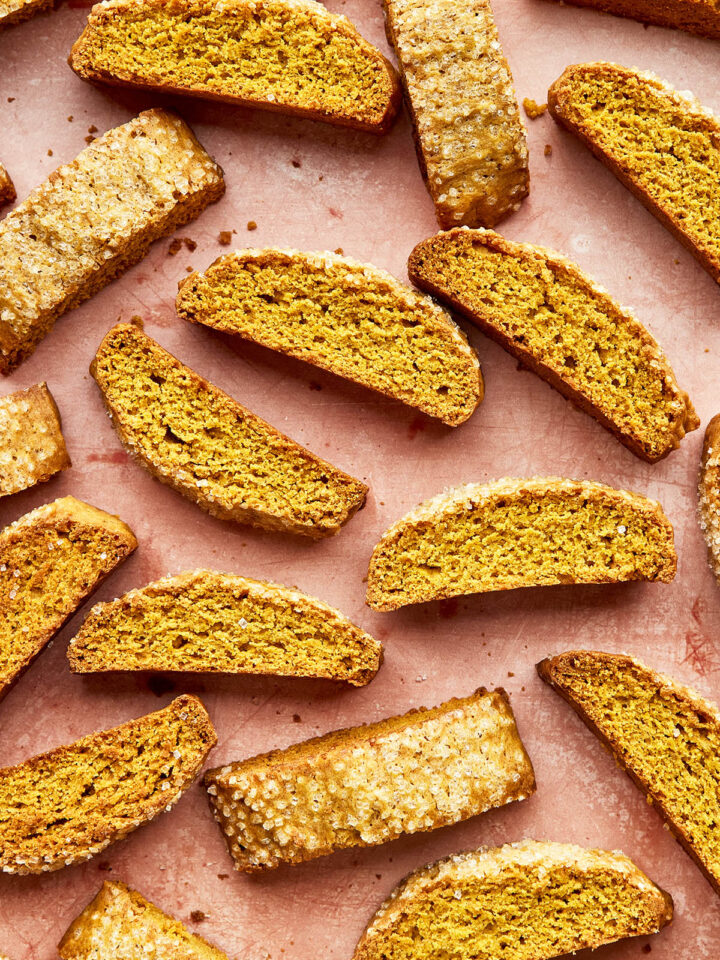
More Cookie Recipes


Did you make these Oreo red velvet cookies? Please rate the recipe and tell me how it went in the comments below. Also, stay in touch with me on Instagram, Facebook, and Pinterest to see more delicious food and recipes!
Printable Recipe Card
Oreo Red Velvet Cookies
Special Equipment
- 2 Baking sheet(s)
- Parchment paper
- Measuring cups and spoons or digital kitchen scale
- Sharp knife
- Stand mixer
Ingredients
- 16 Oreo cookies
- 1 ½ cups all-purpose flour
- ¼ cup buttermilk powder
- 2 tablespoons cocoa powder
- 1 teaspoon baking soda
- 1 teaspoon salt
- ½ cup butter
- ¾ cup brown sugar
- ¼ cup granulated sugar
- 1 large egg
- 1 tablespoon white vinegar
- 1 ½ teaspoon red gel food coloring, I use Wilton’s Red No-Taste
- 1 ½ teaspoons vanilla extract
Instructions
- Preheat the oven to 350°F (180°C) and line two baking sheets with parchment paper.
- Roughly chop 10 of the Oreo cookies. Place the remaining 6 Oreos in a zipper-top bag and crush them using a rolling pin. Set aside.16 Oreo cookies
- Whisk together the flour, buttermilk powder, cocoa powder, baking soda, and salt in a mixing bowl. Set aside.1 ½ cups all-purpose flour, ¼ cup buttermilk powder, 2 tablespoons cocoa powder, 1 teaspoon baking soda, 1 teaspoon salt
- Using an electric mixer, beat the butter, brown sugar, and white sugar about 1 minute. Add the egg and continue mixing until the mixture becomes light and creamy about 1 minute. Finally, mix in the white vinegar, red food coloring, and vanilla extract.½ cup butter, ¾ cup brown sugar, ¼ cup granulated sugar, 1 large egg, 1 tablespoon white vinegar, 1 ½ teaspoon red gel food coloring, 1 ½ teaspoons vanilla extract
- Add the flour mixture to the bowl. Mix on low speed until the flour is about halfway combined. Add in the crushed Oreos (not the chopped ones) and continue to mix on low speed until the Oreos are evenly distributed and the flour is just mixed in.
- Divide the dough into 24 portions, approximately 30 grams each. Use your hands to roll the portions into balls and place them on the prepared baking sheets. Lightly wet the palm of your hand and press down gently on each ball to flatten it slightly. Place the cookies in the oven and bake for 10 minutes. The cookies should be slightly underdone in the middle to maintain their chewy texture.
- Remove the cookies from the oven and transfer them to wire racks. Immediately press the chopped Oreos into the top of each hot cookie. Cool for 10 minutes before serving.
Recipe Notes
-
- Room-temperature ingredients will blend more evenly into the batter, resulting in a consistent texture throughout the cookies.
-
- Use a cookie scoop or scale to ensure your cookies are all the same size for evenly baked cookies.
-
- When mixing the wet and dry ingredients together, run the mixer just until the flour is just incorporated. Overmixing can lead to tough cookies.