Chocolate Peanut Butter Ice Cream (No-Churn)
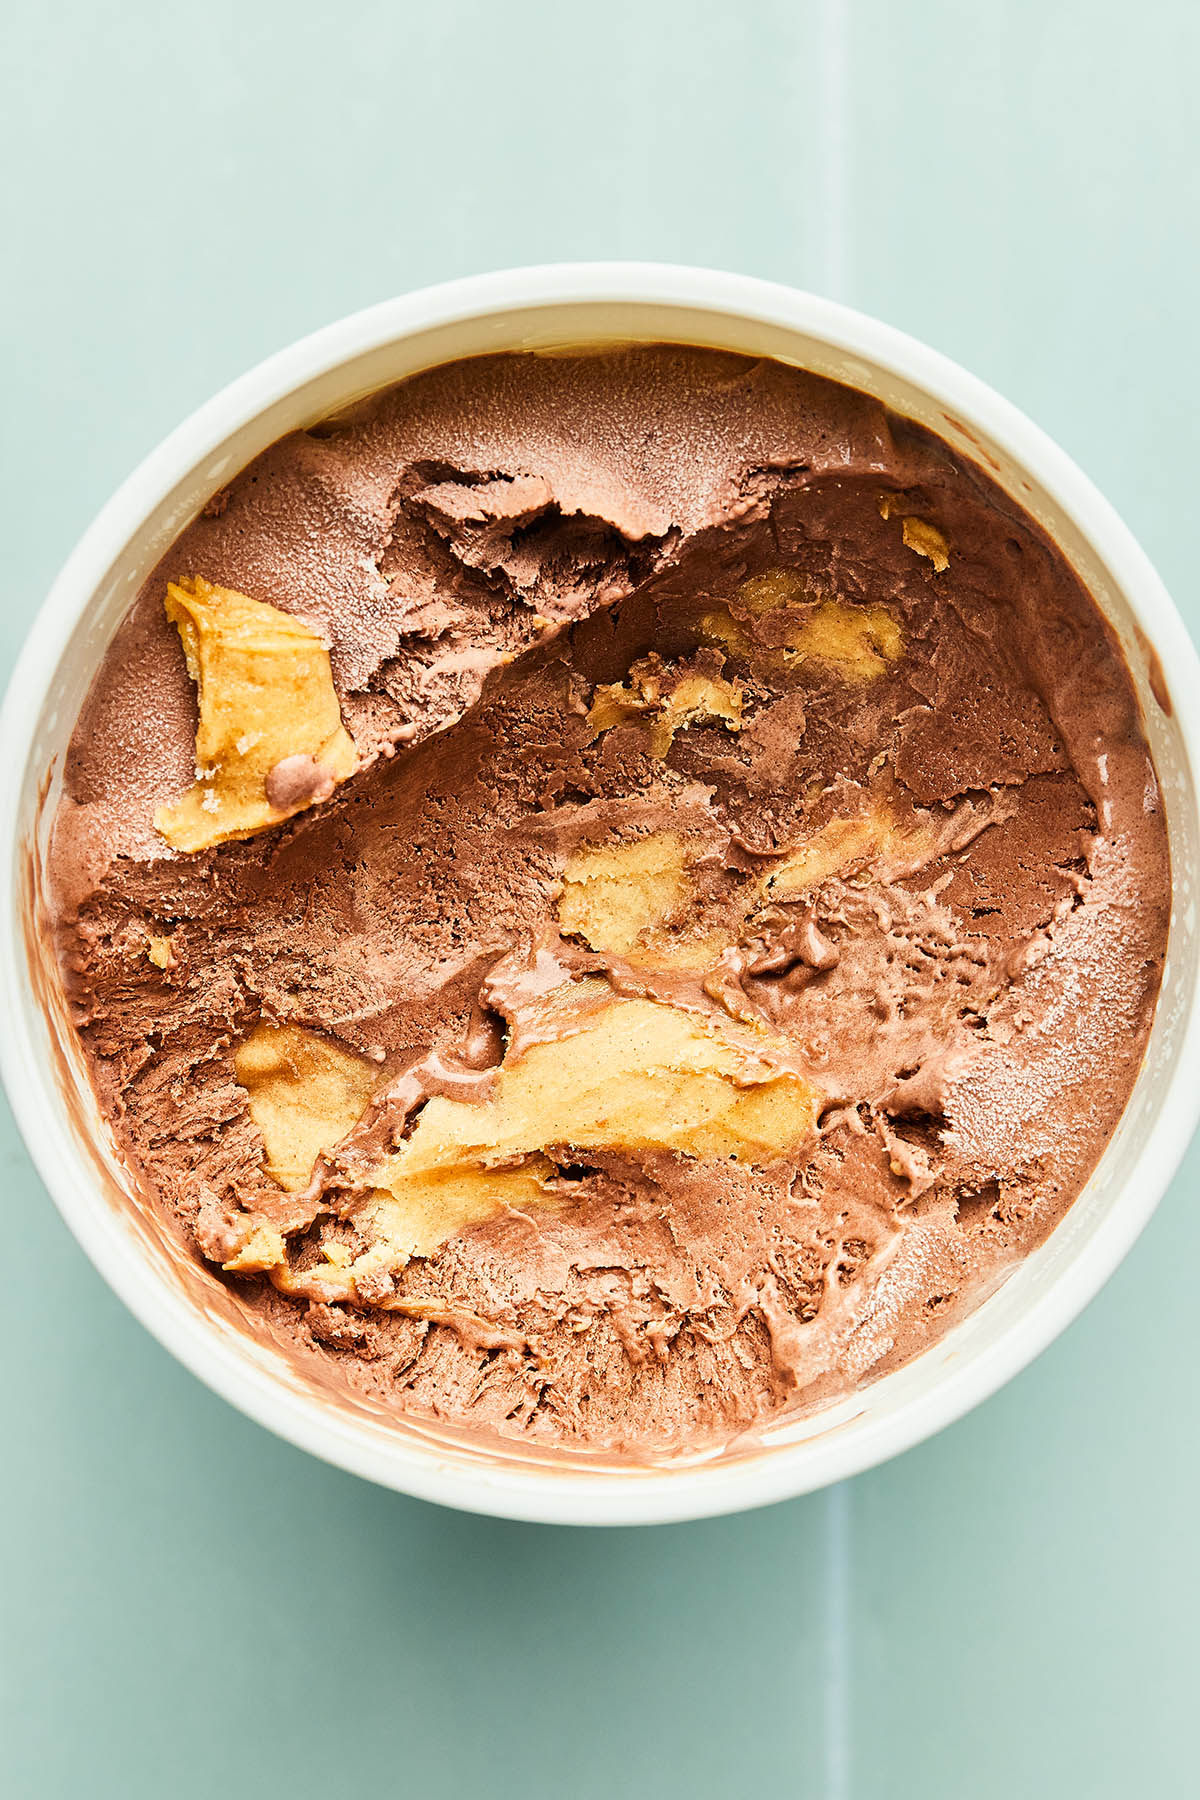
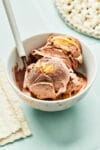
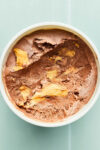
Making ice cream at home has never been easier, and this chocolate peanut butter ice cream recipe is a great place to start. The chocolate base is ridiculously simple—add everything to a bowl and mix until fluffy. That’s it—no cooking and no dealing with scrambled egg bits. For the peanut butter ribbons, I mix smooth peanut butter with powdered sugar to make it taste like the inside of a peanut butter cup. Just try to stop yourself from making this recipe all summer long.
Jump to:
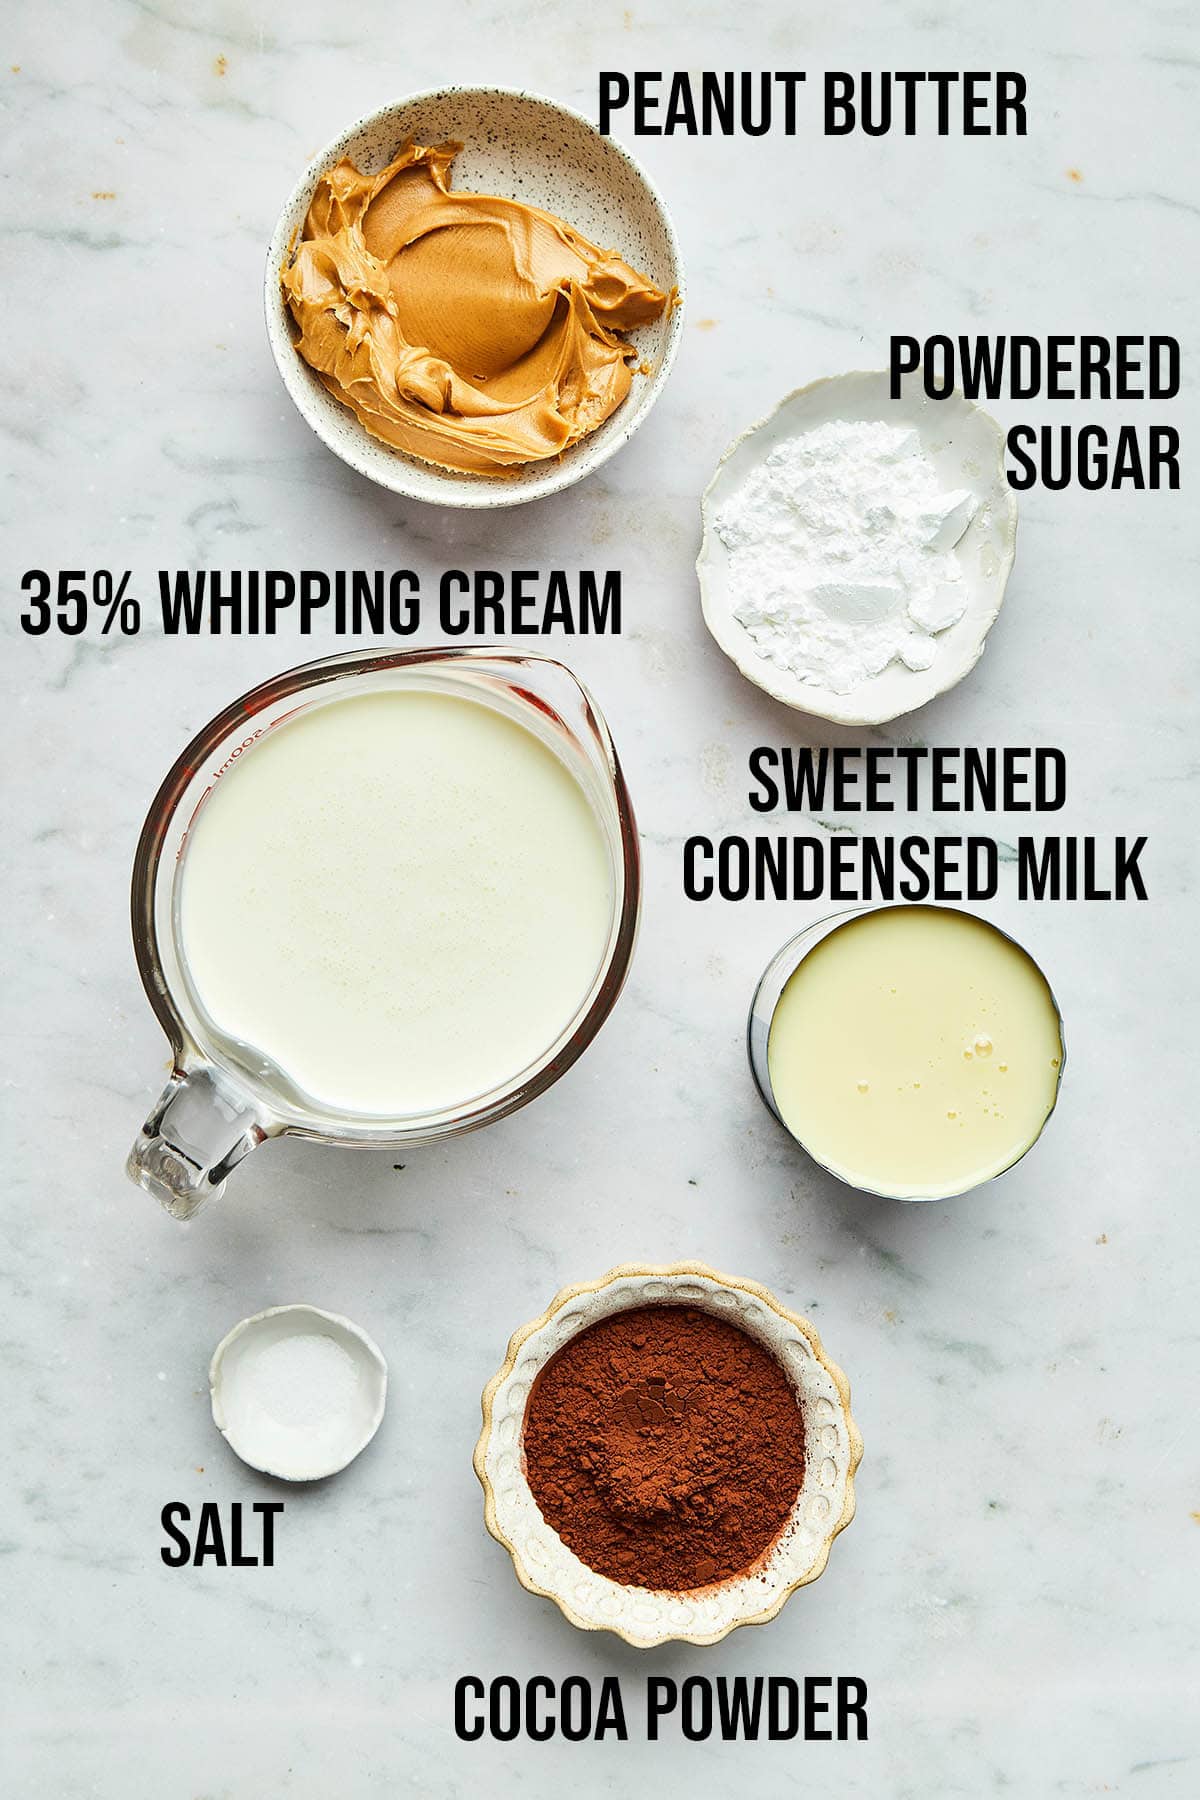
Ingredients For Chocolate Peanut Butter Ice Cream
Ingredient Notes
- 35% Whipping Cream: Sometimes called heavy cream, lower-fat cream won’t whip properly or hold the same texture.
- Cocoa Powder: Use unsweetened cocoa powder for the best results.
- Peanut Butter Smooth: I prefer smooth peanut butter, but you can try chunky. Natural peanut butter can separate and affect texture. Do not use.
- Powdered Sugar: Also called icing sugar, this is what makes the peanut butter taste like the inside of a peanut butter cup.
- Sweetened Condensed Milk: Be sure to use sweetened condensed milk, not evaporated milk.
It’s important to note that when making substitutions in recipes, the texture and flavour may be slightly different. However, these substitutes are the best options for changing the original recipe.
Ingredient Substitutions
- Salt: Fine sea salt can be used instead of table salt. Kosher salt can also be used; measure it by weight, as the crystal sizes vary.
Recipe Variations
Try any of the following for a twist on this chocolate peanut butter ice cream recipe:
- Brownie Chunks: Add ½ to 1 cup of chopped baked and cooled brownies.
- Chocolate Chips: Add ½ to ¾ cup of semi-sweet or dark chocolate chips.
- Espresso Powder: Add 1 to 2 teaspoons of instant espresso powder.
- Peanuts: Add ½ to 1 cup of chopped roasted salted peanuts.
- Vanilla: Add 1 to 2 teaspoons of pure vanilla extract.
- Waffle Cones: Add ½ to 1 cup of chopped waffle cones.
Use the JUMP TO RECIPE button at the top of this post, or scroll to the bottom to see the PRINTABLE recipe card with ingredient measurements and complete instructions.
How To Make Chocolate Peanut Butter Ice Cream

STEP 1: Mix the peanut butter and powdered sugar in a bowl until the sugar disappears. Set aside.
STEP 2: Add the whipping cream, condensed milk, cocoa powder, and salt to a mixing bowl. Mix on low speed until the cocoa is incorporated.
STEP 3: Switch to medium-high speed and mix until the chocolate base is light and fluffy and the mixer tracks are visible.
STEP 4: Layer the chocolate batter with chunks of the peanut butter mixture in an insulated ice cream tub or loaf tin. Cover and freeze for at least 6 hours before scooping and serving.
Expert Tips
1. For extra richness, mix ½ cup (90g) of slightly cooled melted chocolate in the chocolate base.
2. Instead of swirling the peanut butter, layer and stretch small spoonfuls over the chocolate base—it’ll give you better ribbons and pockets in every scoop.
3. Tap the container lightly on the counter before freezing to help settle the layers and remove any air pockets around the peanut butter ribbons.
Recipe Notes
- Mixing at low speed to begin prevents the cocoa powder from flying everywhere and helps the ingredients combine evenly before increasing the speed to high.
- Insulated ice cream tubs are great for freezing and storing. I got mine at Winners and HomeSense. If using a loaf tin, press a piece of wax paper or parchment directly on the surface of the ice cream before covering to help prevent ice crystals.
- Homemade ice cream is pretty hard straight out of the freezer. Let it sit on the counter for 10 minutes or so before scooping.
Storage
Cover the container tightly with a lid, wax paper, or parchment paper and freeze for at least 8 hours or overnight before scooping.
Related Recipes
- Cookie Butter Ice Cream: A sweet cream no-churn base with cookie butter swirls and crushed speculoos cookie pieces.
- Pistachio Ice Cream: A churned custard base with real pistachios and no green food colouring.
- Lemon Curd Ice Cream: No-churn vanilla ice cream with ribbons of homemade lemon curd.
Did you make this chocolate peanut butter ice cream? Please rate the recipe and tell me how it went in the comments below. Also, stay in touch with me on Instagram, Facebook, and Pinterest to see more Nova Scotia recipes and simple comfort food.
Printable Recipe Card
Chocolate Peanut Butter Ice Cream (No-Churn)
Equipment
- Measuring cups and spoons or digital kitchen scale
- Small bowl
- Large mixing bowl
- Hand or stand mixer
- Rubber spatula or wooden spoon
- Insulated ice cream tub(s) or standard loaf tin
- Spoon
Ingredients US cups or click for Metric grams
- ½ cup peanut butter (smooth)
- 2 tablespoons powdered sugar (also called icing sugar)
- 2 cups 35% whipping cream
- 10 ounces sweetened condensed milk (one 300 ml can)
- ½ cup cocoa powder
- ⅛ teaspoon iodized table salt
Instructions
- Mix the peanut butter and powdered sugar together in a small bowl until smooth and fully combined. Set aside.
- Add the whipping cream, sweetened condensed milk, cocoa powder, and salt to a large mixing bowl. Use a hand or stand mixer at low speed to combine. When the cocoa is well combined, increase the speed to medium-high. Mix until the chocolate base is thick and fluffy and holds the mixer's tracks.
- Spoon a layer of the chocolate base into an insulated ice cream tub or a 9 x 5-inch (23 x 13 cm) loaf tin. Use a small spoon or butter knife to lay and stretch small chunks of the peanut butter mixture across the surface. Repeat the layering process—chocolate base, then peanut butter—until both are gone.
- Smooth the top with the back of a spoon or an offset spatula. If using a loaf tin, press a piece of wax paper or parchment directly onto the surface of the ice cream to help prevent ice crystals. Cover the container tightly and freeze for 8 hours, or overnight, before scooping and serving.
Notes
- Mixing at low speed to begin prevents the cocoa powder from flying everywhere and helps the ingredients combine evenly before increasing the speed to high.
- Insulated ice cream tubs are great for freezing and storing. I got mine at Winners and HomeSense. If using a loaf tin, press a piece of wax paper or parchment directly on the surface of the ice cream before covering to help prevent ice crystals.
- Homemade ice cream is pretty hard straight out of the freezer. Let it sit on the counter for 10 minutes or so before scooping.
Storage
Cover the container tightly with a lid, wax paper, or parchment paper and freeze for at least 8 hours or overnight before scooping.Nutrition
Nutrition information is an estimate and is provided as a courtesy. For precise nutritional data, please calculate it independently using your preferred nutrition calculator.
More Dessert Recipes

Kelly Neil is a recipe developer, food photographer, and lifelong Nova Scotian building a sense of home and identity through recipes. She lives in her hometown of Dartmouth with her partner, Chris, their daughter, Elodie, and their little dog, Skipper.
This post may contain affiliate links. As an Amazon Associate, I may earn a small commission if you buy something through one of them at no extra cost to you. I only share products I use myself and genuinely recommend.






Okay, you've just struck on my favourite ice cream EVER! I used to always choose PB and chocolate when I went to Baskin Robbins as a kid. Will you post the actual recipe?
Have you had the chocolate peanut butter ice cream from Haagen-Dasz? I think it's the best, and love the sweet and salty together.
Can you post the measurements/recipe? Sounds and looks delicious!
Thanks everyone!!
Here is the recipe:
2 Cups Heavy Cream
1/4 C Cocoa
1/2 C Sugar
pinch of Salt
1/2 C Smooth Peanut Butter
1-2 Tbsp Icing Sugar
~ whisk cream, cocoa, sugar and salt in saucepan to a full roiling boil (it should be foamy) remove from heat – chill
~ mix PB and Icing Sugar (adjust amount of icing sugar to your own taste – I used 2)
~ churn chilled chocolate batter in ice cream maker
~ layer chocolate ice cream with dollops of PB in container(s) – freeze
~ Eat!!
I made this wonderful concoction and wrote about it on my blog here. Thank you so much for sharing this recipe. It was awesome! I'll be making it again next summer for sure.
Thanks Mrs. Blocko, I'm so glad you liked it!! ps – I linked to your blog post on my facebook page 🙂
I made this earlier this summer… just got around to posting about it here: http://www.sugarbutterbaby.com/2011/06/ice-cream-adventure.html
I enjoyed it, my first time making ice cream! Thanks for sharing 🙂
Except for the state of your stove (I'm afraid to ask how long it took to clean that up!!), it looks wonderful Krystal!!
It turned out so good! This recipe is our go-to when making ice cream
Amazing! I made my dad a tub of homemade ice cream for his birthday yesterday and when he saw it he said, “Oooooh, chocolate peanut butter?”😂 (it was rum and raisin but he wasn’t disappointed lol)
This is my favorite homemade ice cream recipe. It turned out better than store bought ice cream. This is our go-to ice cream recipe.
Made it and it came out delish!!! I’ve made ice cream before (no-churn) but this one is much better than what I’ve made in the past. Thank you!