American Buttercream
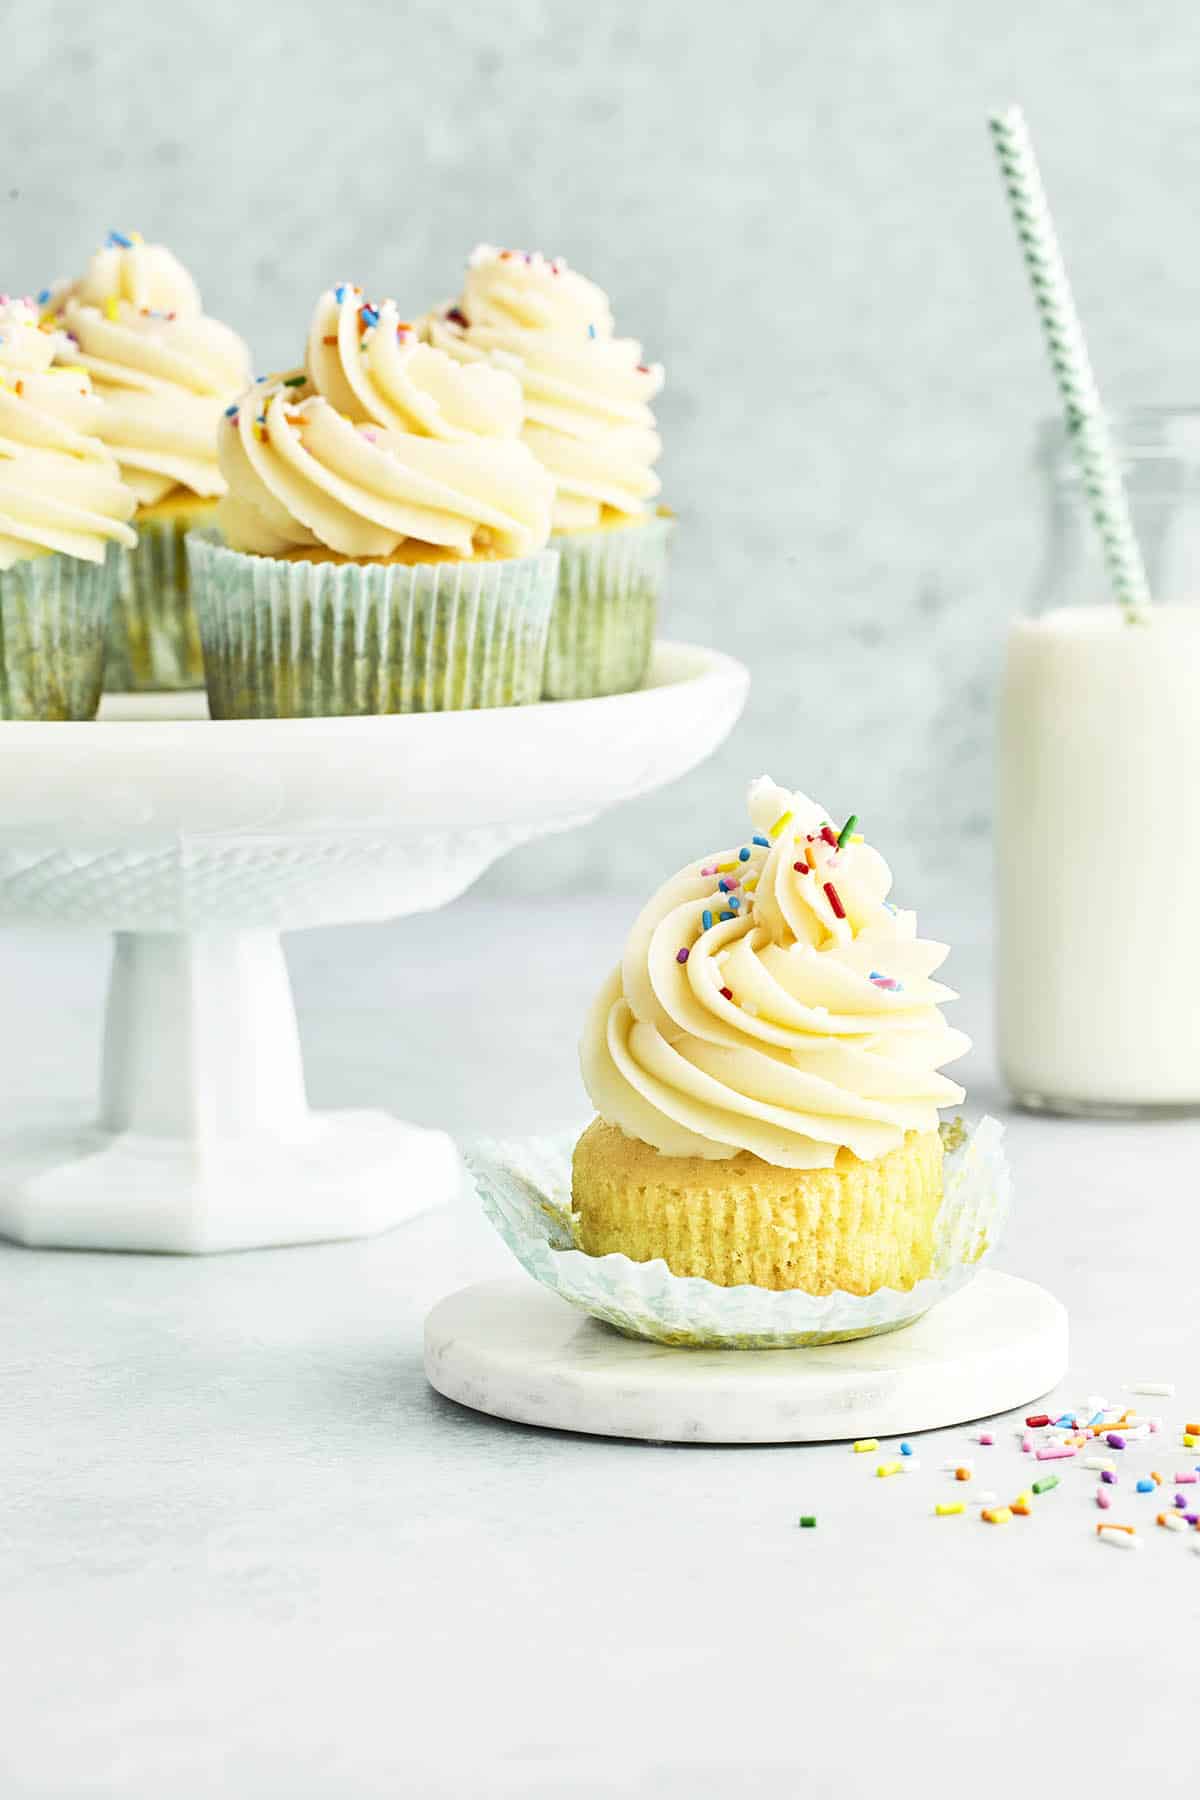
This American buttercream recipe is my absolute favorite! It tastes similar to storebought, but it’s not as sweet and is made with real ingredients.
There are several different types of vanilla frosting, but American buttercream is one of the easiest and most popular. Other types of buttercream include Swiss meringue buttercream, Italian meringue buttercream, German buttercream, and Russian buttercream. While each has its unique flavor and texture, American buttercream is known for being sweet, creamy, and easy to work with.
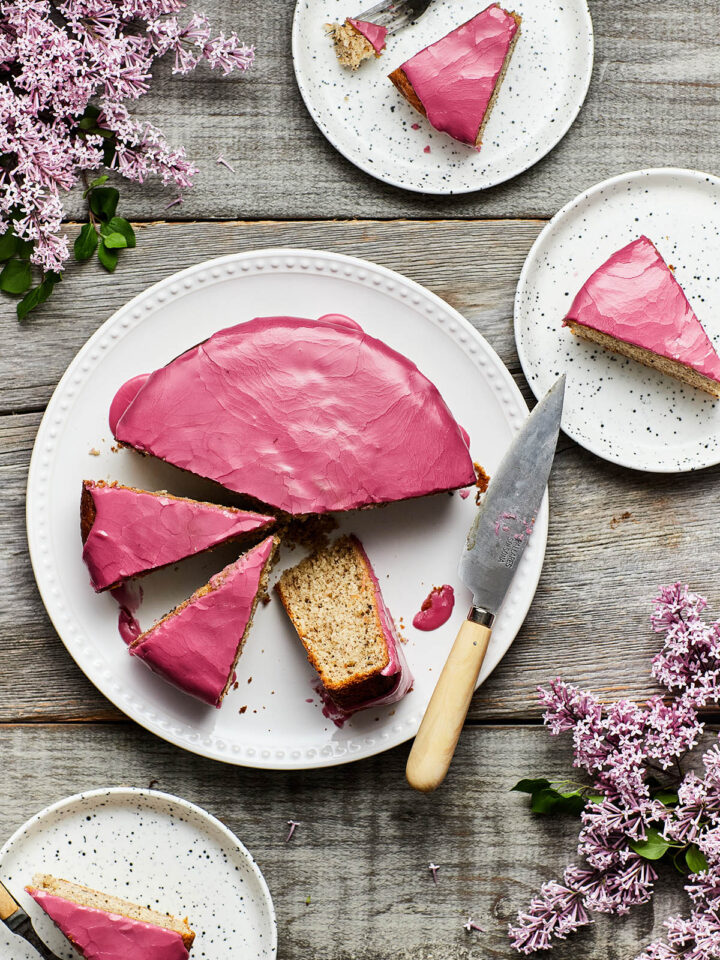
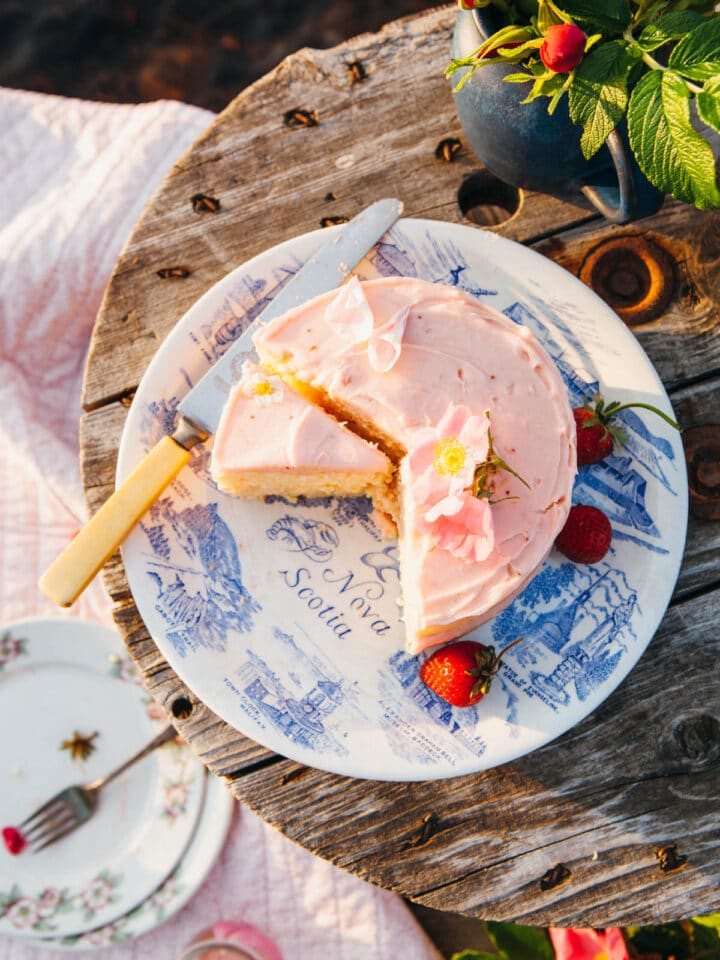
Because it’s made with a high ratio of powdered sugar to butter, American buttercream frosting is especially great with recipes that aren’t as sweet as this Earl Grey yogurt cake. Lemon desserts like this lemon buttermilk cake or these lemon shortbread cookies are also a beautiful match with this basic vanilla frosting recipe.
In this comprehensive guide, I cover everything you need to know about making the perfect vanilla frosting, including choosing the best vanilla, how to store it, how to customize it, and more.
Jump to:
Why You’ll Love This Recipe
✔️ Vanilla frosting is so easy to make, even for inexperienced bakers.
✔️ You have complete control over the quality and ingredients.
✔️ This recipe is highly customizable.
Ingredients For American Buttercream
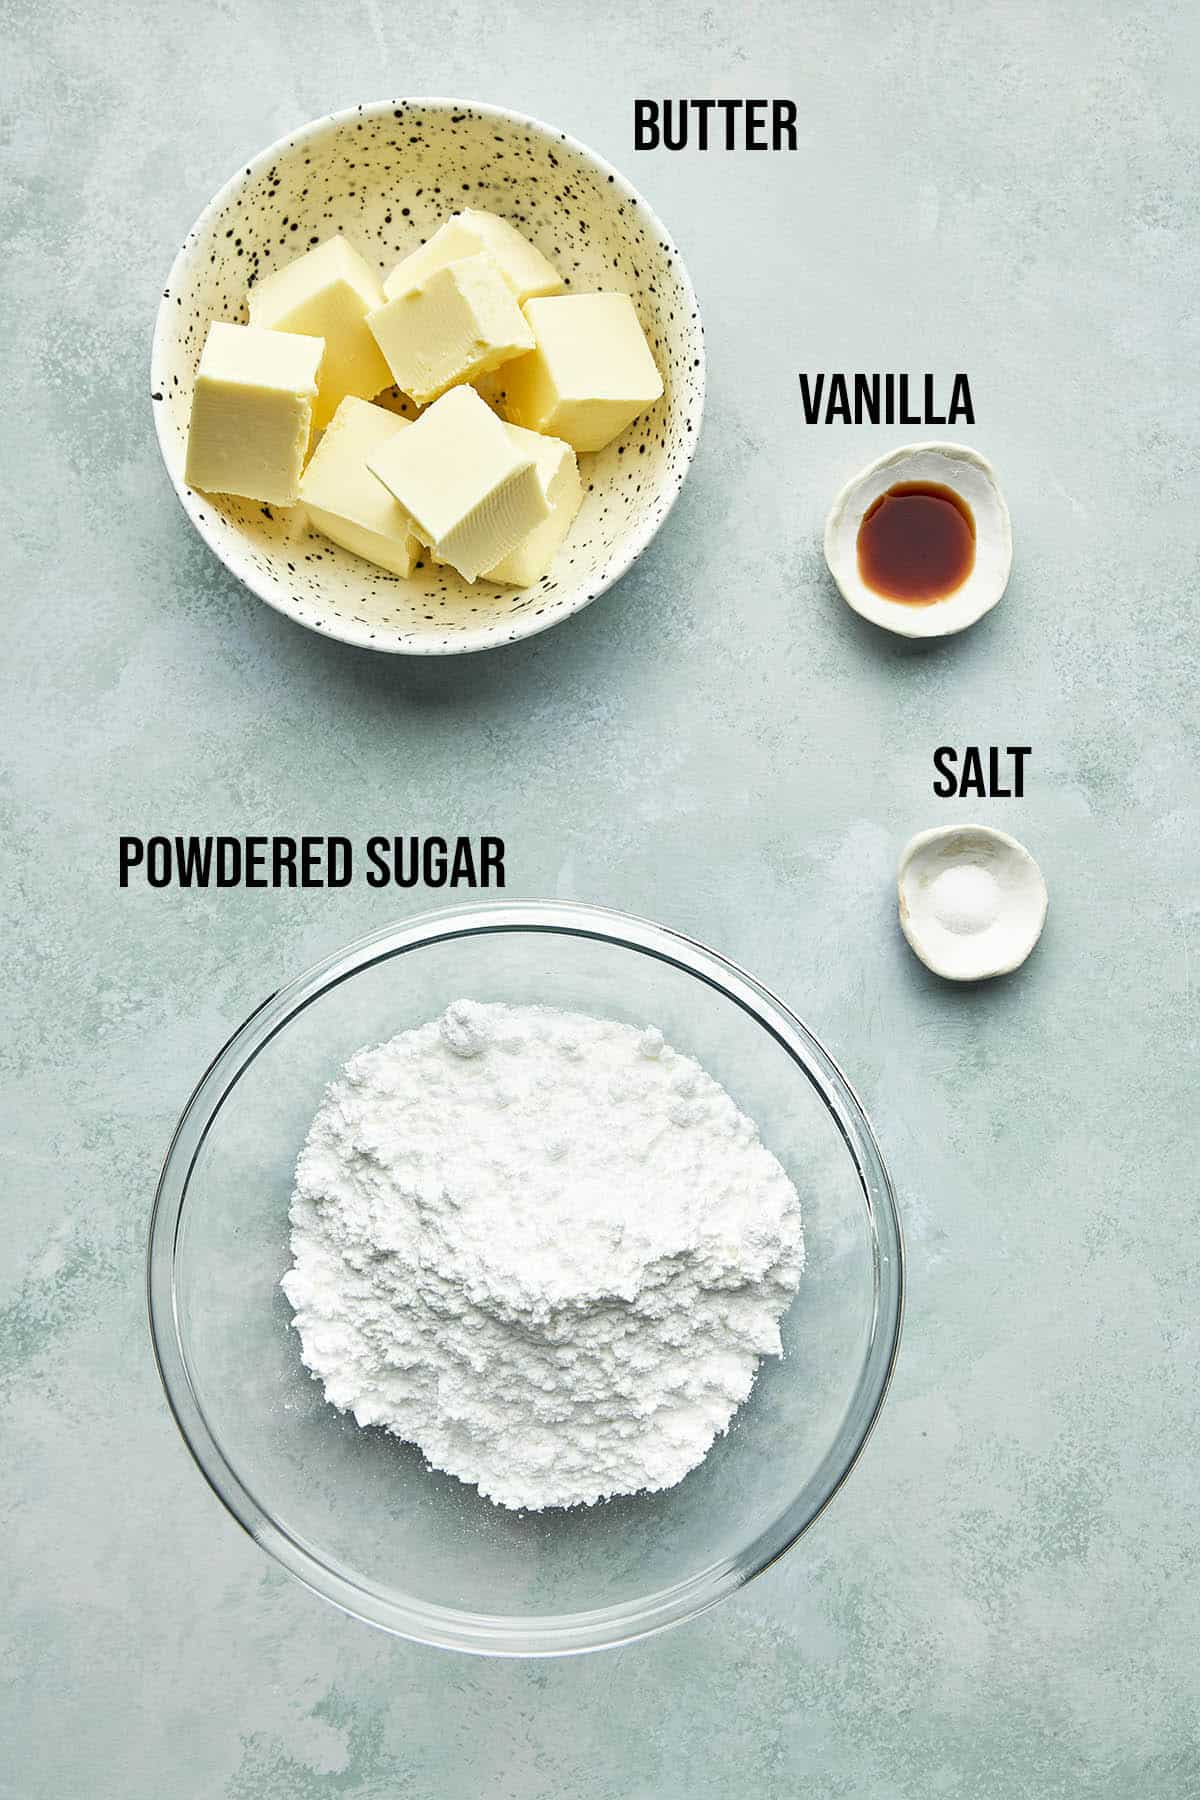
Ingredient Notes
- Butter: Adds melt-in-your-mouth texture and a rich taste that’s not overwhelming. I use salted butter in this recipe.
- Powdered Sugar: Also known as confectioner’s sugar, this fine, powdery sweetener is essential for a smooth buttercream. It dissolves easily, ensuring your frosting is lump-free and velvety. The added cornstarch in powdered sugar also helps to stabilize the buttercream, giving it a spreadable, consistent texture. Powdered sugar is key to a perfect, creamy finish, whether piping or spreading.
- Salt: Even though I use salted butter, I still like a touch of salt to balance the sweetness of the powdered sugar.
- Vanilla: This key ingredient comes in several forms – extract, paste, and beans. Vanilla extract is the most common and convenient, offering a classic flavor. Paste, thicker and filled with tiny seeds, provides a more intense vanilla taste and speckled appearance. Vanilla beans, though more labor-intensive, deliver the richest flavor. Each type brings a unique character to your buttercream, enhancing it with a warm, aromatic depth. Choose based on the flavor intensity you’re after and the visual effect you want to achieve.
It’s important to note that when making substitutions in recipes, the texture and flavor may be slightly different. However, these substitutes are the best options to change the original recipe.
Ingredient Substitutions
- Butter: Unsalted butter with a pinch of salt and replace salted butter. For a dairy-free option, try vegan butter or margarine.
- Vanilla: Almond extract has a different flavor profile, but it’s a delicious replacement for vanilla. Try adding half a teaspoon at a time until you reach your desired taste.
Recipe Variations
- Adjusting Consistency: For a thinner frosting, gradually add milk or cream, a teaspoon at a time, until you reach the desired consistency. This is ideal for a lighter spread or a more delicate piping. For thicker frosting, add more powdered sugar, a little at a time. This is perfect for when you need the frosting to hold its shape better for intricate designs or when working in warmer conditions. Remember, small adjustments can make a big difference, so it’s best to add gradually and mix thoroughly between additions.
- Citrus Zest: Add lemon, lime, or orange zest for a fresh, bright flavor. This works well for summer cakes or to cut through the sweetness.
- Cocoa Powder: Mix up to ¼ cup (20 g) of cocoa powder to make a chocolate buttercream. You may have to adjust the powdered sugar to balance the bitterness of the cocoa.
- Cream Cheese: Swap some cream cheese instead of butter to add a tangy flavor. This variation pairs well with carrot cakes and red velvet cakes.
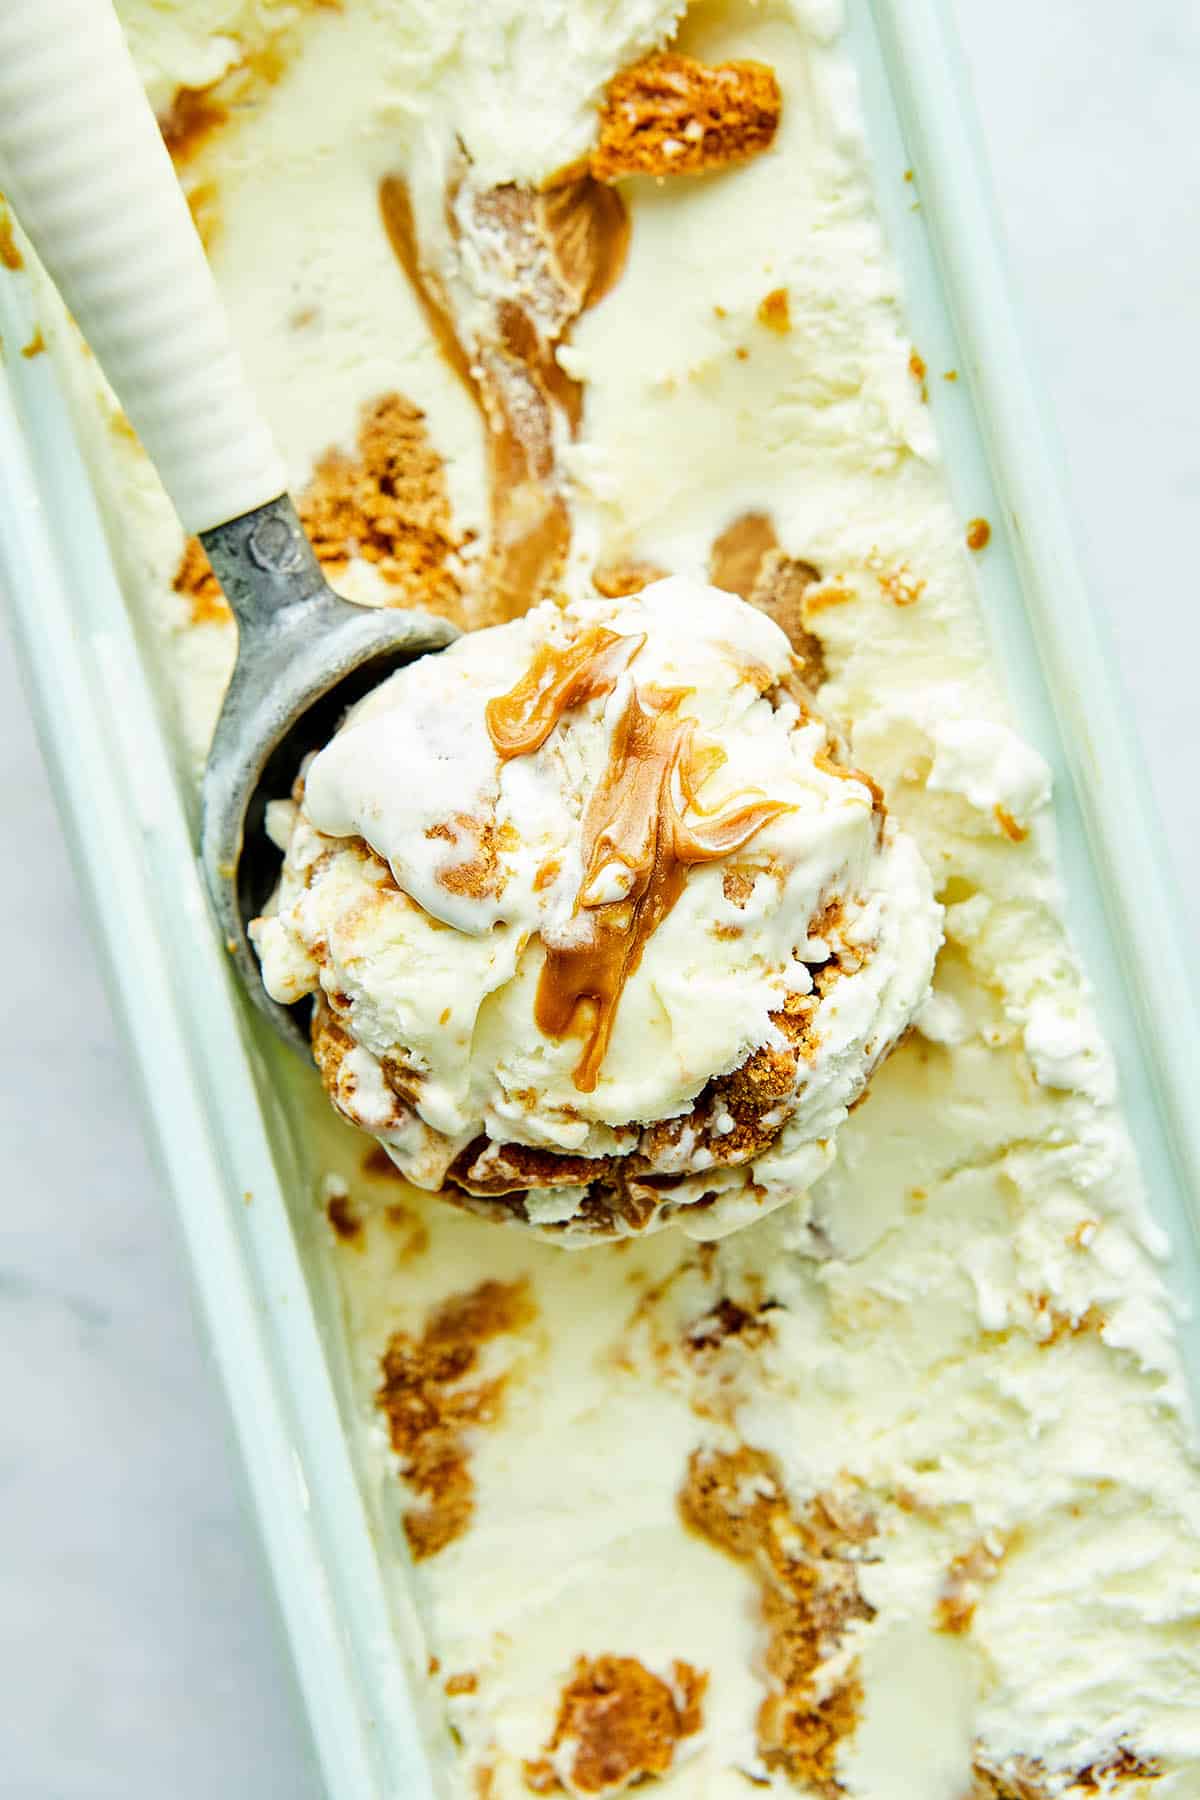
- Dulce de Leche or Caramel Sauce: Mix in up to ⅓ cup (75 g) of dulce de leche or caramel sauce for a rich flavor. If you have an Instant Pot, try my recipe for Instant Pot dulce de leche. If you don’t have an Instant Pot, follow the same technique as my Instant Pot post with a slow cooker on low for 8 hours.
- Espresso Powder: Dissolve up to 1 teaspoon of espresso powder in a teaspoon or two of hot water and mix it in for a coffee-flavored buttercream, great with chocolate cakes. Do not feed to children before bedtime!
- Freeze-Dried Strawberries or Raspberries: Begin with 2 tablespoons (about 8 g) of freeze-dried strawberry or raspberry powder and adjust to taste.
- Jam: Use roughly 2 to 3 tablespoons (30 to 45 g) of jam. Consider pureeing if it’s chunky.
- Lemon Curd: Start with 2 to 3 tablespoons (30 to 45 g). Adjust for flavor and consistency. I’ve been making this microwave lemon curd for years. It takes about 20 minutes, with only five or six minutes of cooking time, and it is freaking delicious!
- Mini Chocolate Chips: Start with ¼ to ⅓ cup (about 45 to 60 grams) of mini chocolate chips. This amount is enough to add texture without hindering the frosting’s spreadability. You cannot pipe this version unless you are using a large round tip or any other larger piping tip.
- Peanut Butter: Add up to ½ cup (113 g) of creamy peanut butter for a peanut butter buttercream. This is a hit with both chocolate and vanilla cakes.
- Shortening: For a firmer texture, substitute ¼ cup (56 g) of your favorite shortening for butter. This can be useful if you are frosting cakes in the summer when it’s hot outside. The shortening doesn’t affect the flavor and helps prevent the frosting from melting in the heat.
- Spices: For cinnamon or nutmeg, begin with ¼ to ½ teaspoon. This can be adjusted based on your flavor preferences. Spices are potent, so it’s best to start with a smaller amount and add more after tasting. Try my recipe for homemade chai spice to make a chai-spiced frosting (this would be terrific on my pumpkin bread with cream cheese frosting).
- Sprinkles: Mix in 2 to 4 tablespoons (30 to 60 grams) of sprinkles. Add them closer to serving time to prevent color bleeding.
- Toffee Bits: Add ¼ to ⅓ cup (about 45 to 60 grams) of Skor bits for a toffee flavor and crunch.
Use the JUMP TO RECIPE button at the top of this post, or scroll to the bottom to see the PRINTABLE recipe card with ingredient measurements and complete instructions.
How To Make American Buttercream
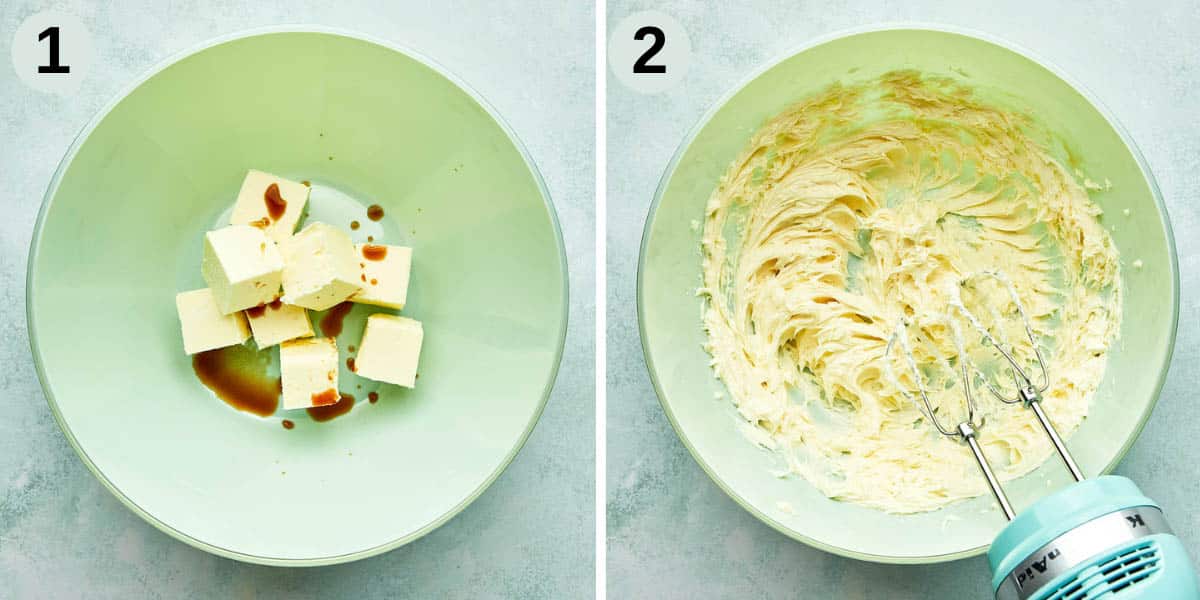
STEP 1: Place the butter, vanilla, and salt in a mixing bowl.
STEP 2: Use an electric mixer to beat the butter until creamy and smooth, about 1 to 2 minutes.
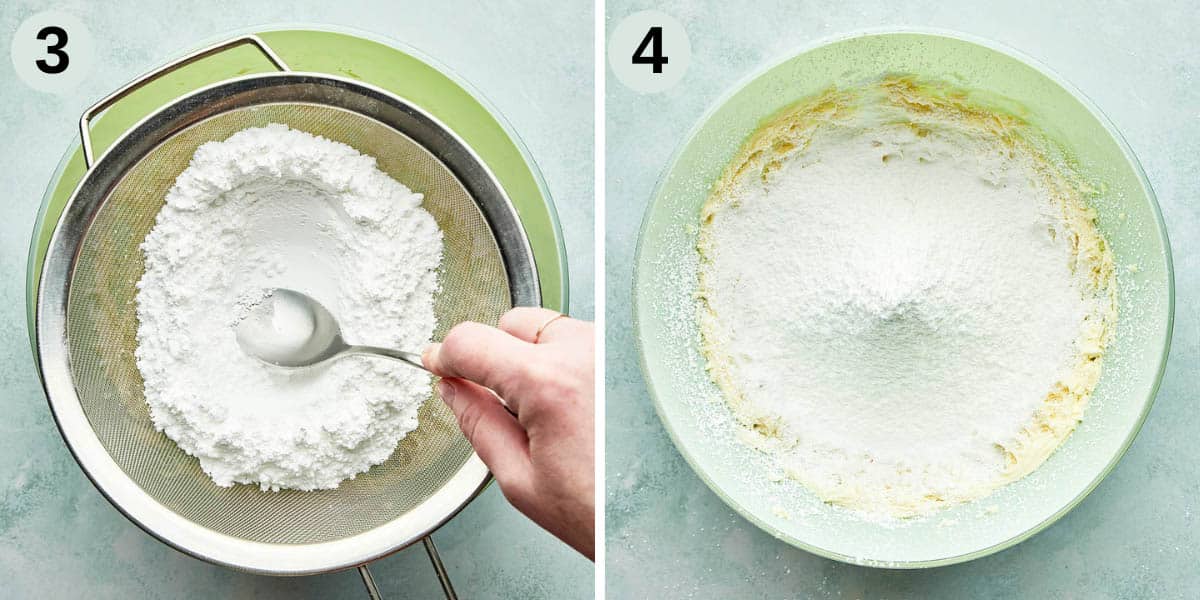
STEP 3: Sift the powdered sugar into the bowl through a fine mesh sieve. I like to press the powdered sugar through the sieve using the back of a spoon.
STEP 4: Sifting the powdered sugar helps prevent lump frosting.
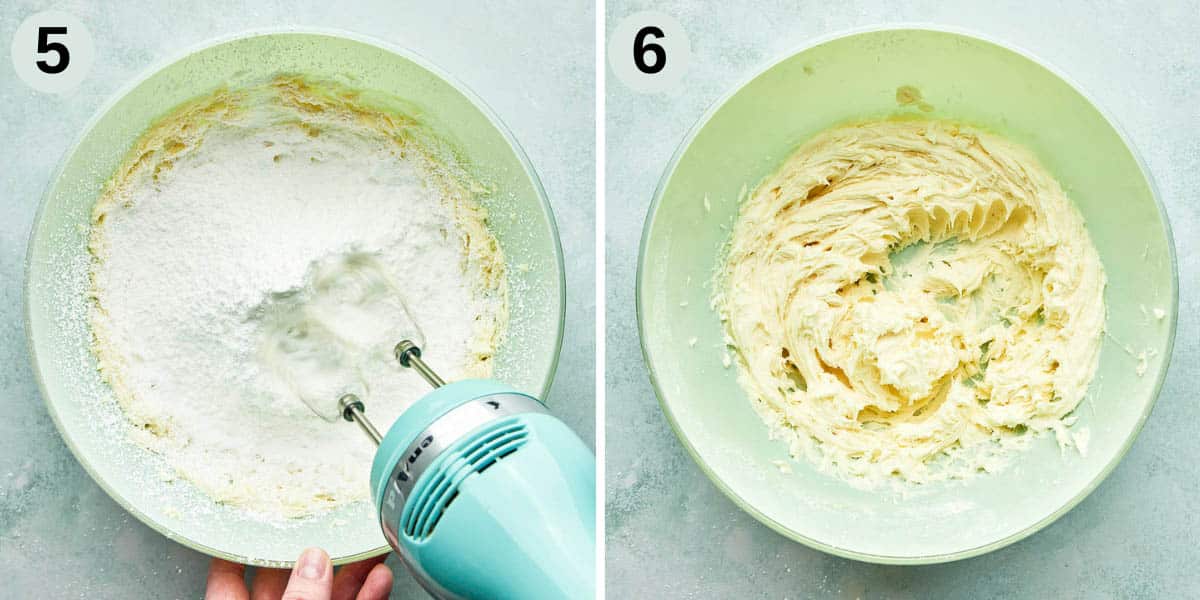
STEP 5: Mix the sugar into the butter at low speed until just combined.
STEP 6: Increase the speed of the mixer and whip the buttercream until it becomes light and fluffy, about one minute. Add in any variations you like here. Use immediately or store for later.
Expert Tips
1. For easier mixing, use softened butter.
2. Cream the butter for at least one minute (two minutes is better). This helps make the frosting light and fluffy.
3. If you like a less stiff buttercream, add milk or cream by the ½ teaspoon until you reach the consistency you like.
Recipe Notes
- This recipe doubles and triples well.
- If your butter is too cool to mix smoothly, heat it in the microwave in 10-second increments at 50% power. It’s ready when it squishes slightly when pressed with a fingertip.
- To prevent lumps, sift the powdered sugar into the butter.
- When experimenting with additional flavors or colors, add them gradually to avoid overpowering the frosting.
- You can store this powdered sugar frosting in an airtight container for later use. Plastic or glass containers are both good options. It can be kept in the fridge for up to two weeks or in the freezer for up to two months. You can leave buttercream icing at room temperature for up to two days; however, keep it away from direct sunlight or heat.
The Best Vanilla For American Buttercream
Vanilla is expensive. Ideally, we would all use pure, high-quality vanilla extract or whole vanilla beans, but this is not always true. The best vanilla for American buttercream is the one you have on hand or can afford.
- Artificial Vanilla Extract: Ideal for everyday baking with its familiar vanilla taste. It’s my go-to for recipes like vanilla cupcakes, offering a classic flavor.
- Clear Artificial Vanilla Extract: Perfect when you need the vanilla flavor without the color.
- Pure Vanilla Extract: A luxury ingredient, pure vanilla extract is perfect for recipes where vanilla is the highlight. Use it to bring a premium vanilla flavor to your buttercream.
- Vanilla Bean Paste: Substitute equal amounts of vanilla bean paste for extract. It offers excellent taste and visual appeal with its specks of vanilla seeds.
- Vanilla Powder: Less common but effective, vanilla powder is alcohol-free and made from dried and ground vanilla beans. Add ¼ teaspoon at a time to taste.
- Whole Vanilla Beans: Use ⅓ of a vanilla bean for rich flavor. Split it, scrape out the seeds, and mix them into the butter. Start with a small amount and add more for a stronger flavor.
Covering Different Cake Sizes
This recipe yields about 1 ½ cups of frosting.
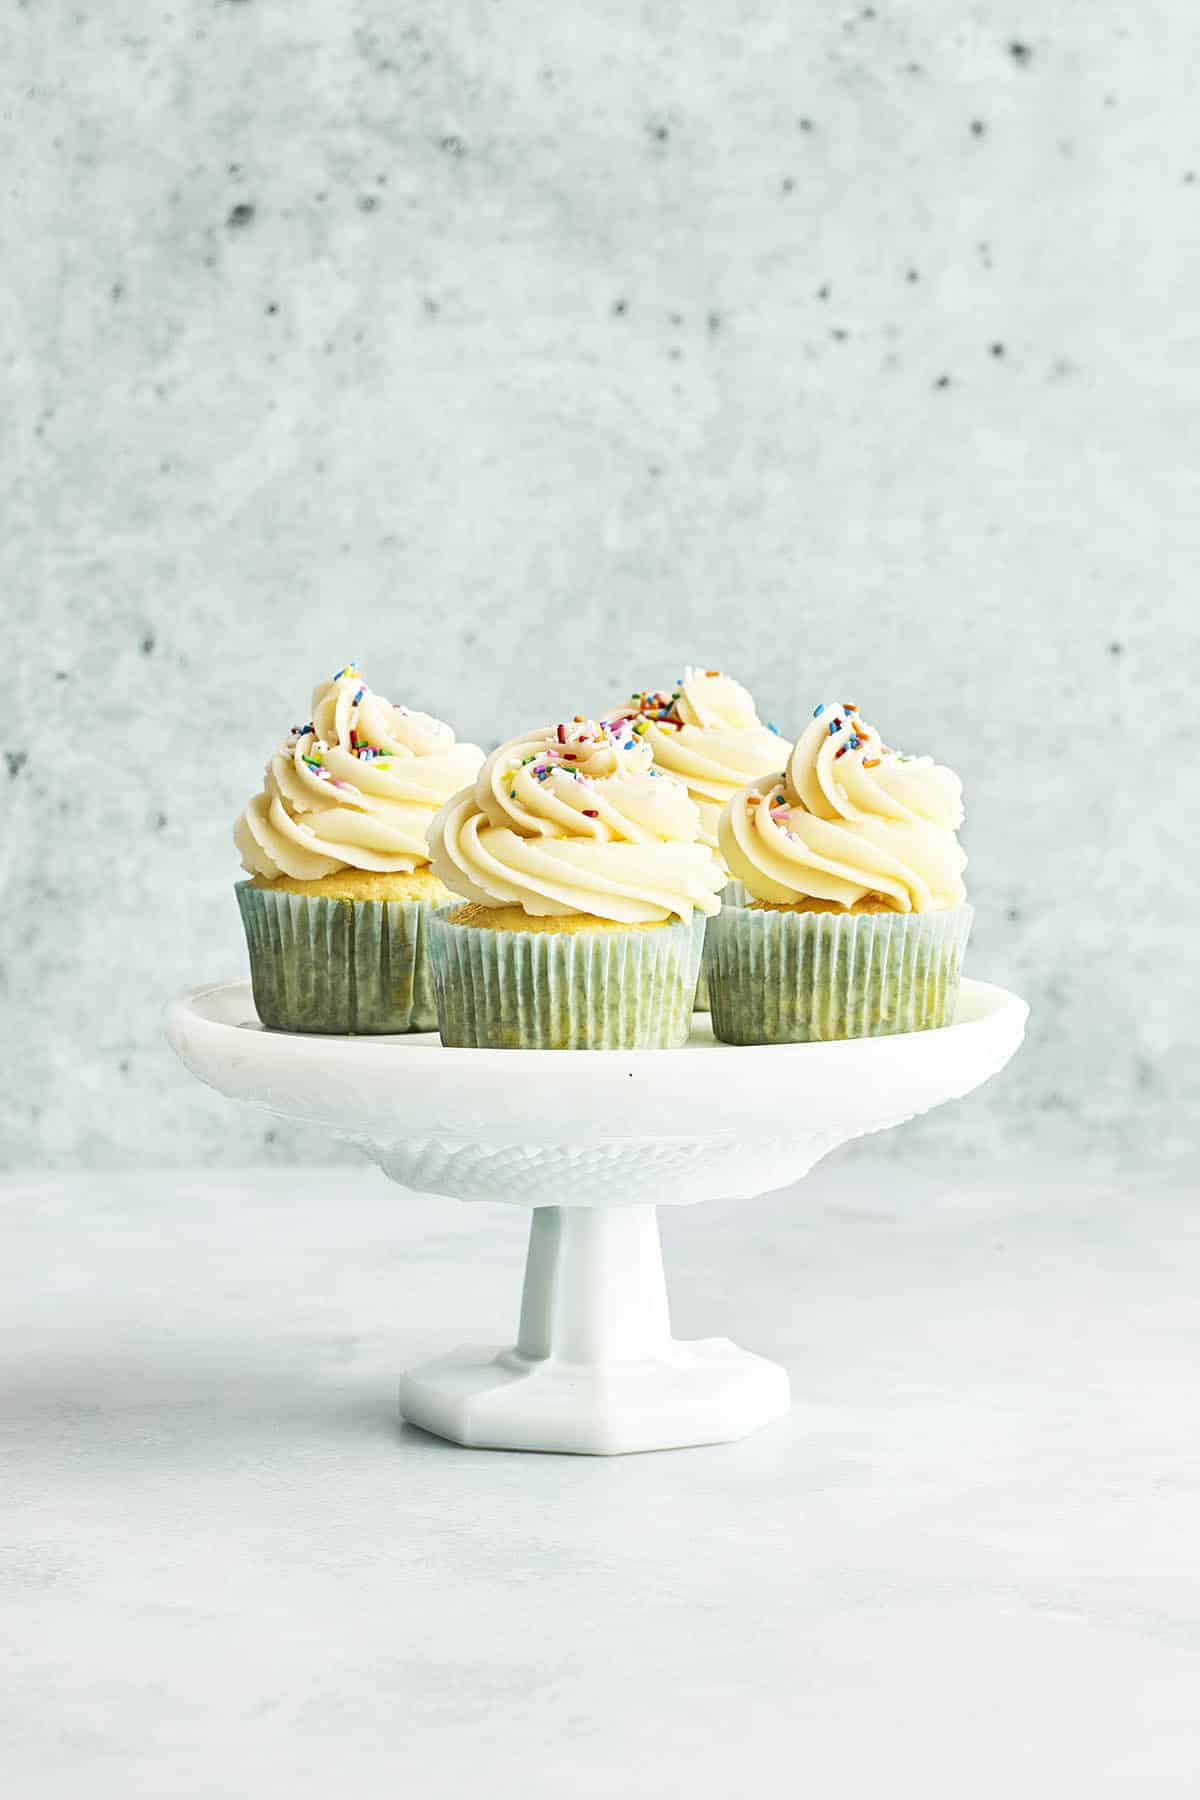
- Cupcakes: Makes enough for a large piped swirl on six standard cupcakes or a light spread on 12.
- Single-Layer Cake: Covers the top and sides of an 8-inch round cake.
- Naked-Style 2-Layer Cake: Enough for a layer between the cakes and a thin outer coat.
Remember, frosting coverage varies based on factors like measurement precision, added liquid, and piping tip size. Preferences for frosting amount differ, so I often double the batch and freeze any extra.
Crusting In American Buttercream
American buttercream can form a crust, a slightly harder layer on the surface, due to drying. This crusting is often preferred by decorators for its smooth, stable surface for additional frosting layers. To avoid crusting, cover the frosting with a damp cloth or plastic wrap until use, and apply it swiftly to your baked goods.
Use Homemade Vanilla Frosting With These Recipes
Did you make this American buttercream? Please rate the recipe and tell me how it went in the comments below. Also, stay in touch with me on Instagram, Facebook, and Pinterest to see more delicious food and recipes!
Printable Recipe Card
American Buttercream
Special Equipment
- Measuring cups and spoons or digital kitchen scale
- Large mixing bowl
- Hand or stand mixer
- Fine mesh sieve
- Spoon optional
Ingredients
- 1 cup butter, softened
- ½ teaspoon vanilla extract
- ⅛ teaspoon salt
- 2 cups powdered sugar
Instructions
- Place the butter, vanilla extract, and salt in a mixing bowl. Mix on low speed until just combined. Increase the speed of the mixer and cream the butter until smooth, about 1 to 2 minutes.
- Sift the powdered sugar through a sieve into the bowl of butter. I like to press the powdered sugar through the sieve using the back of a soup spoon. Mix on low speed until the butter and sugar are just combined.
- Increase the speed of the mixer and beat the buttercream until it becomes light and fluffy about 1 minute. Scrape down the sides of the bowl halfway through mixing. The frosting will be fairly thick. Add milk or cream by the ½ teaspoon, mixing well in between each addition, if you like a looser frosting. Use immediately, or store in the fridge or freezer for later.
Recipe Notes
- This recipe doubles and triples well.
- If your butter is too cool to mix smoothly, heat it in the microwave in 10-second increments at 50% power. It’s ready when it squishes slightly when pressed with a fingertip.
- To prevent lumps, sift the powdered sugar into the butter.
- When experimenting with additional flavors or colors, add them gradually to avoid overpowering the frosting.
- You can store this powdered sugar frosting in an airtight container for later use. Plastic or glass containers are both good options. It can be kept in the fridge for up to two weeks or in the freezer for up to two months. You can leave buttercream icing at room temperature for up to two days; however, keep it away from direct sunlight or heat.
Nutrition
Cupcake Baking Tip
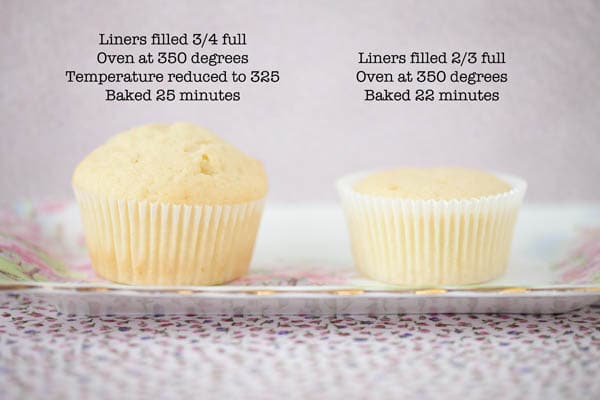
A weird/interesting thing happened when I first posted this recipe in 2010. I was baking cupcakes to go along with the buttercream in the photos. I baked the first dozen cupcakes at 350ºF (180ºC) until golden, about 22 minutes. While in the oven, I read the recipe and realized I was supposed to bake them at 325ºF (160ºC). I reduced the temperature in a panic for the second batch of cupcakes, and here’s what happened:

I can't wait to try this buttercream recipe….They look amazing Kelly!
two cups of butter 🙂 that's how you make great frosting!
Oh, I'm so sorry to hear my Swiss meringue buttercream didn't work for you! If you're inclined, shoot me an email; I'd love to troubleshoot it and get to the bottom of what went wrong for you. Cheers!
Just a note about Swiss Buttercream… when it gets curdled like that, it usually means your meringue wasn't cool enough or your butter was too warm. But have no fear! Just pop the curdled mess in the fridge for about 15 minutes and then whip, whip, whip it! I PROMISE that it will come together.
good it be so simple. I've tried to make a good buttercream many times…maybe I'll give this one a try soon.
when you bake at a lower temperature, whatever you're baking rises more slowly, and therefore much less. that's why you should lower the oven temperature a little to get level cake layers, but you should bake at a slightly higher temp for cupcakes so that you get the pretty dome.
also, if your swiss meringue buttercream seemed curdled, chances are you just didn't keep whipping it long enough. it will seem like it will never come together, but then it finally does and it's amazing. i highly recommend trying again sometime.
If you check out Stella's awesome blog BraveTart (linked above as Swiss Buttercream) you'll see she has tons of great recipes and gorgeous photos to boot!! I'm pretty sure J is right though. I didn't let my buttercream cool long enough – in fact, I'd bet money on it. There is absolutely nothing wrong with Stella's recipe – it was just my patience level that day!! Thanks for the comments 🙂
I also tried swiss meringue buttercream ! it did curdle and look like porridge BUT it cam back together BEAUTIFULLY I almost threw mine out BUT I just let the kitchenaid do its thing and VOILA! perfection here is the recipe I used! ( this woman even has Pictures!! ) I shall try your version of american buttercream but for now its all SWB for me!! great cupcakes BTW 😀 http://sweetapolita.com/2011/04/swiss-meringue-buttercream-demystified/
I made _tried_ to make chocolate cupcakes (i added some melted chocolate and cocoa powder to the recipe) but they didn't turn out pretty. instead the batter just made a horrible mess. I'll still make buttercream and try to make them pretty, but i wonder what went wrong >:
what is "icing sugar" ?
thx
Cannot wait to try this recipe!!
made it, so easy so delicious, thank you for sharing it!
ooh… what's vanilla PASTE?
I saw this on Pinterest and I just had to click over! What a difference. I'll be making my fav chocolate cupcakes at a lower temperature next time to see if they rise even more. Thanks for the great visual side by side!
Hey, the buttercream recipe looks delicious. I worked my way through a fair few that looked good & met disaster every time. Now I have a few fail safe pieces of heaven in my repertoire. As for your swiss buttercream, I make it all the time for the bakery. The trick is, when it looks like it's starting to curdle, just keep on beating it. At some point it stops curdling & starts turning into this silky, fluffy, amazing goodness. It's like it goes from disgusting to amazing by the use of sheer will power.
I liked this post so much I pinned it twice (without knowing) on my Pinterest boards. LOL Can't wait to try it, thanks for sharing!!
On the pictures that compare how high the cupcakes bake, the one on the left with the higher peaks- do they start off baking at 350 and then the temp is dropped down to 325? If so, after how long? Or preheat to 350 and once the cupcakes go in, drop it down to 325 right away? Thanks for any information 🙂
@Christina – I baked two pans of cupcakes – the first one at 350 degrees. While they were in the oven, I was re-reading the recipe and realized I was supposed to bake them at 325 degrees. I left the first batch in at 350 because I didn't want to disturb them. When they were golden on top I took them out and turned down the temp to 325. Then I popped the second pan into the oven – the side by side pic is the result.
I have to say you have made me laugh! This is a great recipe for a quick buttercream! Now, with the Swiss buttercream there is a chemical reactions that happens midway finishing the buttercream It will curdle and it looks like a separated mess like you described. I guess that whomever gave you the recipe did not tell you to continue the whipping process it takes a few seconds to all homogenize into a silky and the most delicious buttercream anyone can taste! i am a pastry chef and i am sorry that you wasted good ingredients! Swiss buttercream is my basic filling cream in my shop. Ad chocolate ganache for a delicious chocolate filling, lemon curd for a citrus one, and the list goes on and on… 🙂
do you preheat the oven at 350 and after you put them in reduce it to 325. or do you automatically preheat it to 325 and bake????? please help